How To Use A Wire Feed Welder

Ever looked at a broken metal thingamajig and wished you had a magic wand to fix it? Well, put on your wizard hat, because today we're talking about the closest thing to a magic wand for metal: the wire feed welder! Forget the intimidating sparks and specialized lingo; think of this as your new best friend for sticking metal together like a champ. It's truly one of the most satisfying and surprisingly easy tools to master, turning you into a metal-fusing superhero in no time!
What in the Heck is a Wire Feed Welder?
Imagine a hot glue gun, but for metal. That's essentially what a wire feed welder is! Instead of a stick of glue, it feeds a continuous wire (the "magic thread") into an electrical arc. This arc is super hot, melts both the wire and the metal you're working on, and when it cools, BAM! You've got a solid, brand-new bond. It's less like precision surgery and more like drawing with a super-powered sparkler. We're talking about taking two sad, separate pieces of metal and making them happily married forever.
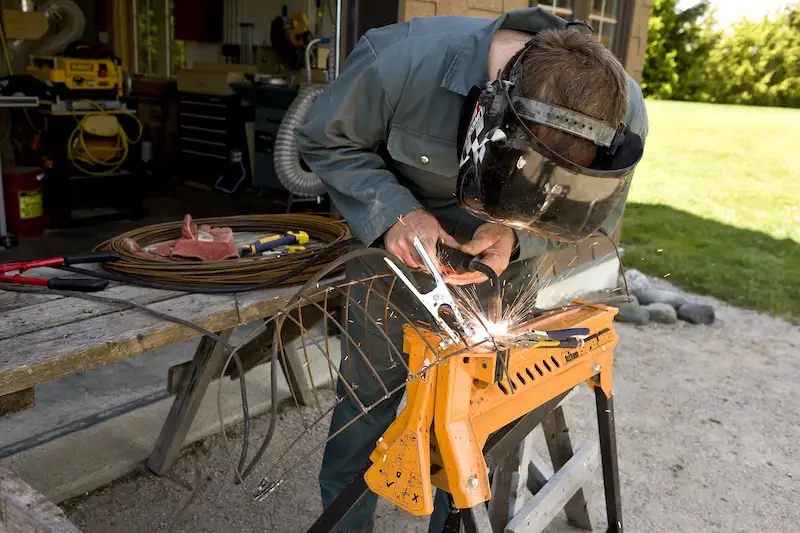
Suit Up! Safety First (and Fun)
Before we dive into the sizzling fun, a quick word about looking after yourself. Welding is hot, bright, and creates sparks – it's basically a mini fireworks show on your workbench!
Must Read
- Welding Helmet: This isn't just a fashion statement; it's your superhero mask! It protects your peepers from the super-bright arc. Make sure it's an auto-darkening one, because who wants to manually flip a hood every two seconds?
- Gloves: Thick, sturdy welding gloves are your force field against heat and sparks. Think oven mitts, but for molten metal.
- Long Sleeves & Pants: No shorts or short sleeves, folks! We want to keep all our skin where it belongs. Denim or cotton is great; synthetic fabrics can melt!
- Ventilation: Welding creates fumes. Do it in a well-ventilated area, or use a fan to keep the air moving. You want to breathe fresh air, not metal mist!
The Setup: Plugging In Your Metal Mojo Machine
1. Power Up!
First things first: plug in your welder! Make sure you've got the right outlet – some require a dedicated 240V, others are happy with standard 120V. Check your machine's manual, it's like reading the secret scroll for ultimate power.
2. Gas or No Gas? That is the Question!
Some wire feed welders (called MIG welders) use a shielding gas (like Argon/CO2 mix) to protect your molten weld from the air, making it super clean and pretty. Others, called flux core welders, have the shielding built right into the wire, so no gas bottle needed! If you're going the gas route, connect your gas tank buddy and set the flow rate. If you're flux core, high-five yourself for one less thing to worry about!
3. Threading the Magic Wire
Open up your welder and load the spool of wire. Thread it through the drive rollers (they're like tiny fingers that push the wire) and out through the gun. Make sure the drive rollers have the right tension – not too tight, not too loose. It's like Goldilocks, it has to be "just right" for smooth feeding.
4. The Mighty Ground Clamp
This is perhaps the most important step after plugging it in! The ground clamp completes the electrical circuit. Attach it firmly to the metal piece you're welding, or to your metal workbench if that's where your piece is.
Seriously, folks: No ground clamp, no weld! It's like trying to make a phone call without a signal.
Dialing In Your Awesome Settings
Your welder will have a few knobs, usually for voltage (how hot the arc is) and wire speed (how fast the magic thread comes out). These two are like the dynamic duo of welding!
- Voltage (Heat): Think of this as your thermostat. Too low, and your weld will look like cold, blobby bird droppings. Too high, and you'll blow holes through your metal like it's tissue paper.
- Wire Speed: This is how quickly your magic thread is fed into the party. Too slow, and the wire will melt back into your contact tip (that's called "burn back"). Too fast, and it'll jam into your workpiece, causing frustrating "stubs."
Start with the settings recommended on your machine's chart (usually inside the wire compartment) for the thickness of metal you're working with. Then, fine-tune from there! Practice on scrap metal – that's what it's for!

The Moment of Truth: Making Metal Melt and Mingle!
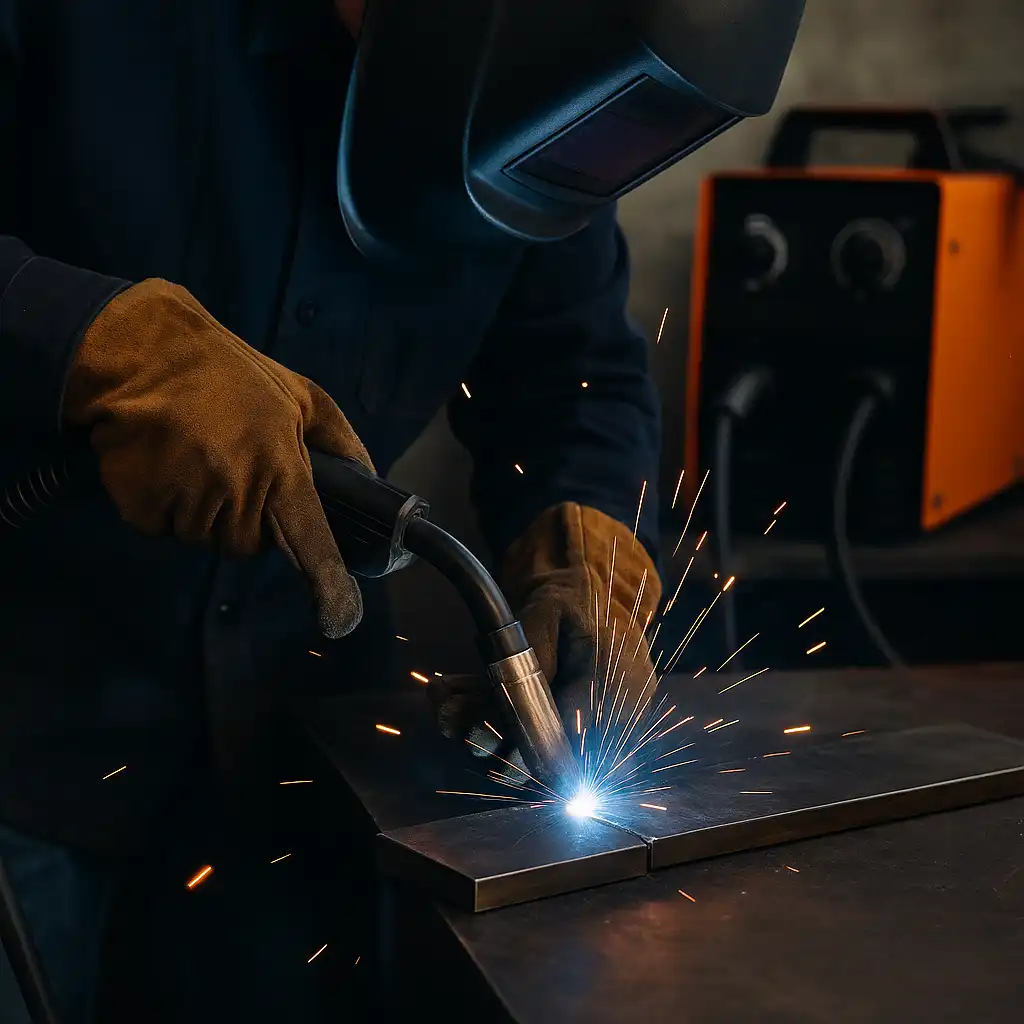
Okay, helmet on, gloves on, ground clamp attached. Grab your welding gun, position the tip a small distance from your metal (about 3/8 inch), and pull the trigger!
- Listen for the Sizzle: A good weld sounds like bacon frying. A steady, consistent sizzle means you're in the zone!
- Watch the Puddle: You'll see a molten puddle forming. This is where the magic happens! You want to guide this puddle along your joint.
- Move Along: You can either "push" the puddle (good for cleaner welds) or "pull" it (often easier for beginners and flux core). Experiment to see what feels right. Keep a steady pace – not too fast, not too slow. You're aiming for a bead that looks like a stack of dimes, or maybe a tiny, shiny caterpillar.
Don't worry if your first welds look like abstract art. Everyone starts somewhere! The key is practice, practice, practice. You'll develop a feel for it faster than you think.
You're a Metal Maestro!
See? No big deal! You've just walked through the basics of using a wire feed welder. It's not rocket science; it's just learning to dance with sparks and molten metal. So go ahead, grab that welder, put on your gear, and start sticking things together! You'll be fixing, fabricating, and creating metal masterpieces before you know it. Who knew being a metal-joining wizard could be this much fun? Happy welding!