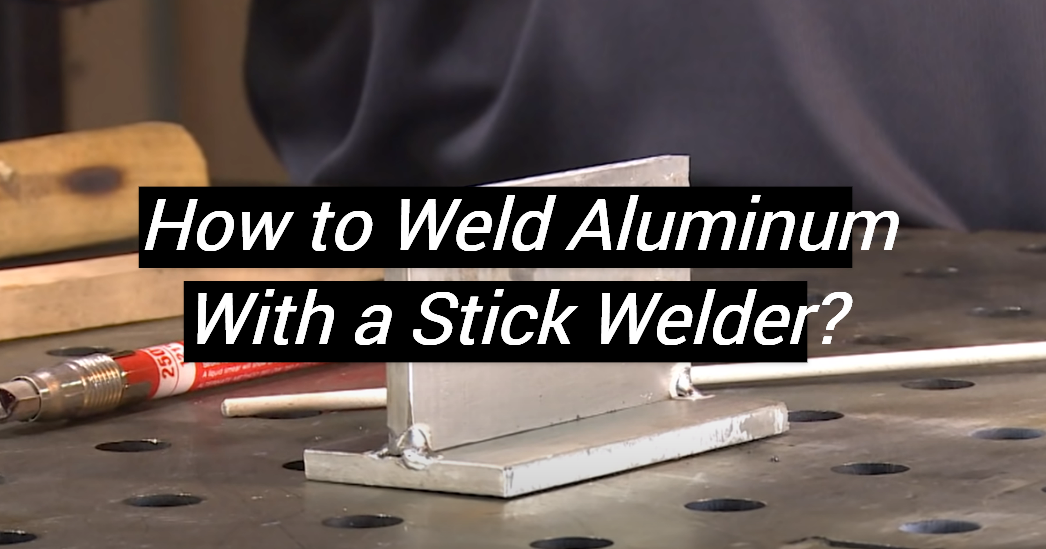
How To Stick Weld Aluminium

There's a certain magic to welding, isn't there? The flash, the sizzle, and the incredible satisfaction of joining two pieces into one strong, new form. While many are familiar with welding steel, tackling aluminum with a stick welder often feels like stepping into a more advanced, slightly mythical realm. But fear not, intrepid DIYer! Mastering the art of stick welding aluminum is a truly rewarding endeavor, turning a common, lightweight metal into a versatile ally.
Why bother, you ask? Aluminum is everywhere! From your bicycle frame to a fishing boat hull, utility trailer chassis, or even that wobbly patio chair – aluminum offers fantastic strength-to-weight ratio and corrosion resistance. Being able to weld it means you can repair, create, and customize with a durable, easy-to-handle metal. Think: a cracked boat transom fixed, a custom lightweight rack for your ATV, or simply extending your aluminum garden gate's life. You're not just welding; you're gaining the superpower to mend, build, and save a pretty penny on replacements or professional repairs.
So, you've got your stick welder and you're ready to tackle the shiny stuff. Here's where the adventure truly begins! Unlike steel, aluminum demands finesse and specific considerations. Firstly, your equipment: you'll ideally want an AC (Alternating Current) stick welder. While some specialized electrodes exist for DC, AC provides a crucial "cleaning action" that breaks up the stubborn aluminum oxide layer. This oxide forms instantly, has a much higher melting point than aluminum, and without AC, you're essentially trying to weld through a ceramic-like coating.
Must Read
Next up, electrodes! You can't just grab a standard 6013 rod. You'll need specialized aluminum stick electrodes, often designated as 4043, 1100, or similar alloys, specifically for various aluminum types. These rods have flux coatings that help shield the weld and scavenge those pesky oxides. Cleanliness is paramount! Before striking an arc, vigorously wire brush your workpiece with a stainless steel brush (never one that's touched steel!) to remove surface oxides. Then, wipe it with acetone to get rid of any oils or contaminants. Seriously, this step can make or break your weld.
When it comes to technique, prepare for speed! Aluminum dissipates heat rapidly, then melts quite suddenly. This means a fast travel speed is essential. Maintain a relatively short arc length and use a slight pushing angle. You'll often hear the advice to "weld hot and fast." Don't dwell in one spot, or you'll quickly have a molten puddle that wants to fall through! It takes practice to find that sweet spot between enough heat to penetrate and too much heat causing a blowout. Start on scrap pieces to get a feel for the arc and the puddle. And, as always, remember your safety gear: a good auto-darkening helmet, thick gloves, and a welding jacket are non-negotiable. With patience, preparation, and practice, you'll soon be laying down respectable aluminum beads, turning everyday repairs into satisfying victories!