How To Solder Wire To Metal Tab

Ever felt that satisfying thrill of fixing something instead of throwing it away? Or perhaps you've dreamed of bringing your own electronic ideas to life? Well, get ready to unlock a genuinely empowering skill: soldering! Learning how to solder wire to a metal tab is a fundamental technique that's not only incredibly useful but also surprisingly fun and accessible for anyone keen on DIY, electronics, or simply giving their gadgets a new lease on life.
So, why is this skill so popular and beneficial? At its core, soldering is about making a strong, reliable electrical connection. When you precisely fuse a wire to a metal tab, you're creating a durable, low-resistance bond that ensures your electricity flows exactly where it needs to go. This isn't just about repairs; it's about creation! Think about fixing that flickering LED light, mending a beloved pair of headphones, or even building custom circuits for a hobby project. Soldering provides a permanent, stable connection far superior to twisting wires together with tape, giving your electronics precision and longevity. It’s about empowerment and transforming you from a consumer into a confident creator.
Ready to get started? Don't worry, you don't need a lab coat or a PhD! Here’s what you’ll primarily need: a basic soldering iron (a 30-40W model is perfect for beginners), some good quality solder (rosin core is ideal as it cleans as you go), a pair of wire strippers, and perhaps some "helping hands" (a small stand with clips – a true lifesaver for holding your pieces steady!). Most importantly, always prioritize safety: wear safety glasses and ensure you're working in a well-ventilated area.
Must Read
Now, let's break down the magic of making that perfect connection:
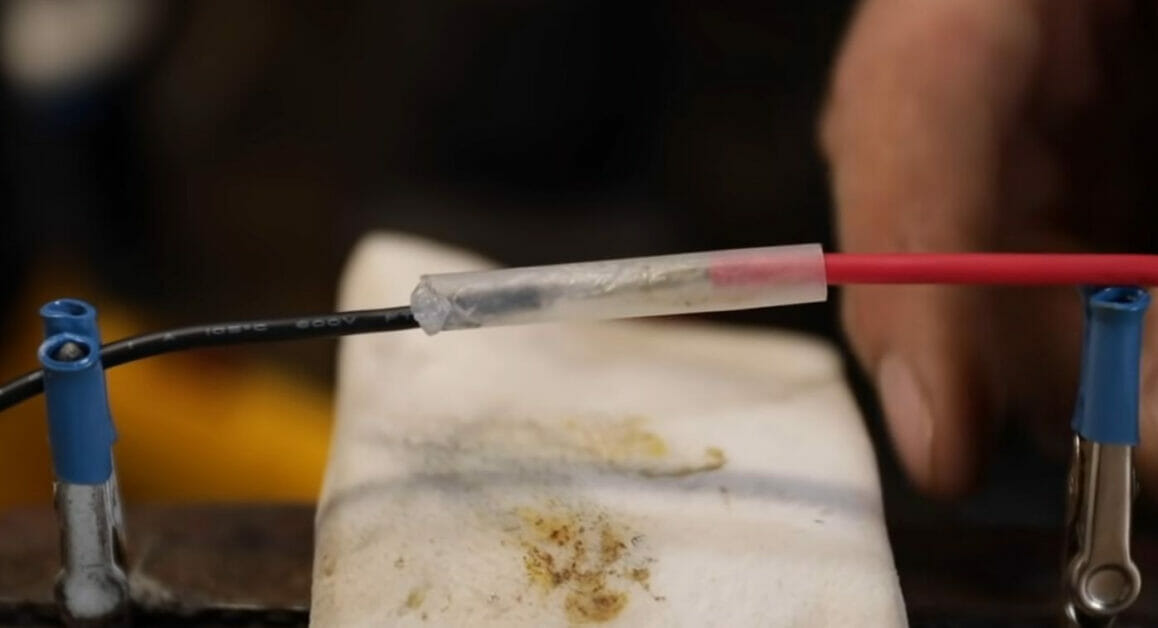
- Preparation is Key: First, gently strip about 1/4 inch of insulation from your wire. Then, make sure both the exposed wire strands and the metal tab are clean. A clean surface ensures a strong connection.
- Tin Your Iron: Plug in your soldering iron and let it heat up. Once hot, touch a tiny bit of solder to its tip. This process, called "tinning," helps transfer heat efficiently and keeps the tip clean.
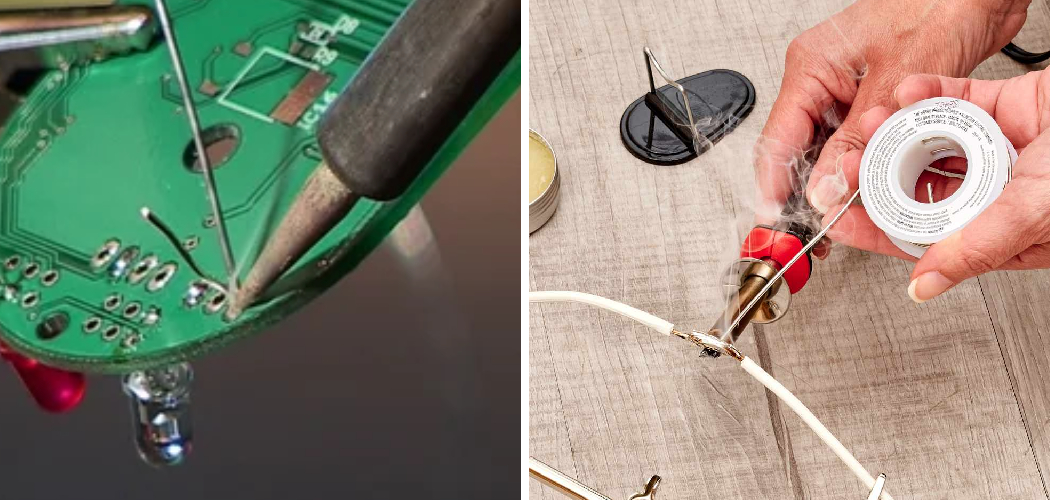
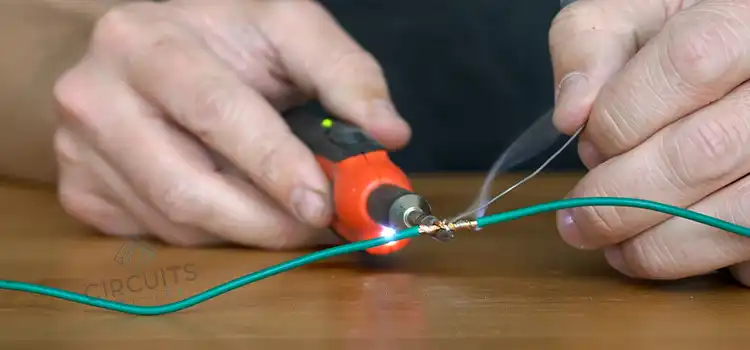
- Secure & Heat: Use your helping hands to firmly hold the stripped wire against the metal tab, ensuring good contact. Now, apply the hot soldering iron tip to both the wire and the tab simultaneously. The goal is to heat them up together for a few seconds.
- Feed the Solder: Once the wire and tab are hot enough (they’ll look shiny and ready), feed a small amount of solder directly into the joint – not onto the iron tip itself. The heat from the components will melt the solder, allowing it to flow smoothly and evenly around the connection. You want just enough to create a nice, shiny cone shape.
- Cool & Inspect: Remove the solder, then carefully remove the iron. Let the joint cool naturally (don't blow on it!). A perfect solder joint will be smooth, shiny, and concave (like a tiny volcano). If it's dull, lumpy, or beaded, it's a "cold joint" and might need redoing.
A few quick tips for success: practice on some scrap wires first! Always work in a well-ventilated area to avoid inhaling fumes. Never touch the hot iron tip (it gets very, very hot!). And remember, patience is a virtue, especially when learning a new skill. Learning to solder wire to a metal tab isn't just about making a connection; it's about connecting with your inner maker. It's incredibly satisfying to see a perfect, shiny joint and know you did it yourself. So grab an iron, some solder, and get ready to add a truly empowering skill to your DIY arsenal!