How To Replace Weatherstripping On Front Door

Okay, picture this: Your front door, majestic and welcoming, except… it’s whispering secrets to the wind. Secrets like, "Hey wind, come on in! The thermostat is cranked, and we've got a comfy draft just for you!" Not ideal, right? That's probably because your weatherstripping is giving up the ghost. But fear not, intrepid homeowner! Replacing weatherstripping is easier than explaining to your grandma why you haven't written thank-you notes yet. Let’s tackle this, DIY style!
First, The Great Weatherstripping Recon Mission
Before you even think about grabbing a screwdriver, you need to know what kind of critter you're dealing with. Think of it as a weatherstripping safari. Examine the existing weatherstripping. Is it foam? Rubber? Metal? Is it nailed, glued, or magically attached with fairy dust (probably not fairy dust)?
Take note of how it’s installed. Snap a picture or two. You’ll thank yourself later when you’re staring blankly at the doorframe, wondering if that little piece of rubber goes on the left or the right. Honestly, a picture is worth a thousand frustrated groans in this situation. Trust me, I've been there.
Must Read
Now, measure! This isn't rocket science, but accuracy is your friend. Measure the length of the weatherstripping you need to replace. You’ll be installing it on the top, sides, and maybe even the bottom of the door. Write these measurements down. Don't eyeball it! Unless you're a weatherstripping-measuring savant, eyeballing will only lead to a trip back to the hardware store. And nobody wants that.
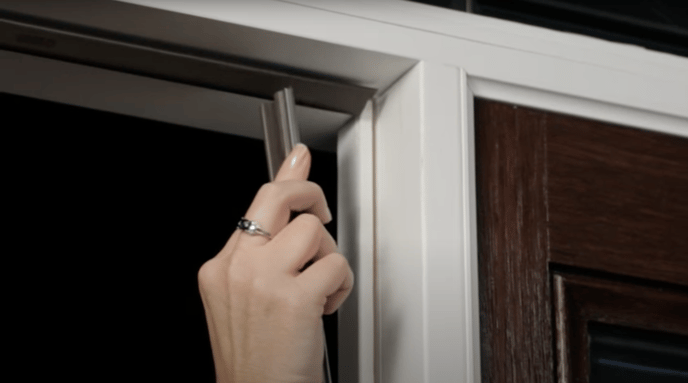
Gearing Up For Weatherstripping Glory
Time to raid your toolbox (or, let's be honest, that junk drawer where you keep all the "useful" things). You'll probably need:
![How To Replace A Door Weatherstrip Seal [Easy DIY] - YouTube](https://i.ytimg.com/vi/JUx0cjbzbhs/maxresdefault.jpg)
- New weatherstripping (duh!)
- A utility knife or scissors
- A screwdriver (if your old weatherstripping is screwed in)
- A hammer (if it's nailed)
- Pliers (for removing stubborn bits)
- Cleaning supplies (because a clean surface is a happy surface)
Head to your local hardware store. Don't be afraid to ask for help! Those folks know their stuff. Tell them you're replacing your weatherstripping and they'll point you in the right direction. And hey, grab a bag of chips while you're there. You deserve it.
Operation: Weatherstripping Removal
Now for the fun part (sort of)! Gently (or not-so-gently, depending on how stubborn it is) remove the old weatherstripping. If it's screwed in, unscrew it. If it's nailed, use pliers to pull out the nails. If it's glued, well, good luck! You might need a putty knife or scraper to get it off. Channel your inner archaeologist and carefully excavate that old weatherstripping. Remember, we're aiming for progress, not destruction. But if a little destruction happens, well, that’s just character building.
Once the old stuff is gone, clean the area! Wipe down the doorframe with a damp cloth to remove any dirt, dust, or leftover adhesive. A clean surface ensures that the new weatherstripping will stick properly. Think of it as preparing the canvas for a masterpiece... a weatherstripping masterpiece!

Installation: The Moment of Truth
Now, grab your new weatherstripping and your measurements. Cut the weatherstripping to the correct lengths using your utility knife or scissors. Remember the old carpenter's adage: measure twice, cut once. Unless you like wasting weatherstripping. Then, measure once, cut twice, and buy a whole bunch more!
Peel off the adhesive backing (if your weatherstripping has it) and carefully press the weatherstripping into place. Start at one end and work your way to the other, making sure it's aligned properly. If it's nailed or screwed in, align the weatherstripping and then use your hammer or screwdriver to secure it. Ensure that it’s flush with the doorframe. No gaps allowed! We’re trying to stop drafts, not create new ones.
Close the door to test your handiwork. Does it seal properly? Is there still a draft? If you feel a draft, you may need to adjust the weatherstripping or add some extra sealant. Don't be discouraged if it takes a few tries to get it right. Even the pros mess up sometimes.
Admire Your Handiwork!
Congratulations! You've successfully replaced your front door weatherstripping! Now you can crank up the thermostat without feeling guilty and tell the wind to take a hike. Go ahead, give yourself a pat on the back. You deserve it! You’ve saved money, learned a new skill, and protected your home from the elements. You are officially a Weatherstripping Warrior!
And hey, while you're at it, why not tackle the other doors in your house? After all, you're on a roll! Just kidding... unless?
