How To Replace Weatherstripping On Exterior Door

Ever feel like your house is giving you the cold shoulder? Literally? If you're noticing drafts, higher energy bills, or maybe even hearing a whistling sound around your exterior doors, chances are your weatherstripping is saying, "I quit!" Think of weatherstripping like the little gatekeepers of your home, bravely battling the elements. When they're worn out, it's like leaving the gate wide open for winter winds (or summer heat) to waltz right in.
Now, don't panic! Replacing weatherstripping is one of those super satisfying DIY projects that's way easier than it sounds. It's like changing a lightbulb, but instead of bringing light, you're bringing comfort and savings. Plus, you get that smug sense of accomplishment that comes with fixing something yourself. Let's get started!
Why Bother? (Besides Bragging Rights)
Okay, so why should you even care about this weatherstripping thing? Imagine leaving your refrigerator door slightly ajar all day. That's essentially what you're doing when your weatherstripping is shot. Your heating or cooling system has to work overtime to compensate, leading to higher energy bills. Nobody wants to throw money out the window (or, in this case, under the door!).
Must Read
Beyond the financial benefits, think about the comfort factor. No more chilly drafts sneaking in and making you reach for that extra blanket. No more battling dust bunnies that mysteriously appear from under the door. A well-sealed door is a happy door, and a happy door leads to a happy, comfy home. It's all connected, you see!
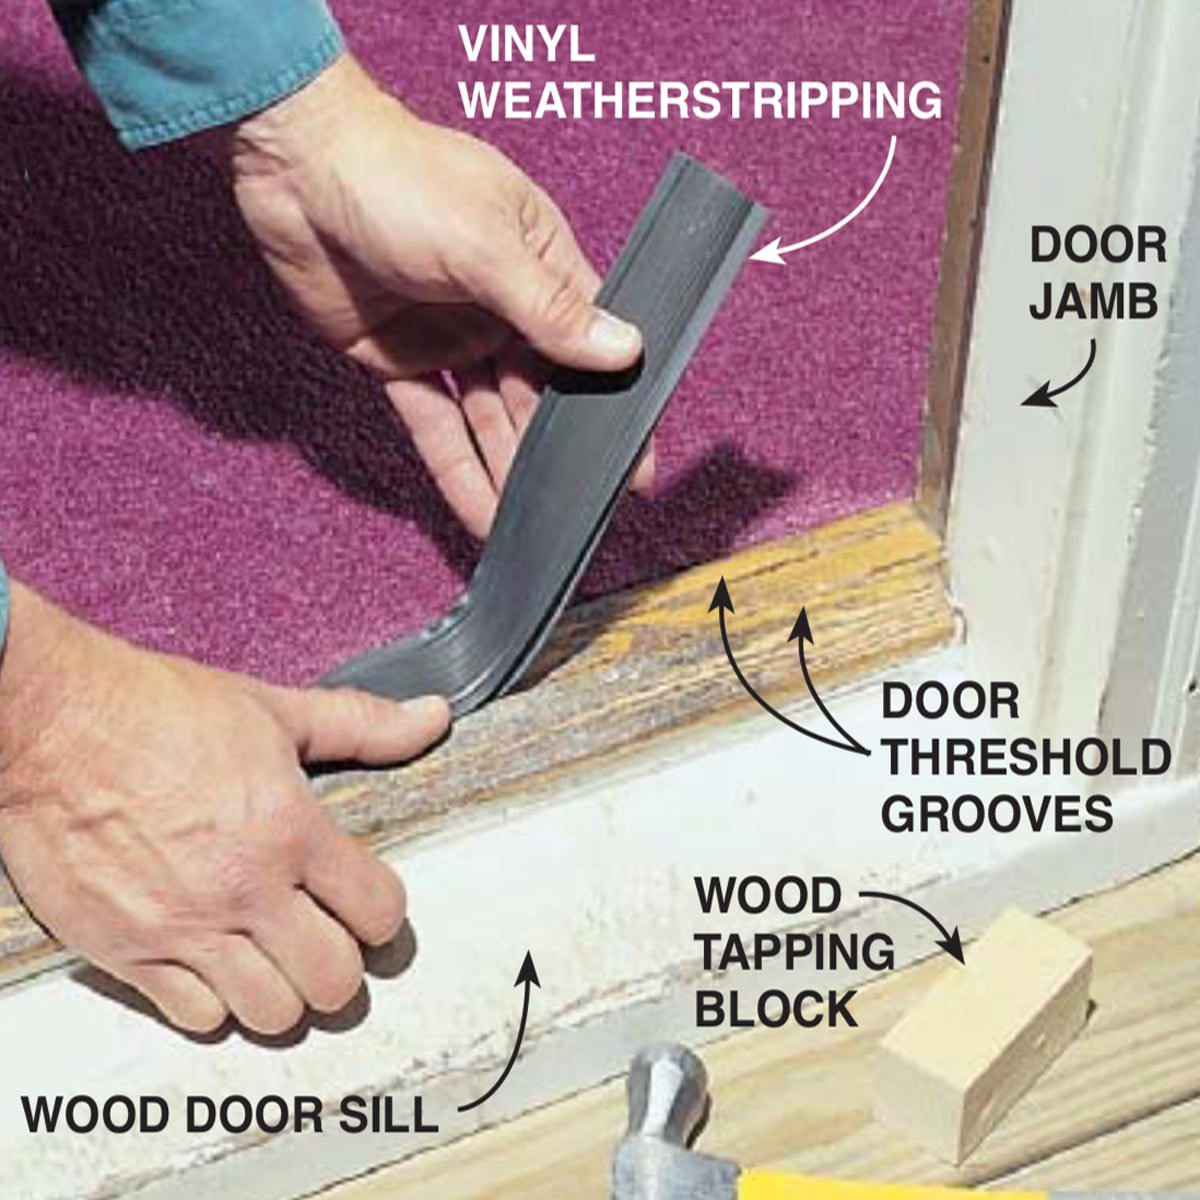
What You'll Need: Your Weatherstripping Toolkit
This isn't rocket science, thankfully. You'll likely already have most of these items lying around.

- New Weatherstripping: This is the star of the show! Take a look at your old weatherstripping to determine what type you need. There are several kinds: foam tape, V-strip, magnetic, and compression. Measure the length you need for your door (sides and top) before you head to the hardware store.
- Utility Knife or Scissors: For cutting the weatherstripping to size. A sharp utility knife gives you cleaner cuts.
- Measuring Tape: Because eyeballing it rarely works.
- Screwdriver (Possibly): If your weatherstripping is held in place with screws.
- Cleaning Supplies: A damp cloth and maybe some mild cleaner to prep the surface.
- Gloves (Optional): To keep your hands clean.
Think of it as preparing for a mini-makeover for your door. You're giving it a fresh new seal, a chance to shine!
Let's Get To Work: The Step-by-Step Guide
Alright, deep breaths. This is where the magic happens!

- Remove the Old Weatherstripping: This might be the trickiest part, depending on how old and crusty it is. Gently pull it away from the door frame. If it's stuck on with adhesive, a little heat from a hairdryer can help loosen it. If it’s screwed in, use the screwdriver to remove screws. Don't worry if it comes off in pieces – that's perfectly normal.
- Clean the Surface: Use a damp cloth to wipe down the door frame where the old weatherstripping was. Remove any leftover adhesive or debris. A clean surface ensures the new weatherstripping will stick properly. Imagine trying to put a sticker on a dusty window – it just won't work!
- Measure and Cut: Measure the length of the door frame where you'll be installing the weatherstripping. Cut the new weatherstripping to the correct length using your utility knife or scissors. Measure twice, cut once! This is a golden rule for any DIY project.
- Install the New Weatherstripping: This is where things get satisfying. If your weatherstripping has adhesive backing, peel off the protective strip and carefully press it into place along the door frame. If it's the screw-in type, align it and tighten the screws. Make sure it's snug and secure.
- Test It Out: Close the door and feel around the edges for any drafts. If you feel a draft, adjust the weatherstripping as needed. You might need to add a bit more pressure or reposition it slightly. This is your chance to fine-tune your work.
And that's it! You've successfully replaced your weatherstripping. Give yourself a pat on the back and bask in the glory of your newfound home improvement skills. You're a weatherstripping warrior!
A Few Extra Tips and Tricks
Here are a few extra nuggets of wisdom to make the process even smoother:
- Choose the Right Type: Don't just grab any weatherstripping off the shelf. Make sure it's the right type for your door and door frame. If you're unsure, ask a hardware store employee for help.
- Work in Sections: Don't try to install the entire length of weatherstripping at once. Work in smaller sections to ensure proper alignment.
- Don't Be Afraid to Ask for Help: If you're feeling overwhelmed, don't hesitate to ask a friend or family member for assistance. Two pairs of hands are always better than one.
Replacing weatherstripping is a simple, affordable way to improve your home's comfort and energy efficiency. It's like giving your house a cozy hug. So, grab your tools, channel your inner DIY enthusiast, and get ready to say goodbye to drafts and hello to savings! You've got this!