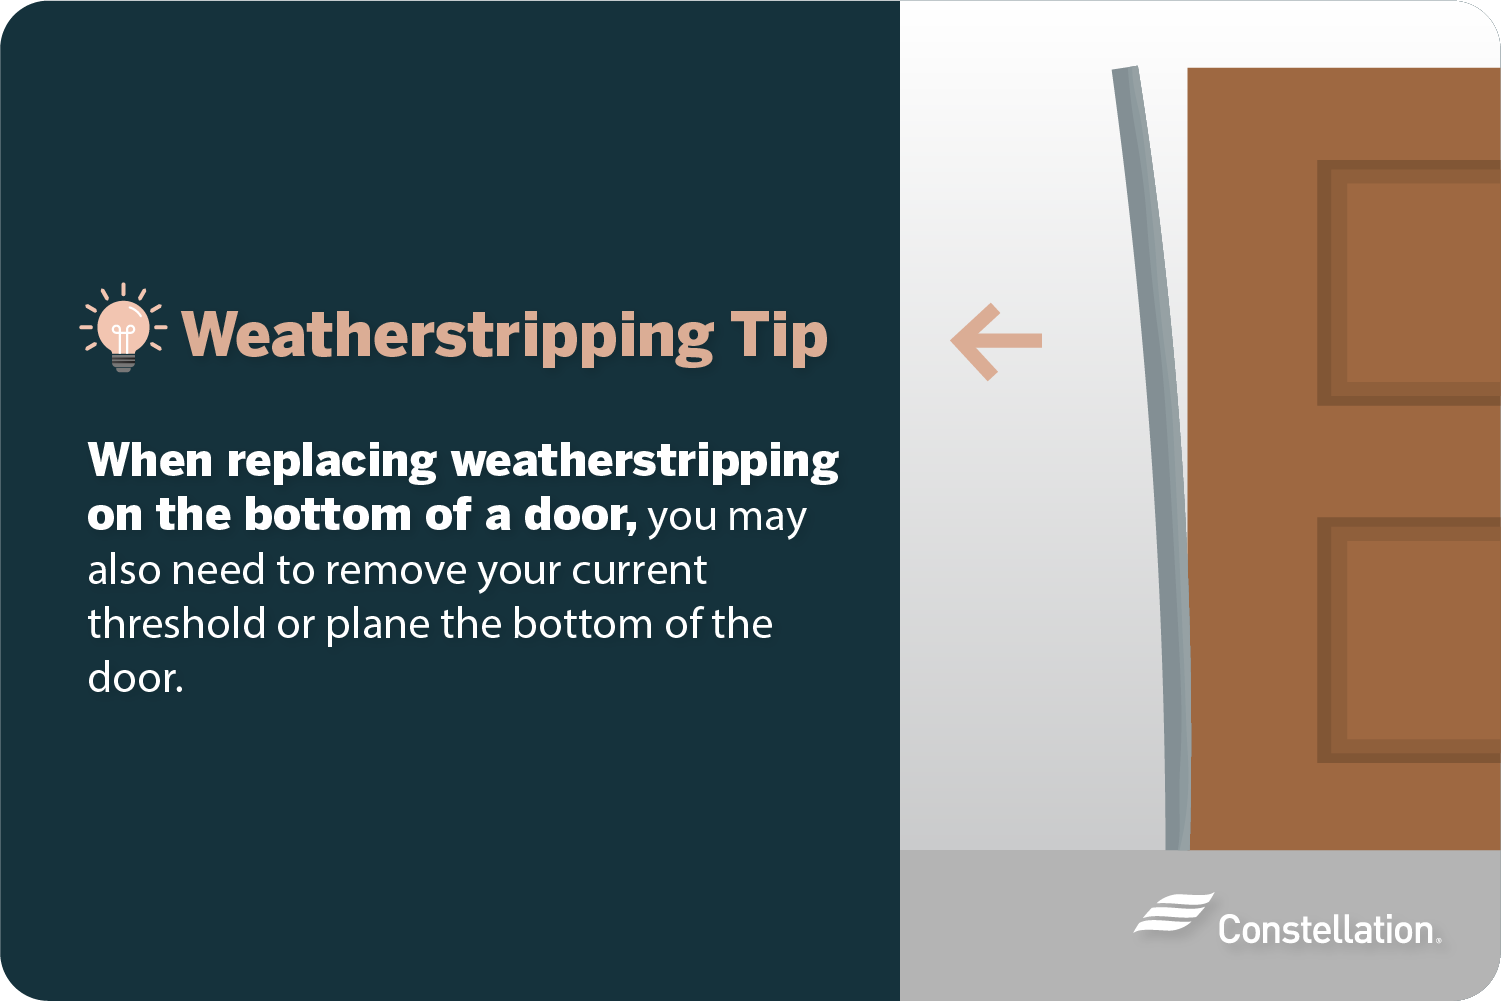
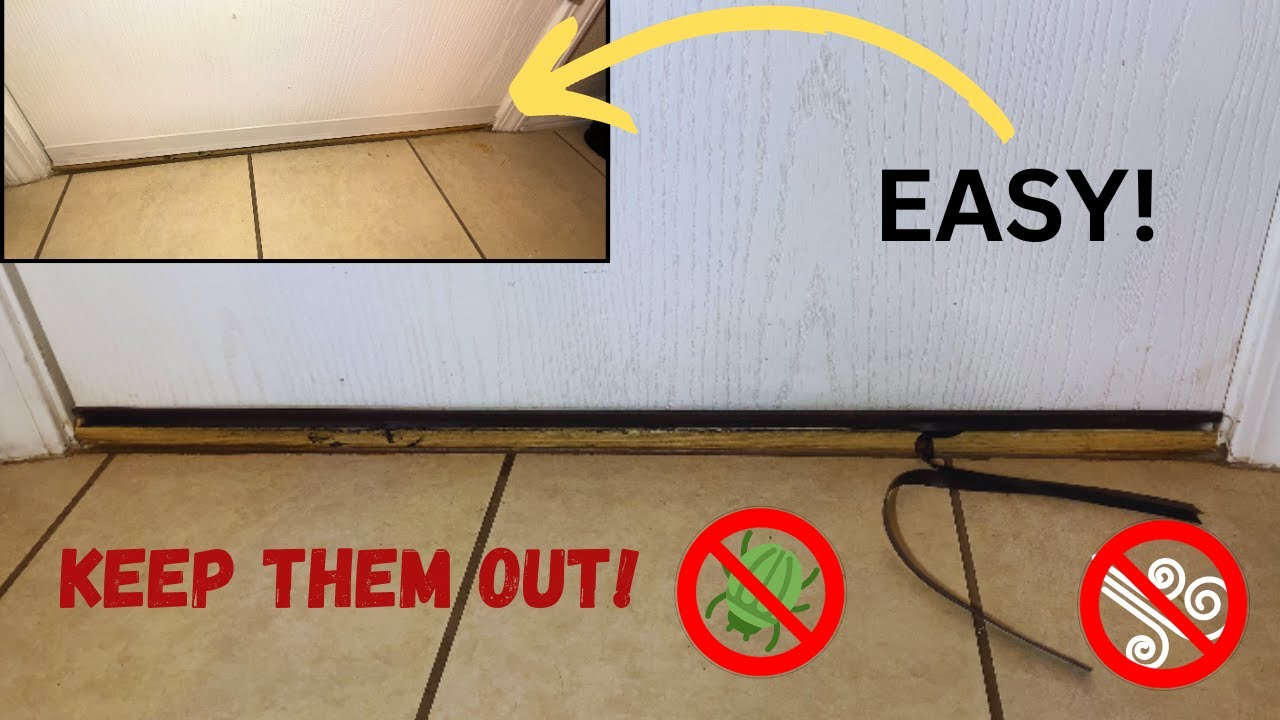
How To Replace Weatherstrip On Bottom Of Door
Okay, let's talk doors. Specifically, the bottom of the door. You know, that drafty, sometimes furry (ew!), thing that's supposed to keep the outside out.
I have an unpopular opinion: replacing the weatherstrip down there is actually… kind of fun? Don't judge me. I find it strangely satisfying.
The Great Weatherstrip Adventure Begins!
First, you'll need a new weatherstrip. Head to your local hardware store. They'll look at you like you're ordering a dragon if you ask for a "door bottom seal," so stick to the basic name. Trust me.
Must Read
There are approximately 1,000,000 different kinds. Just grab one that looks like the old one. Close enough is good enough, right?
Now, get ready for the thrill of removing the old one. This is where the real fun begins (in my warped little world).
Sometimes it slides right out. Sometimes it's glued in with the force of a thousand suns. Good luck!
Operation: Extraction
If it's stuck, don't panic. Get a screwdriver. Or a butter knife. Or anything vaguely pointy and metal.
Wedge it in there and pry. Gently, of course. We don't want to damage the door, even though it’s probably plotting against you anyway.
Okay, maybe a little force. A little angry force. Just don't tell anyone I said that.
Eventually, with enough grunting and questionable language, the old weatherstrip will surrender. Victory is yours!
Behold! The disgusting, dusty, probably moldy remains of its predecessor. Aren't you glad you're replacing it?
Clean the area. A quick wipe with a damp cloth will do. We're not aiming for surgical cleanliness here.
Installation Time! (The Slightly Less Fun Part)
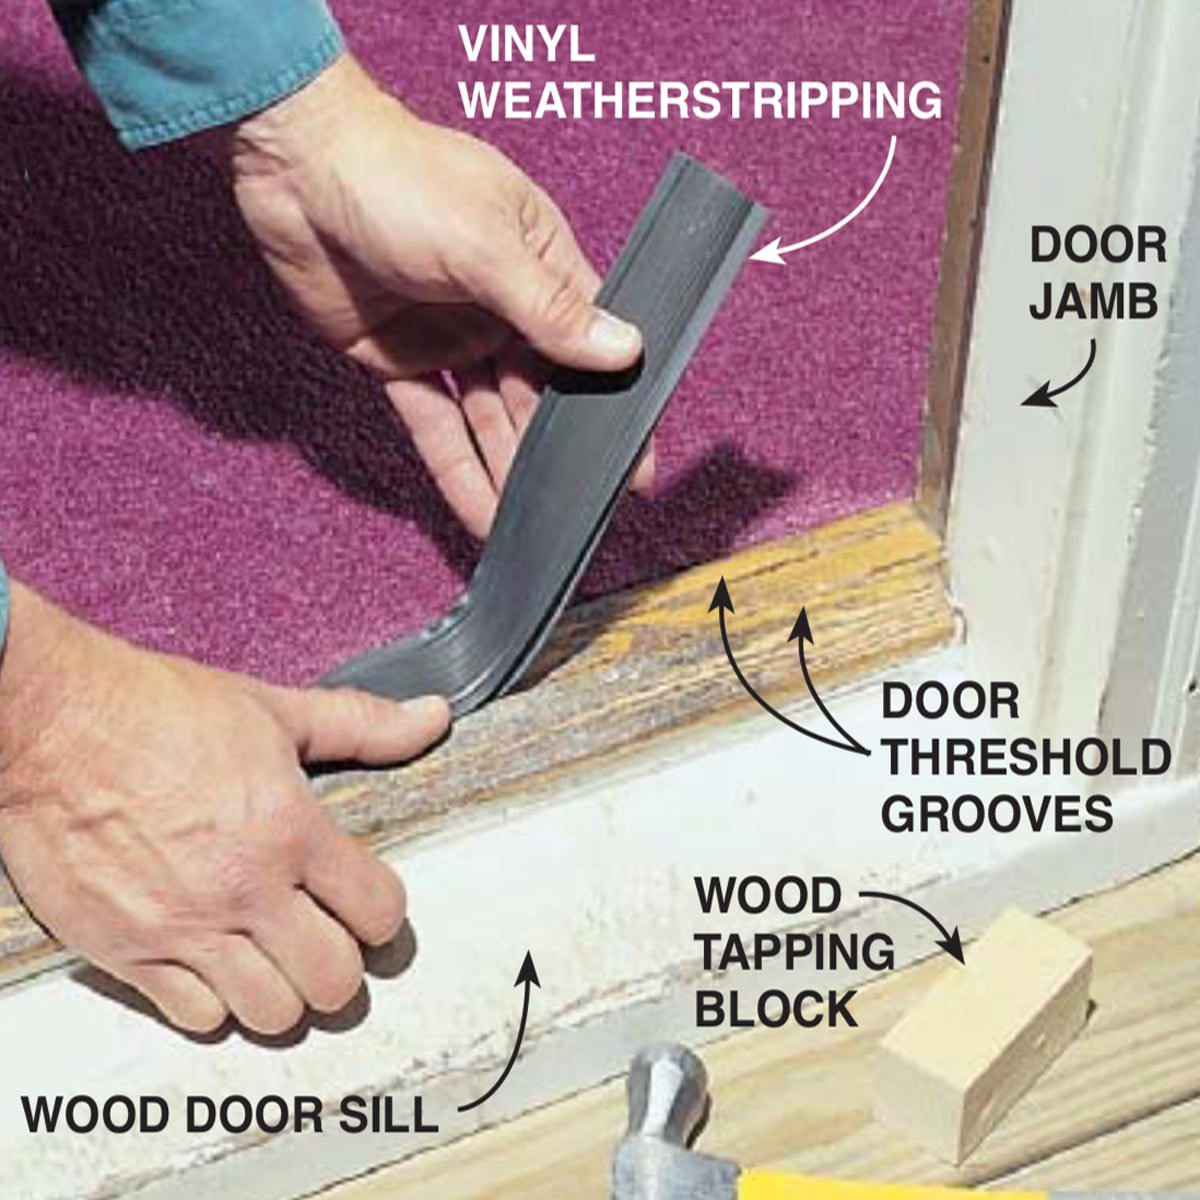
Now for the new weatherstrip. This part is usually easier. Usually.
Slide it into place. Most of them just slide right in. If yours doesn't, refer back to the "angry force" instructions from earlier.
Make sure it's snug. You want a nice, tight seal. No drafts allowed!
Sometimes there are little screws. Don't lose them. I always lose them. It's a curse.
Screw them in. Not too tight. You're not trying to launch a rocket. Just secure the weatherstrip.
And... that's it! You've done it! You're a weatherstrip-installing ninja! Go forth and conquer the world (or at least your drafty door).
Troubleshooting: Because Life Isn't Always Sunshine and Weatherstrips
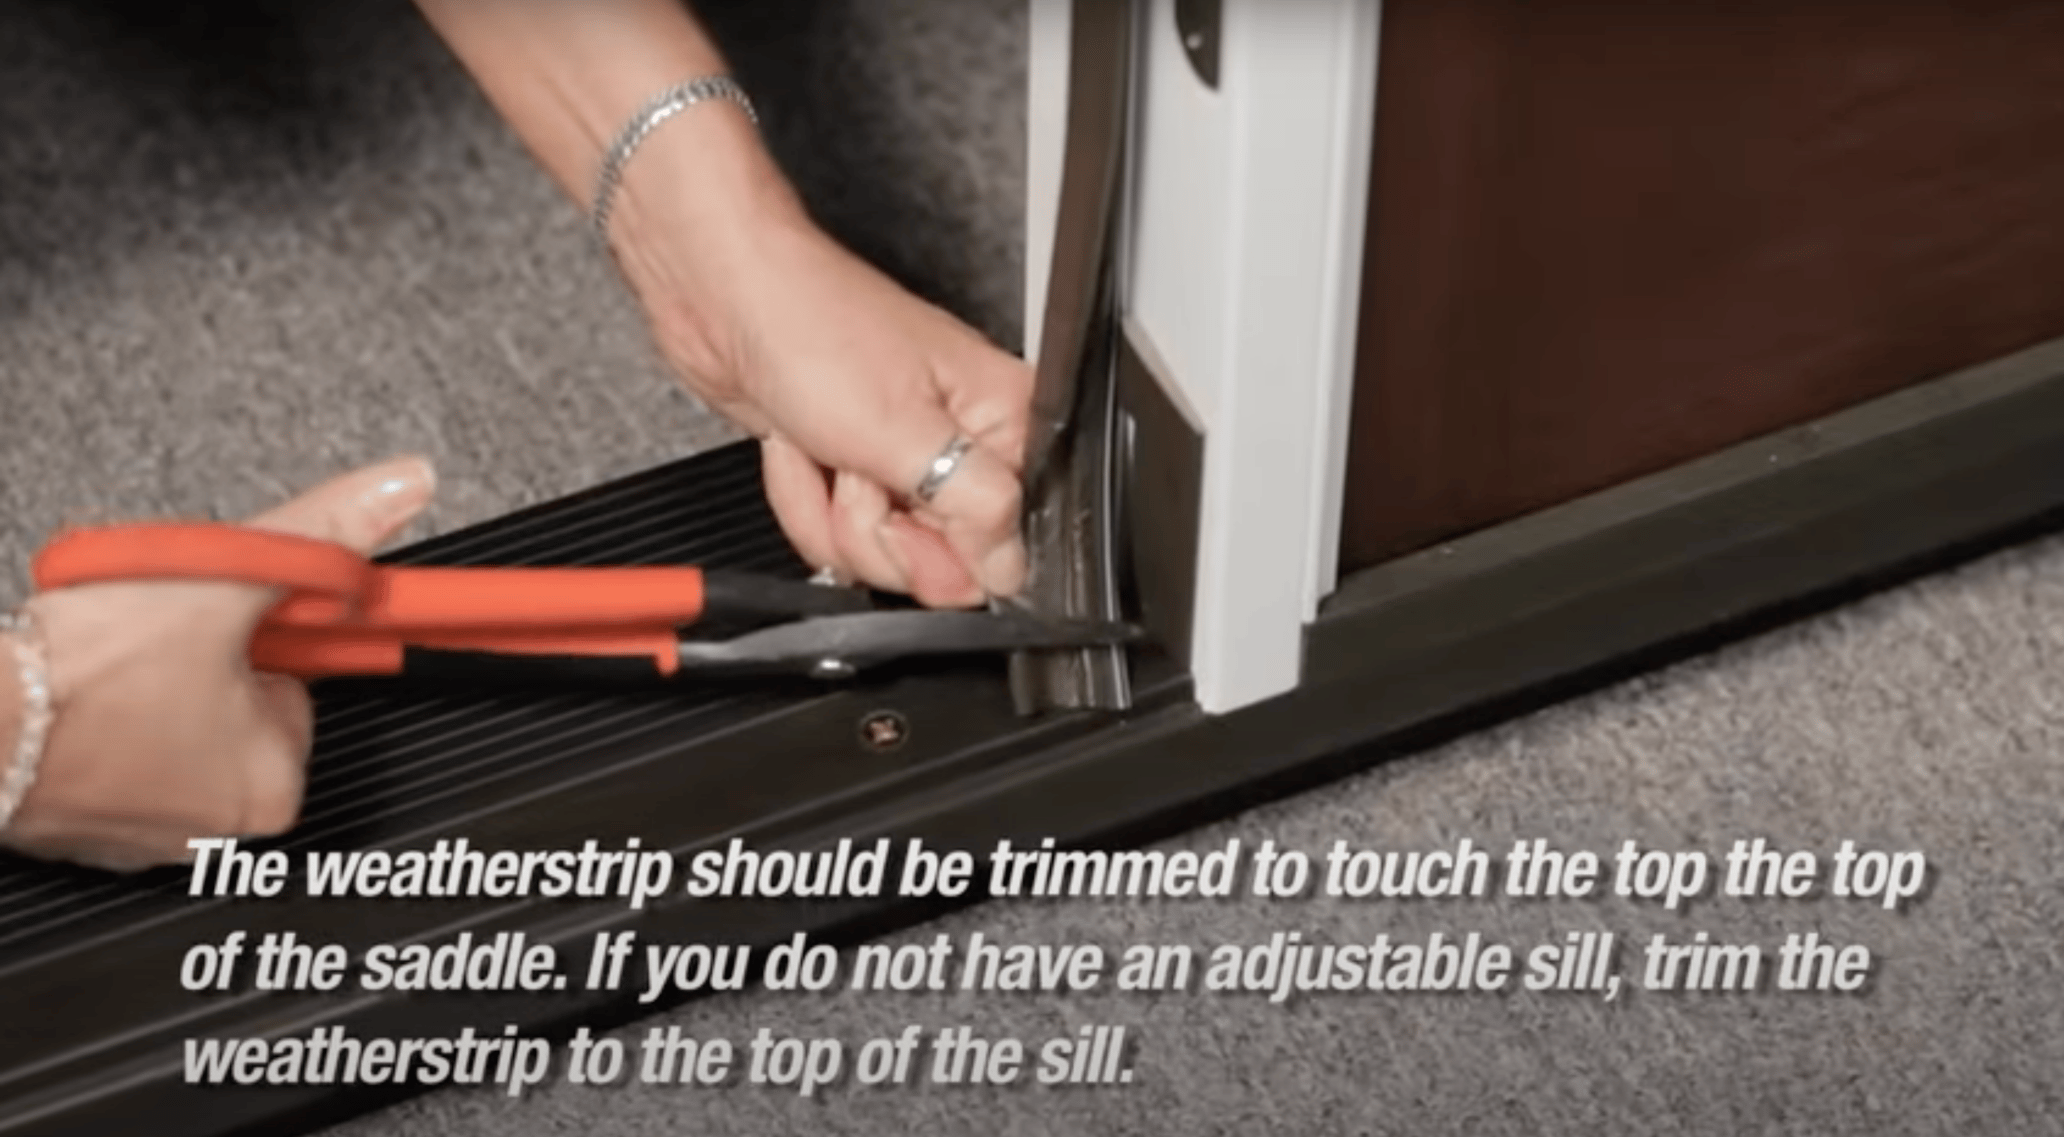
It's too long! No problem. Get some scissors. Or a knife. Or a chainsaw. (Okay, maybe not a chainsaw). Trim it to fit.
It's too short! Uh oh. That's a problem. Maybe you can stretch it? (Probably not). Back to the hardware store you go!
It keeps falling out! Add some adhesive. Construction adhesive. Gorilla Glue. The stuff that will stick it there forever.
My door won't close! You probably installed it wrong. Don't worry, it happens. Take it out and try again. And maybe this time make sure you got the proper size!
The Unsung Hero of Home Improvement
Replacing your door's weatherstrip is one of those little things that makes a big difference. No more drafts! Lower energy bills! A slightly warmer house!
Plus, you get to feel like a DIY superhero. Even if the only thing you saved was a few dollars on your heating bill.
So, next time you notice a draft sneaking in under your door, don't despair. Embrace the weatherstrip adventure!
It's not as scary as it looks. And who knows, you might even find it... fun? (Okay, maybe I'm the only one).
But seriously, a good weatherstrip can make a world of difference. And it's a lot cheaper than a new door.
Think of the money you'll save! You can buy more snacks. Or more tools to fix other things around the house. The possibilities are endless!
And you'll have the satisfaction of knowing that you did it yourself. You conquered the drafty door. You are a champion!
Now, go forth and weatherstrip! Your house (and your wallet) will thank you.
Just remember: a little bit of effort can go a long way. And sometimes, a little bit of angry force is required. But mostly just a little bit of effort.
I hope this article has inspired you to tackle your door weatherstrip with confidence (and maybe a little bit of amusement). You got this!
And if all else fails, you can always call a professional. But where's the fun in that?
Seriously though, it's not that hard. Just follow these simple steps (or your own slightly modified version of these steps). And you'll be enjoying a draft-free home in no time.
So, what are you waiting for? Get out there and weatherstrip your heart out!
Just don't blame me if you get addicted to it. I warned you. It's strangely satisfying.
And remember to wear gloves. You don't want to get that old, dusty stuff on your hands. Eww!
Okay, I think I've said everything I need to say about door weatherstrip. For now.
But if you have any questions, feel free to ask. I'm always happy to share my (slightly warped) wisdom.
Until next time, happy weatherstriping! And may your doors be draft-free and your houses be warm.
And don't forget to laugh a little along the way. Because life's too short to take door weatherstrip too seriously.
Okay, seriously, I'm done now. Go fix your door!
Bye!
Wait, one more thing... always double-check your measurements before you cut anything. You'll thank me later.
Okay, now I'm done. Really.
Have a great day!
And remember...weatherstrip is your friend!
Okay, I promise, this is the last line. Go fix your door!!