How To Replace Weather Strip Bottom Of Door

Ever feel a sneaky little draft snaking its way under your door? Like a tiny, icy ghost trying to crash your Netflix binge? That's probably your weather stripping giving up the ghost (pun intended!). Don't worry, you don't need to call Ghostbusters. Replacing that strip is easier than making toast, and we're here to show you how!
Why Bother? (Besides Avoiding Tiny Ghosts)
Okay, so maybe it's not actually ghosts. But a bad weather strip can lead to all sorts of annoying (and expensive!) problems. Think of it like this: your house is trying to wear a cozy sweater, but there's a hole in the bottom. That hole? Your drafty door! Here's why patching it up matters:
- Save Money on Bills: That draft means your heater or AC is working overtime. A new weather strip can dramatically cut down on energy waste. Think of all the extra pizza nights you could afford!
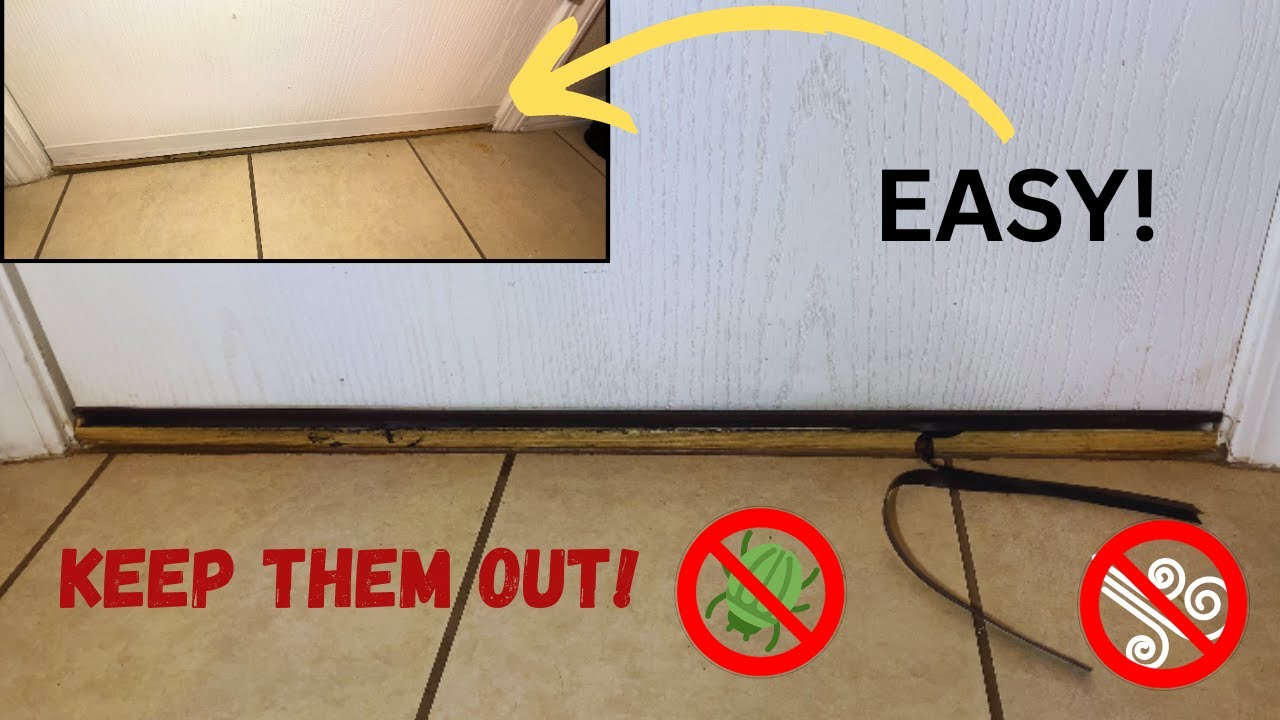
- Keep Pests Out: Little critters like spiders and ants are always looking for an easy entrance. A good seal keeps them where they belong: outside!
- Reduce Noise: A thicker weather strip can act as a buffer, muffling street noise and keeping your home a sanctuary of peace. Imagine finally being able to hear the TV over the neighbor's lawnmower!
- Protect Your Home from Water Damage: Rain and melting snow can seep under your door and cause damage to your floors and walls. Weather stripping is your first line of defense.
What You'll Need: The Hero's Arsenal
Don't worry, you don't need a whole hardware store. This is a pretty simple job. Gather your tools, and let's get started:
Must Read
- New Weather Strip: Measure the width of your door and choose a weather strip that fits. There are different types – vinyl, rubber, foam – ask at your local hardware store for recommendations based on your climate. It's like picking the right shoes for the weather!
- Utility Knife or Scissors: For trimming the weather strip to the right length. Sharp is good, so be careful!
- Screwdriver (Possibly): Depending on the type of weather strip, you might need a screwdriver to remove the old one or attach the new one.
- Measuring Tape: To get the right length for your new weather strip.
- Hammer (Possibly): If your weather strip is nailed on.
- Cleaning Supplies: A rag and some cleaner to prep the area.
Let's Get to Work: The Step-by-Step Guide
Ready to become a weather-stripping warrior? Here's the battle plan:
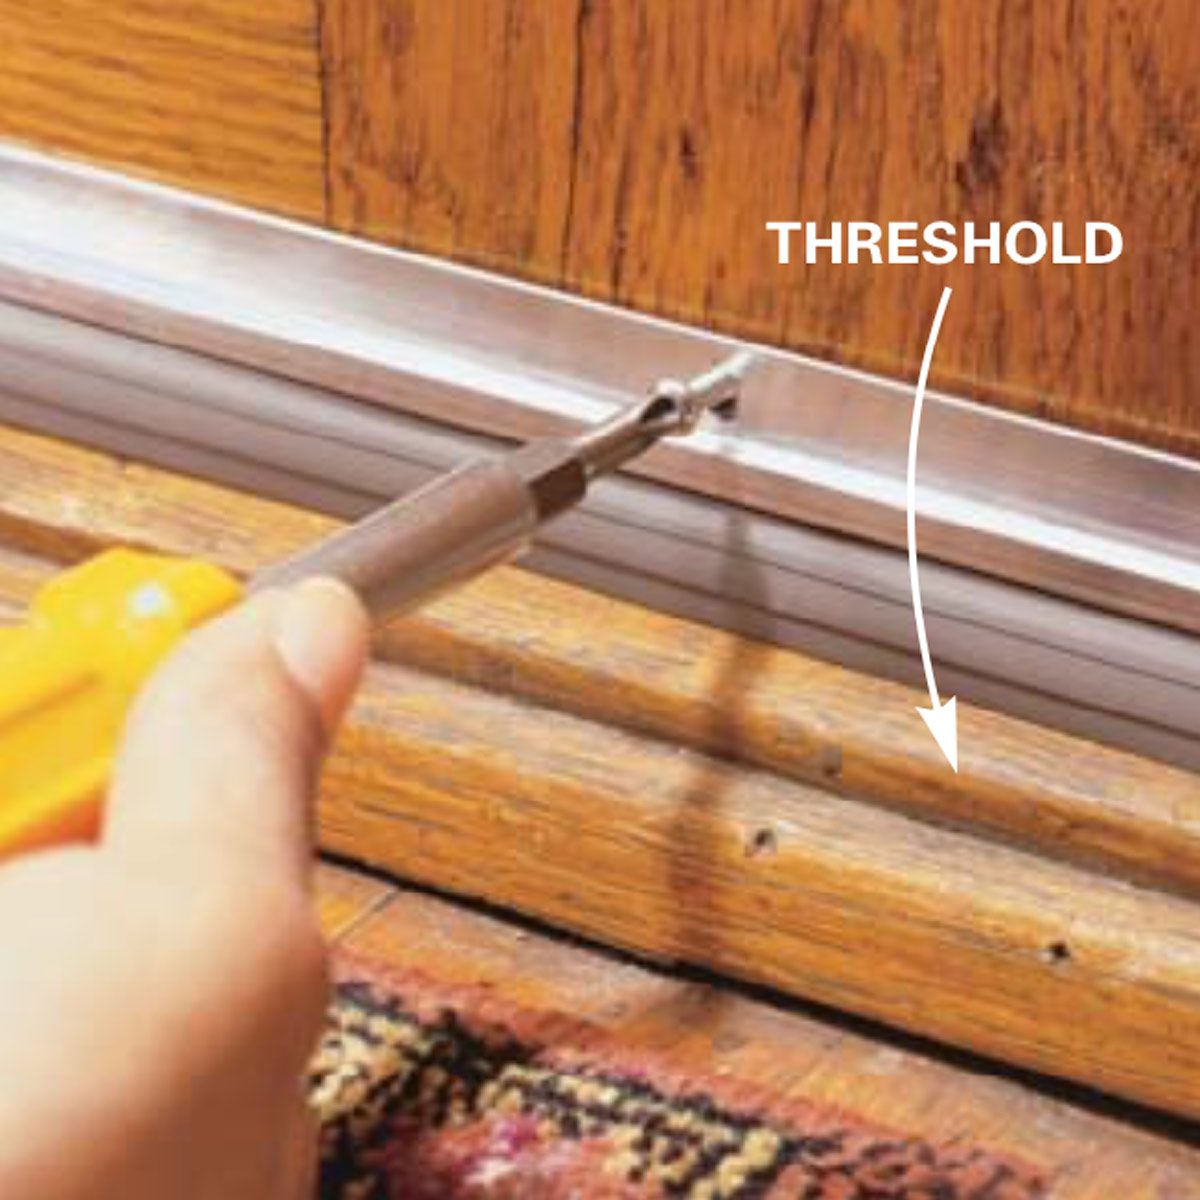
- Remove the Old Weather Strip: This might involve unscrewing, prying, or simply pulling it off. If it's stuck on with adhesive, a putty knife can help. Think of it as peeling off an old sticker – sometimes satisfying, sometimes a pain!
- Clean the Surface: Wipe down the area where the old weather strip was with a damp cloth and some cleaner. Make sure it's dry before you apply the new one. You want a clean canvas for your masterpiece!
- Measure and Cut the New Weather Strip: Measure the width of your door and cut the weather strip to the correct length. It's always better to cut it a little long and trim it down later. Measure twice, cut once, as they say!
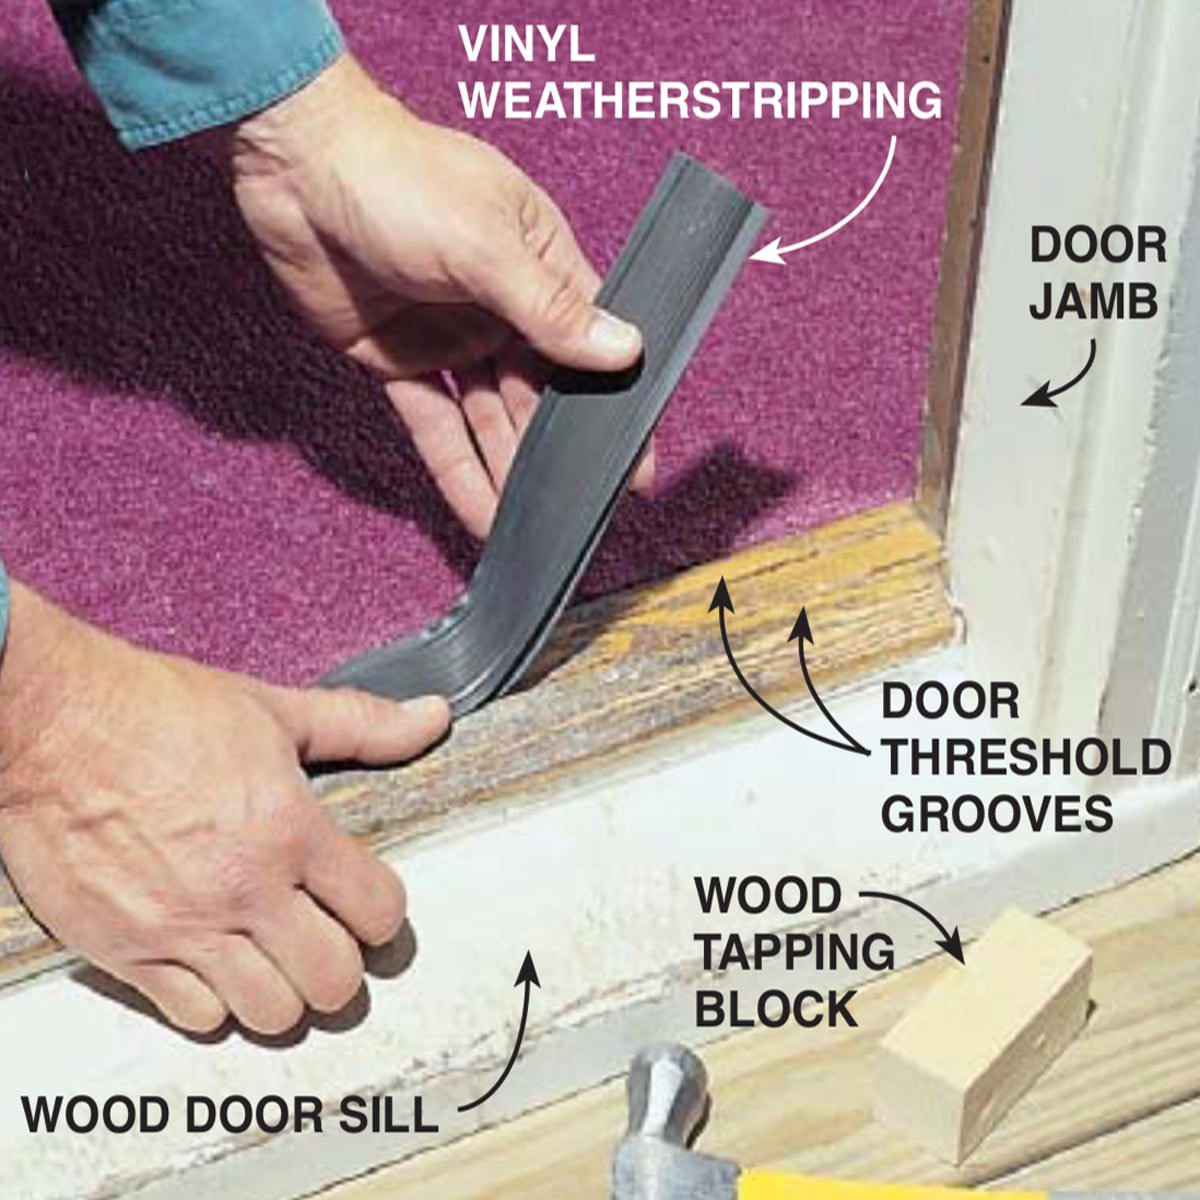
- Attach the New Weather Strip: This depends on the type you bought. Some are self-adhesive, some screw on, and some slide into a track. Follow the manufacturer's instructions. Think of it like assembling IKEA furniture – follow the directions, and you'll be fine!
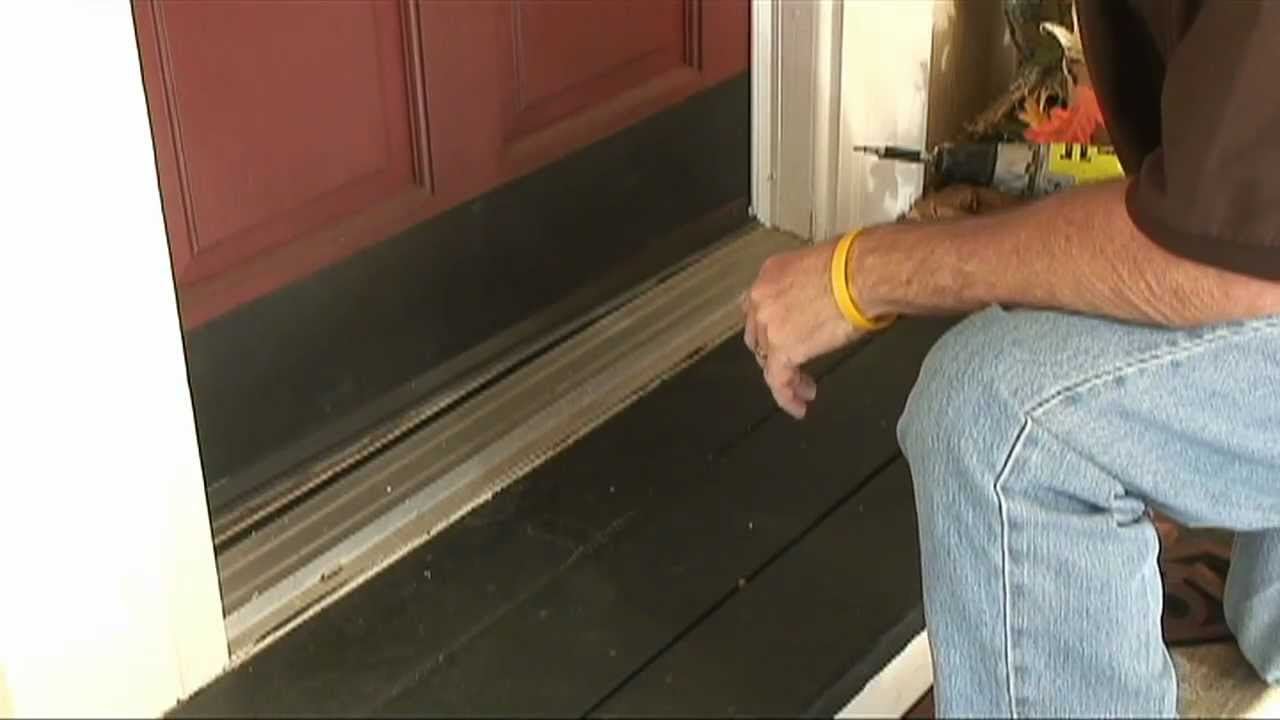
- Test the Seal: Close the door and feel for any drafts. If you feel air leaking through, you may need to adjust the weather strip or add another layer. Make sure your "sweater" fits snugly!
Troubleshooting: When Things Get Tricky
Sometimes, even the best plans hit a snag. Here are a few common issues and how to handle them:
- Weather Strip Won't Stick: Make sure the surface is clean and dry. You might need to use a stronger adhesive.
- Door Doesn't Close Properly: You might have installed the weather strip too tightly. Try adjusting it slightly.
- Can't Remove the Old Weather Strip: Try using a heat gun or hair dryer to soften the adhesive. Be careful not to damage the door.
The Feeling of Success: A Draft-Free Future
Congratulations! You've just conquered the drafty door and upgraded your home's cozy factor. Now you can relax, enjoy your Netflix binge, and revel in the knowledge that you've saved money, kept out pests, and protected your home. You're a DIY hero! And who knows, maybe those tiny ghosts will find somewhere else to haunt.
So, next time you feel that chilly draft, remember this: replacing your weather strip is a simple, affordable, and satisfying way to make your home a more comfortable and energy-efficient place. Now go forth and conquer those drafts!