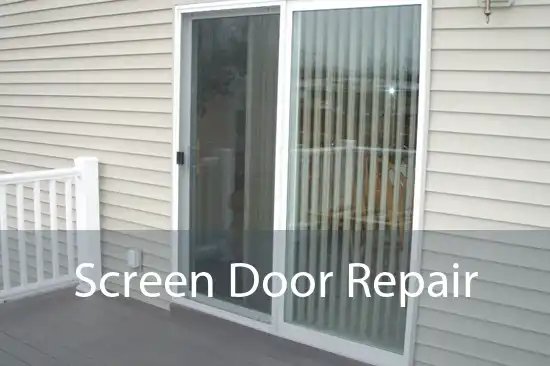
How To Repair A Screen Door Tear

Hey there, friend! So, your screen door decided to throw a little party... and a tear showed up uninvited? Don't sweat it! Whether it was your enthusiastic doggo, a rogue soccer ball, or just a really strong gust of wind showing off, a torn screen is a super common household dilemma. But guess what? Fixing it is often way easier than you think. You don't need a PhD in screen-ology, just a little know-how and a can-do attitude!
Think of it as a minor scrape on your door's otherwise perfect complexion. We're going to patch it up, make it good as new, and get you back to enjoying that lovely breeze without an unwanted fly escort. Ready? Let's dive in!
First Things First: Assess the Damage (No Judgment Here!)
Take a good look at your screen's boo-boo. Is it a tiny pinprick? A small rip the size of a postage stamp? Or has your screen decided to go full-on modern art with a giant gaping hole? The size of the tear will dictate our battle plan.
Must Read
- Tiny Tears (up to an inch or two): These are the easiest. We're talking quick fix, barely-break-a-sweat territory.
- Medium Tears (a few inches to a foot): A little more involved, but still completely DIY-friendly. You've got this!
- Big Tears (basically a whole section of screen gone rogue): This might mean replacing a larger section or even the whole screen. Don't panic, it's not brain surgery!
Gather Your Screen-Repair Superhero Kit
Before we embark on our mission, let's make sure we have our tools ready. Think of it as preparing for an epic crafting session, but for your door!
- For Small Tears:
Screen repair patches: These are often self-adhesive and come in various colors and materials (fiberglass, aluminum). Super convenient!Scissors: For trimming those patches neatly.
- For Medium to Large Tears (and if you're replacing a section):
- New screen material: Make sure it matches your existing screen (fiberglass, aluminum, pet-resistant – oh la la!). Buy a piece slightly larger than the area you need to replace.
- Utility knife or sharp scissors: For cutting the new screen.
- Spline roller tool: This handy little gadget has a wheel that helps you press the spline into the frame. Don't worry, it's not as intimidating as it sounds!
- New spline: The rubbery cord that holds the screen in place. Make sure the diameter matches your old spline. Bring a piece of the old one to the hardware store if you can!
- Flathead screwdriver or awl: To gently pry out the old spline.
- Work gloves (optional): For a little extra grip and protection.
Operation: Patch Up That Pinprick! (Small Tears)
This is the "easy button" of screen repair. You'll be done before your coffee gets cold!
- Clean the area: Gently wipe around the tear with a damp cloth to remove any dirt or debris. Let it dry completely.
- Grab a patch: If your patch is self-adhesive, simply peel off the backing. If it's not, you might need a dab of screen repair adhesive (check the patch instructions).
- Snip and stick: Trim the patch so it's slightly larger than the tear, making sure to round the corners – this helps prevent it from peeling up later. Press it firmly over the tear.
- Optional: Double-sided repair: For extra durability, you can apply a second patch to the other side of the screen, mirroring the first one. Your screen will be tougher than ever!
Voila! Small tear conquered. Give yourself a pat on the back. You're a screen-fixing superstar!
Tackling the Bigger Beast: Replacing a Section (Medium to Large Tears)
Okay, this is where we get a little more hands-on. Don't worry, it's still totally doable and quite satisfying!
- Remove the door (if needed): For larger repairs, it might be easier to take the screen door off its hinges and lay it flat on a stable surface (like a picnic table or sawhorses). This gives you better access and leverage.
- Pry out the old spline: Look around the edges of the torn section. You'll see a rubbery cord (the spline) tucked into a groove. Using your flathead screwdriver, carefully pry it out. Go slow and steady – we don't want to damage the frame! Remove the old, torn screen material.
- Clean the frame: While you're in there, give the screen frame's groove a good clean. Dust bunnies love to call these places home.
- Cut your new screen: Lay your new screen material over the opening. Make sure it overlaps the frame by at least an inch or two on all sides. Use your utility knife or sharp scissors to trim it to size.
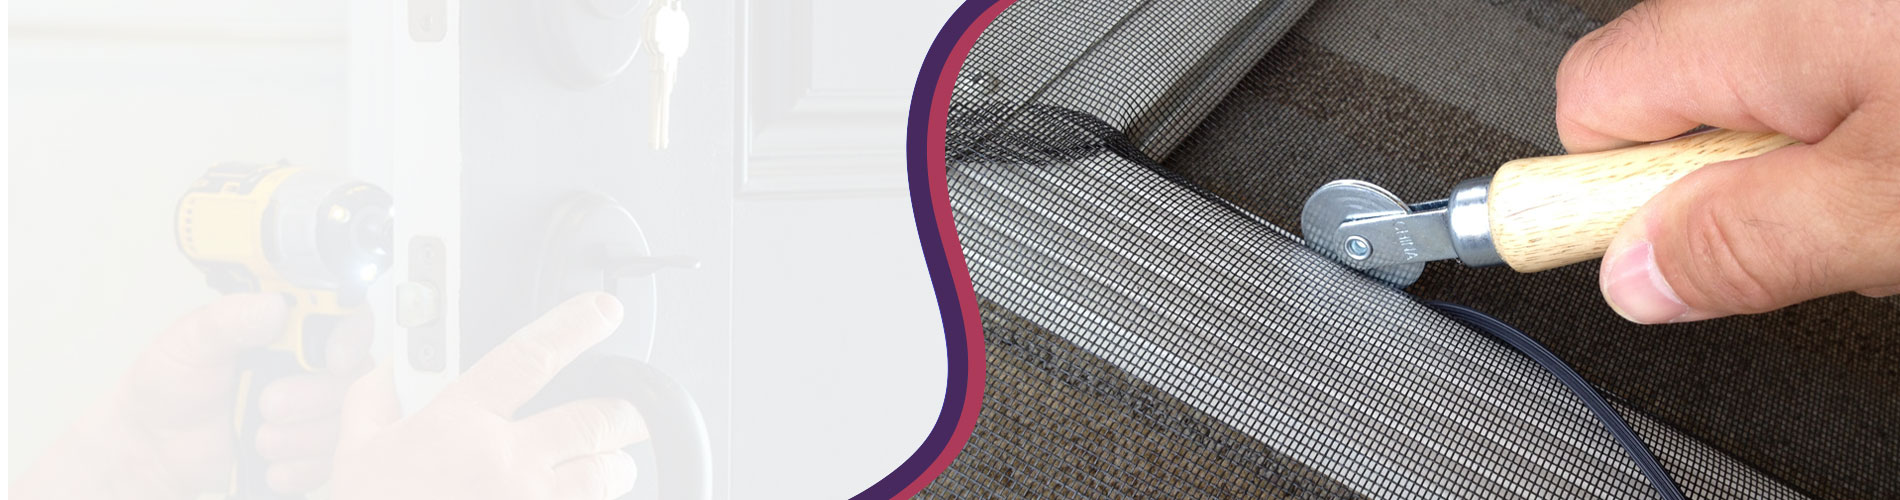
Pro Tip: Keep the screen material a bit loose for now, don't stretch it super tight. - Start rolling the spline: Place the new screen material over the frame. Starting in one corner, gently lay the new spline into the groove, pressing it in a little with your fingers.
- Get rolling with the spline tool: Now, grab your spline roller! Use the convex (curved) wheel to gently push the spline deeper into the groove, working your way around the frame. As you go, keep a
slight, even tension on the screen material. You want it taut, but not so tight it distorts the frame. It's like gently tugging a bedsheet to make it smooth. - Trim the excess: Once the spline is fully in place all around the repair area, use your utility knife (carefully!) to trim off the excess screen material that's sticking out beyond the spline.
Ta-da! You've just performed screen door surgery! How cool is that?
A Few Parting Giggles and Wise Words
- Don't be a hero: If you're replacing a whole screen, sometimes it's easier to completely remove the door from its frame and work on a flat surface.
- Patience, grasshopper: Especially with the spline roller, take your time. Rushing leads to frustration (and maybe a wobbly screen!).
- Prevention is key (sometimes): If your pet is the usual suspect, consider investing in "pet-resistant" screen material next time. It's tougher and less prone to those adorable but destructive claw marks.
See? You didn't need a hazmat suit or a special license to fix that screen! You just needed a little courage, a few basic tools, and perhaps a good playlist. Now, go forth and enjoy that refreshing, bug-free breeze drifting through your perfectly mended screen door. You've earned it! You're not just a homeowner; you're a

