How To Remove Water From Iphone Charging Port

Okay, let's be honest. We've all been there, or at least know someone who's been there. Maybe you got caught in a surprise downpour, accidentally splashed your phone while doing dishes, or perhaps (gasp!) dropped it in the toilet. The common denominator? Water. And the dreaded result? Water potentially lurking in your iPhone's charging port. While not exactly a party, learning how to safely evict that unwanted guest is surprisingly empowering. Why? Because it could save you a trip to the repair shop, a potentially hefty bill, and the sheer annoyance of a phone that refuses to charge!
So, what's the big deal about a little water? Well, water and electronics generally don't mix. Your iPhone is a sophisticated piece of technology with tiny, sensitive components. Water in the charging port can cause short circuits, corrosion, and even permanent damage. The purpose of removing the water is to prevent these issues. The benefits are clear: you protect your investment, avoid costly repairs, and keep your phone functioning as it should. Think of it as giving your iPhone a little first aid.
Alright, let's get down to business. Here's your step-by-step guide to water removal. First, and most importantly, don't panic! Panicking leads to rushed decisions, which could make things worse.
Must Read
Step 1: Power Down. Immediately turn off your iPhone. This is crucial. Trying to charge a wet phone is like plugging a toaster into a swimming pool – a recipe for disaster. A powered-down device minimizes the risk of short-circuiting.
Step 2: Gentle Shaking (With Care!). Gently shake your iPhone with the charging port facing downwards. Think of it as a delicate maraca. We're not trying to break any land speed records, just encouraging the water to escape. Avoid violent shaking, as this could push the water further inside.

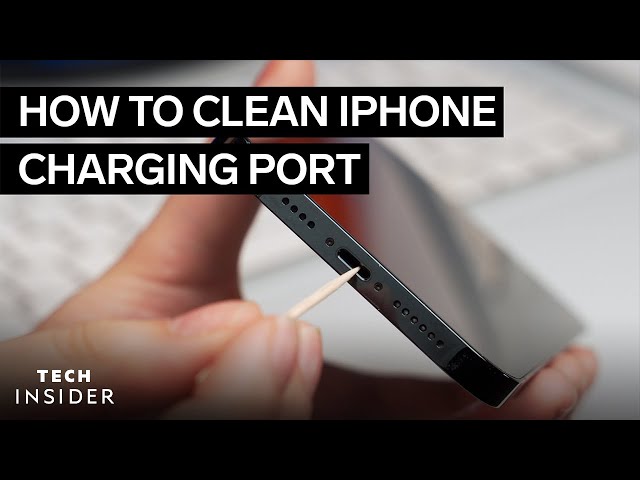
Step 3: Absorbent Material. Grab a lint-free cloth or a small piece of absorbent paper towel. Gently dab the charging port to soak up any visible water. Avoid sticking anything inside the port! Q-tips or other objects can leave behind fibers or cause further damage.
Step 4: Patience is a Virtue. Now comes the hardest part: waiting. Let your iPhone air dry for at least 30 minutes, or even longer if possible. Do not use a hairdryer or place it in direct sunlight. Excessive heat can also damage your device.

Step 5: The Charging Test. After the waiting period, try plugging in your charger. If it charges normally, congratulations! You've successfully evicted the water. If you still get a "Liquid Detected in Lightning Connector" warning, repeat the drying process and wait longer.
Important Considerations: If your iPhone continues to display the warning or refuses to charge after a reasonable drying period, it's time to consult a professional. Persistent water damage might require expert attention. And, of course, prevention is always better than cure! Consider investing in a waterproof case or being extra careful around liquids. Happy (and dry) iPhone-ing!