How To Remove A Window Ac Unit
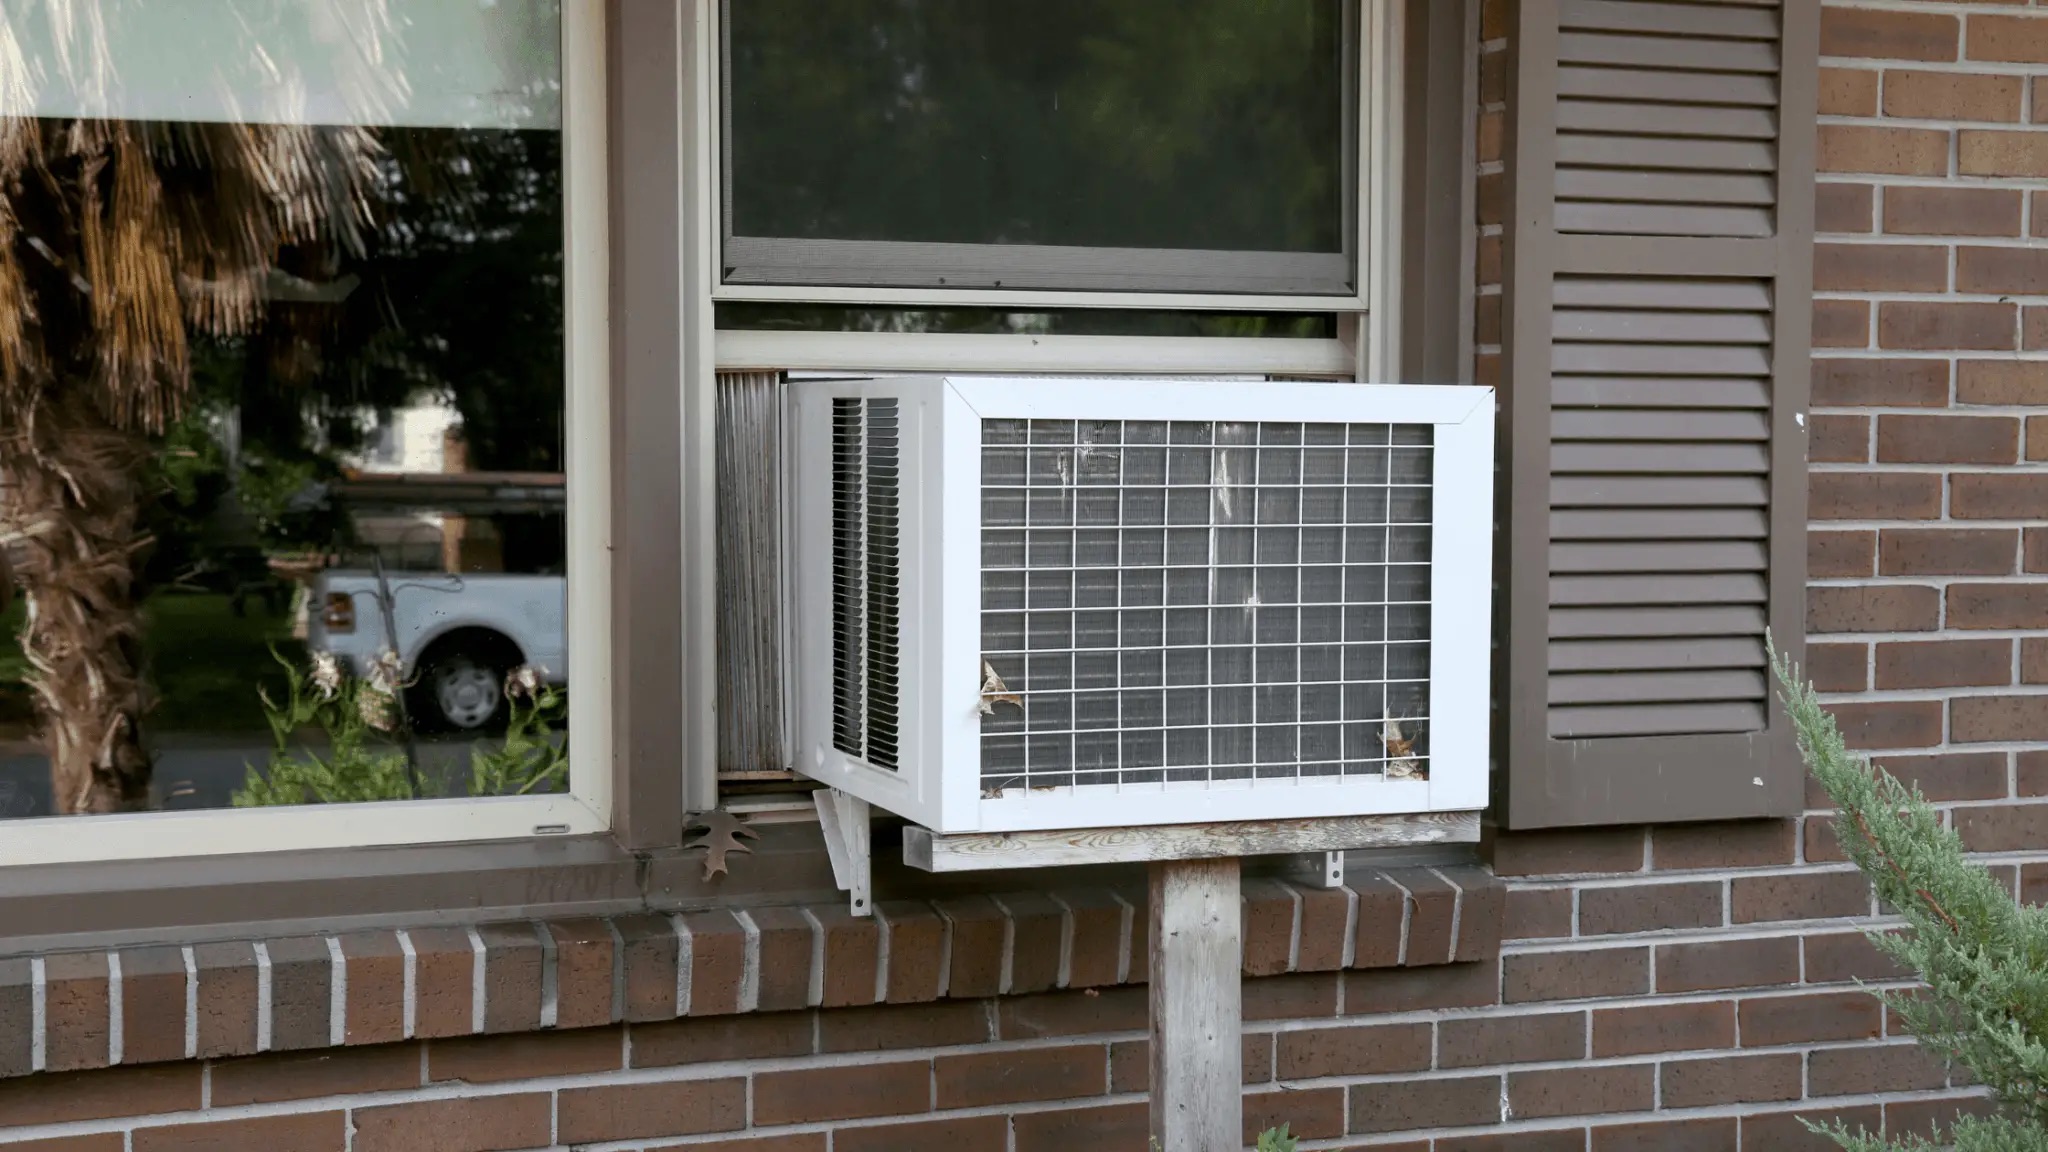
You know that feeling, right? That first crisp whisper in the air, the sudden urge to swap out your tank tops for a hoodie, and then – bam! – the realization hits you like a ton of bricks. Or, more accurately, like a several-pound, still-in-the-window AC unit. It's the annual "Oh shoot, I have to take that out" moment, a timeless tradition for anyone who lives with the glorious, yet cumbersome, convenience of a window air conditioner.
I remember one year, I procrastinated so long that the first frost was already forming inside my window. My cat, bless her judging little heart, was giving me side-eye every morning, clearly annoyed that her prime sunbathing spot was still occupied by a noisy, cold-air-spewing contraption. It was then, as I shivered while making coffee, that I vowed to conquer the AC removal ritual with a bit more grace (and a lot less frostbite). And honestly, it's a moment of truth, isn't it? The annual "will I drop it on my patio, or will I successfully wrestle it inside?" dilemma.
Well, fear not, my friend! You've survived another summer of heatwaves and humid nights, and now it's time to retire your trusty cooling companion for the off-season. Let's make this less of a wrestling match and more of a strategic, well-executed extraction mission. Because, let's be real, no one wants a cracked window or, worse, a bruised ego (or foot!).
Must Read
Getting Ready: The Pre-Game Warm-Up
First things first, before you even think about touching that bad boy, let's gather our intel and tools. This isn't brain surgery, but a little prep goes a long way. Trust me, scrambling for a screwdriver with half an AC unit hanging precariously isn't anyone's idea of a good time.
Here’s your essential toolkit:
- A good old screwdriver (Phillips head and flathead, just in case).
- A small pry bar or paint scraper (for stubborn sealing).
- Some work gloves – those fins can be sharp!
- A helper! Seriously, this is where a second pair of hands comes in clutch. If you're going solo, proceed with caution and a healthy dose of self-awareness about your lifting limits.
- A towel or blanket (to protect your floor once it's inside).
And the most important step before anything else: UNPLUG THE UNIT! I cannot stress this enough. We're dealing with electricity and heavy objects. Safety first, always. You don't want to get zapped or accidentally turn it on while it's mid-air.

Next, clear the area around the window. Move furniture, kick out the cat (gently!), and make sure you have a clear path to bring the unit inside and set it down. You don't want to trip over your favorite rug with 50 pounds of metal in your hands.
The Great Escape: Operation AC Extraction
Alright, mission control, let's get down to business. Your AC unit might look like it's fused to your window frame, but I promise, it's not permanent. (Unless you live in a really old building, then maybe. Just kidding... mostly.)
Step 1: Tackle the Accordions and Side Panels. Most window ACs have those accordion-style side panels that fill the gap between the unit and the window frame. These are usually held in place by a few screws, or they might simply slide out of grooves. Unscrew any visible screws holding them, and gently slide them inwards or remove them completely. Sometimes they're a bit stiff, so a little wiggling helps. These are often the first things to get stuck, so be patient!
Step 2: Unfasten the Frame. Now, look for the screws that secure the unit's metal frame to your actual window frame. These are typically on the top sash of the window and sometimes on the bottom windowsill. There might also be a small metal bracket that's screwed into the window frame to keep the top sash from opening further. Remove all of these. Don't worry, your window won't suddenly explode. It's all part of the process!
Step 3: The Support Bracket (The Real MVP). If your AC unit is of any substantial size, it likely has an external support bracket on the outside, holding up the weight. If it doesn't, kudos to your tiny AC, but most need this. You generally do NOT remove this bracket until the AC unit is safely inside. It's there to prevent your unit from taking an unplanned dive. Keep it on for now!
Step 4: The Moment of Truth – The Lift! This is where your helper (or your biceps) really shine. Have your helper stand on the outside, ready to support the unit from below if possible, or at least keep an eye on it. From the inside, grasp the unit firmly on both sides. Most units are designed to tilt inwards slightly to clear the windowsill lip and then slide into the room.

- Lift slightly to clear any bottom lip on the windowsill.
- Tilt the back of the unit up and towards you, bringing the exterior part of the AC into the room.
- Slowly slide the unit all the way in, ensuring you maintain a firm grip.
If you're doing this solo, you might need to brace the bottom of the unit with your knees or a sturdy stool as you carefully tilt and slide. Do not rush this step. Many units are heavier on the condenser (outer) side, so be prepared for that shift in weight.
Step 5: Safely Down. Once it's fully inside, carefully lower it onto your prepared towel or blanket. Take a deep breath. You did it! No broken windows, no smashed toes, just pure victory.
Aftermath & Autopsy (Just Kidding, Storage!)
Now that your window is blissfully AC-free, it's time for a little post-extraction care. Your AC unit has worked hard all summer, so let's show it some love before its long winter nap.

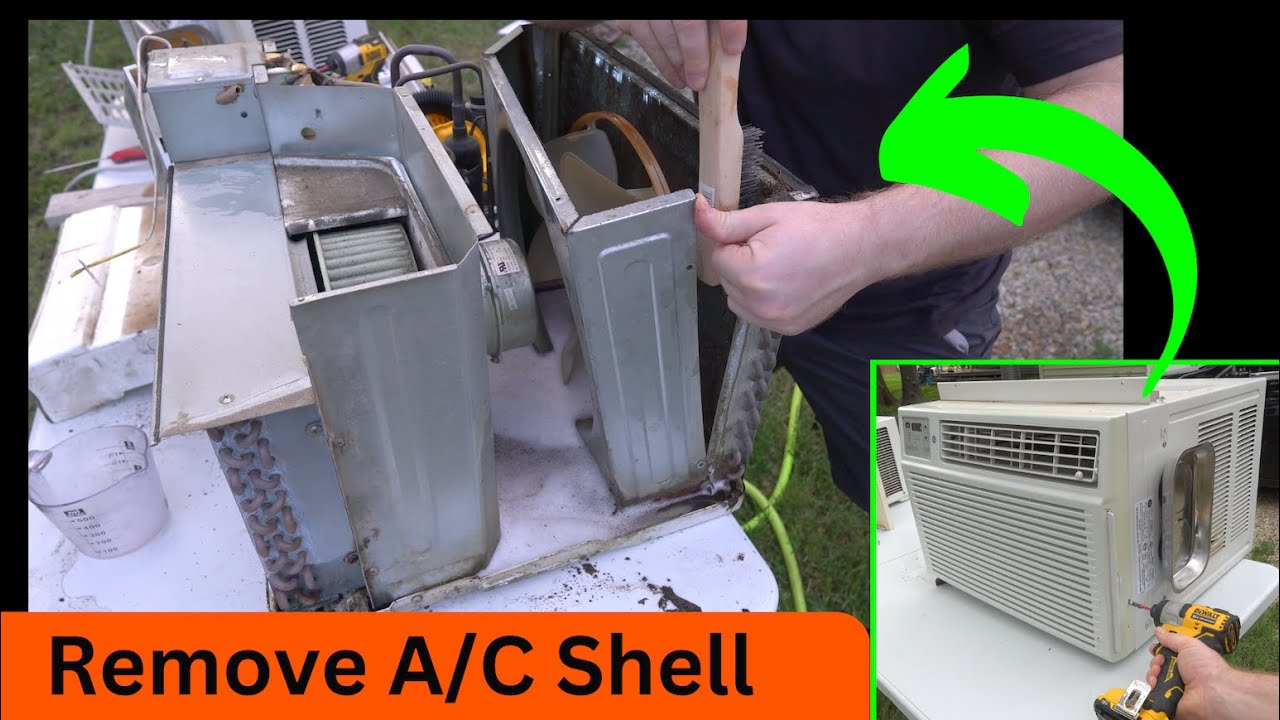
Give it a Good Clean: Remove the front grille and filter (if you haven't already). Vacuum out any dust bunnies, wipe down the exterior, and maybe even give the fins a gentle brush (be careful not to bend them!). A clean unit runs more efficiently next summer, and who doesn't want that?
Proper Storage: Store your AC unit upright, preferably in a dry, cool place like a garage, basement, or even a closet. Covering it with a tarp or an old sheet will keep dust and critters out. Pro tip: if you store it sideways, any residual water inside could leak out or damage components.
Window Cleanup: Now's the perfect time to clean that window you haven't been able to fully access all summer! Scrape off any old weather stripping or foam, wipe down the frame, and enjoy your unobstructed view. You can now re-install your screen (if you took it out) and let that glorious autumn air flow in.
See? That wasn't so bad, was it? A little planning, a little muscle, and a whole lot of common sense, and you've successfully navigated the annual AC removal ritual. Now go enjoy that cooler weather, maybe even light a pumpkin spice candle, and revel in the satisfaction of a job well done. You've earned it!