How To Remove 3d Print Supports
There's a special kind of magic that happens when a 3D printer hums along, layer by meticulous layer, bringing a digital dream into tangible reality. It's the modern-day equivalent of an alchemist's lab, transforming mere plastic into a miniature masterpiece. But then, the print finishes, the build plate cools, and you're met with… a tangled web of plastic scaffolding. Ah, the infamous supports. They’re the unsung heroes of successful overhangs and intricate details, yet they can also feel like the gatekeepers to your perfect print. Fear not, fellow maker! Removing these necessary nuisances doesn't have to be a chore; it can be a satisfying art form in itself.
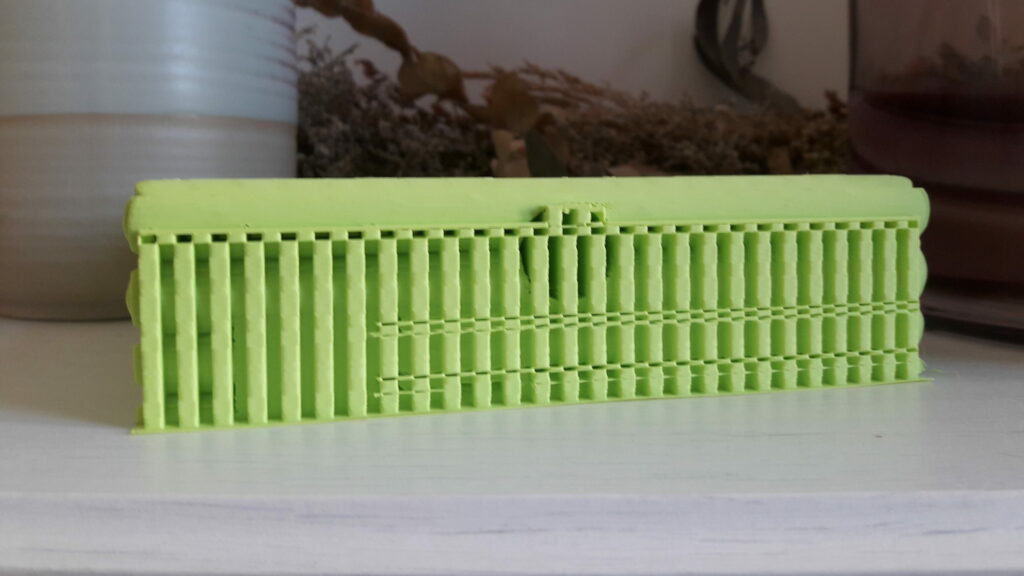
Think of supports like the temporary scaffolding around a grand architectural project. They hold up the bits that gravity would otherwise send tumbling, ensuring your design doesn’t become a spaghetti monster. While they’re absolutely essential for complex geometries, bridges, and dramatic overhangs, they're not meant to be part of the final show. Our mission, should we choose to accept it, is to gracefully remove them, revealing the pristine object beneath.
The Great Unveiling: Tools of the Trade
Sometimes, the simplest approach is the most satisfying. For prints with well-calibrated supports and simple geometries, a gentle twist, a firm push, or a careful snap can do the trick. It’s like unwrapping a present, but you know exactly what’s inside. Always work slowly and methodically, applying pressure only to the support structure itself, not your precious print. A good "peel" can be incredibly gratifying, leaving minimal marks. Consider this the meditation of support removal.
Must Read
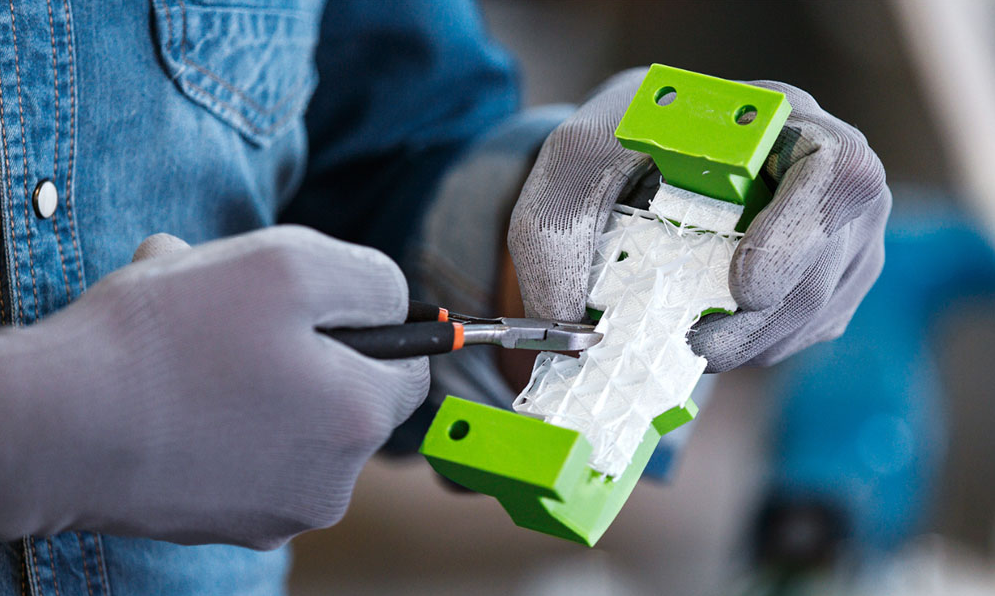
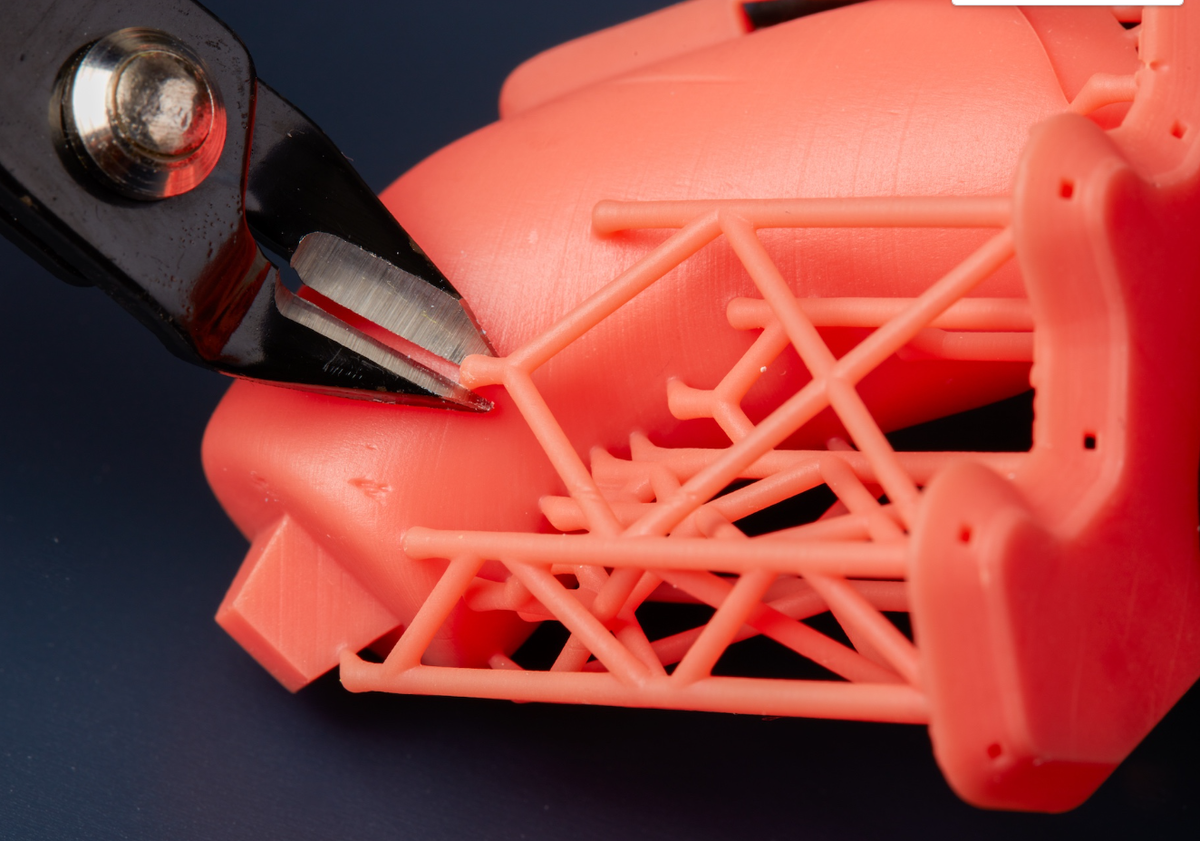
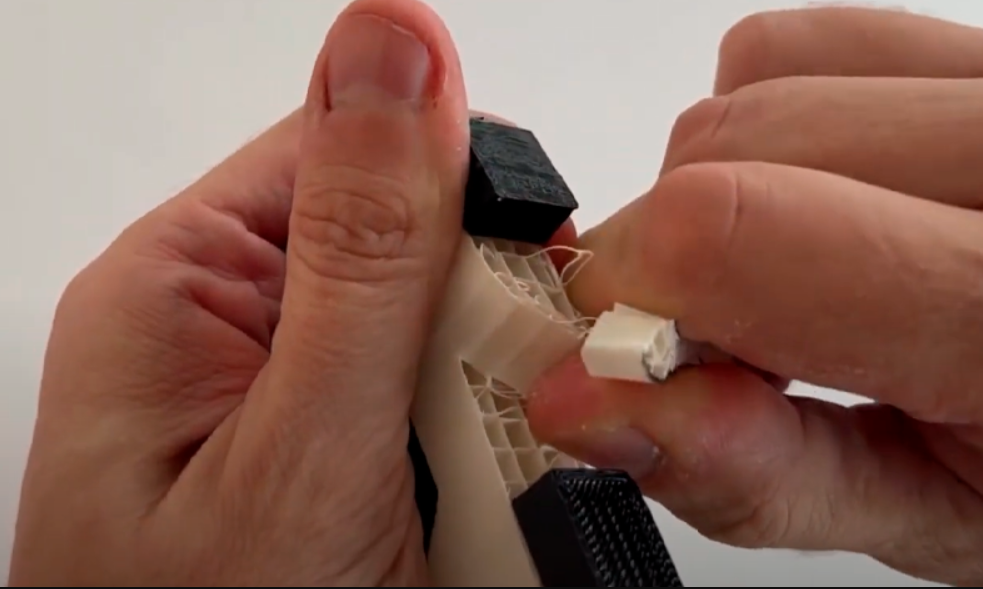
For more stubborn or finely latticed supports, it’s time to call in the cavalry – or rather, the pliers. Small needle-nose pliers are fantastic for gripping and twisting, while flush cutters (also known as sprue cutters or side cutters) are your absolute best friends for getting into tight spots and snipping supports cleanly at their base. Think of them as tiny, precise jaws. They make quick work of even dense support structures. Just remember the golden rule: cut away from your print, not into it! And protect your eyes, just in case a tiny plastic shard decides to make a daring escape.
When you need surgical precision, perhaps to clean up tiny nubs or access very delicate areas, a sharp hobby knife (like an X-Acto blade) or a specialized deburring tool comes into play. These are for the detail-oriented artisan, allowing you to carefully pare away any remaining support residue. Extreme caution is advised here! Always cut away from yourself, keep fingers clear, and ensure you have a steady hand. Using a cutting mat can save your tabletop and your future self a lot of grief.
For those living in the multi-material 3D printing future, water-soluble support materials like PVA or BVOH are a game-changer. Imagine printing a complex, intricate model, then simply dropping it into a tub of water and watching the supports melt away overnight. It's like magic, no cutting, no sanding, just pure, unadulterated print perfection. If your printer supports it, this method is truly the "set it and forget it" dream, giving you silky-smooth surfaces where supports once clung.
Sometimes, after all the snipping and peeling, you might be left with a few tiny blemishes or rough patches. A quick, gentle pass with a heat gun (on a very low setting and from a safe distance) can sometimes smooth out those white stress marks or stringy bits left by supports, especially on materials like PLA or ABS. Think of it as giving your print a gentle spa treatment. Just be careful not to overheat and distort your model – a little goes a long way!
Tips for a Flawless Finish
Patience, young padawan: Rushing leads to nicks, breaks, and frustration. Take your time, enjoy the process.
Good lighting is your friend: You can't remove what you can't see. A well-lit workspace highlights every last support nub.
Consider a post-processing kit: Small files, sanding sticks, and even fine-grit sandpaper can take your print from "good" to "gallery-worthy."
Safety first, always: Eye protection is a non-negotiable for cutting. And watch those fingers!
Removing supports is more than just a chore; it’s the final act of creation, where the raw potential of your 3D print blossoms into its intended form. It’s the moment you get to appreciate the design, the engineering, and a little bit of your own careful handiwork. Just like in life, sometimes the most beautiful things are hidden behind a temporary framework, waiting for us to gently peel away the unnecessary, revealing the true essence beneath. So go forth, wield your flush cutters with confidence, and enjoy the satisfying reveal of your perfectly supported, now perfectly finished, 3D creation!