How To Put Weather Stripping On Bottom Of Door
Ready for a little home improvement adventure? Something so simple, yet so satisfying? I’m talking about wrestling with weather stripping and sticking it to the bottom of your door! Trust me, it’s more exciting than it sounds. It's like a tiny, personal battle against the elements, and you're gonna win!
The Thrill of the Unboxing
First, the tools. Don’t you just love getting new stuff? A shiny new package of weather stripping. It's all coiled up, ready to unleash its insulating fury! There are so many kinds, it’s like picking out a new superhero costume for your door. Rubber? Foam? Brush? The possibilities are endless! Feel the texture, imagine its power!
Then you get to measure! Bust out that measuring tape. Feel like a carpenter (even if your last project was assembling IKEA furniture... which, let’s be honest, is basically engineering). Mark the length on the weather stripping. It's precise, it's important, it's…kinda fun? Okay, maybe that's pushing it, but you're one step closer to draft-free bliss!
Must Read
Cutting Edge Fun
Now comes the cutting! A pair of scissors or a utility knife (carefully, of course!). Slice! Dice! Watch that weather stripping yield to your will. You're sculpting! You're creating! You’re…making a strip of rubber fit a door. But hey, perspective is everything, right?
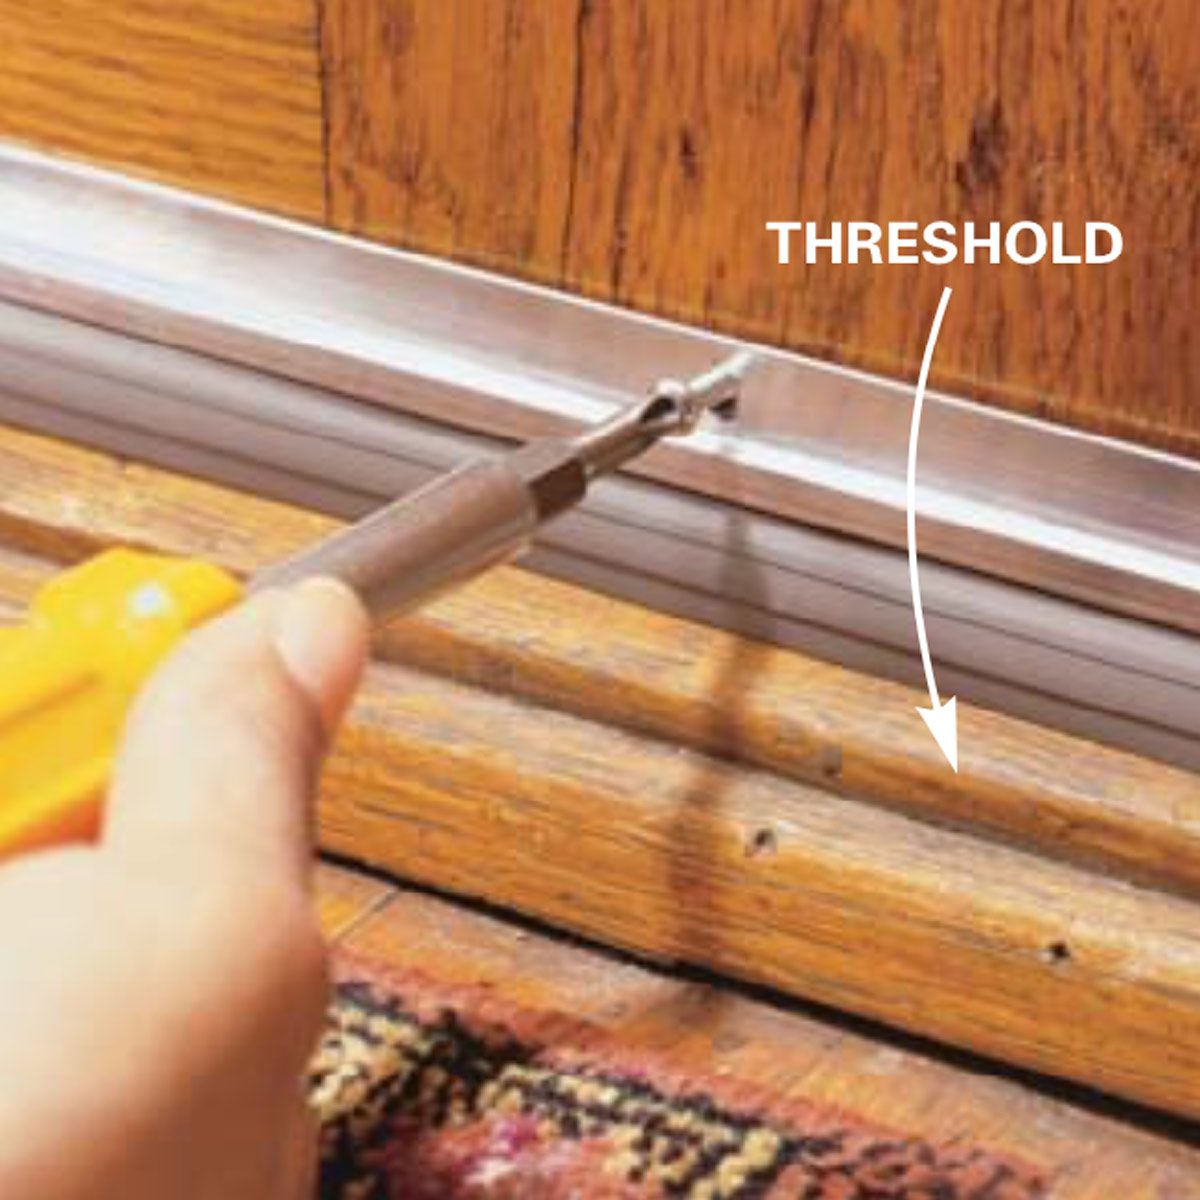
Before attaching, consider the door itself. Give it a good wipe down. Sweep away the dust bunnies partying underneath. You’re creating a clean slate! A blank canvas! For your…weather stripping. Okay, I'll stop with the dramatic analogies, but still, a clean door is a happy door. And a happy door makes for easier weather stripping application. Trust me.
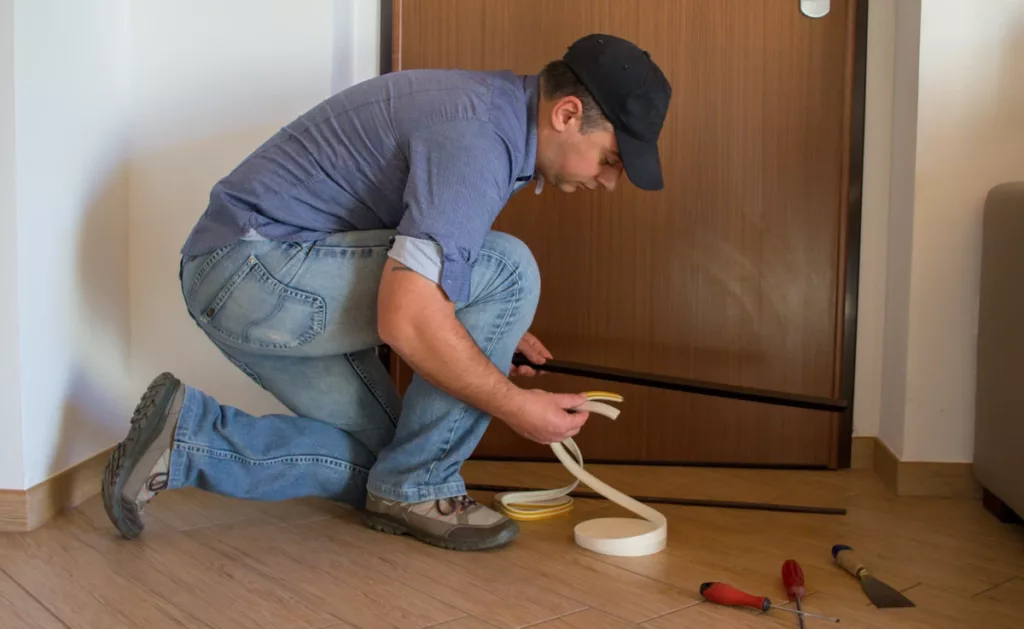
The Application Sensation
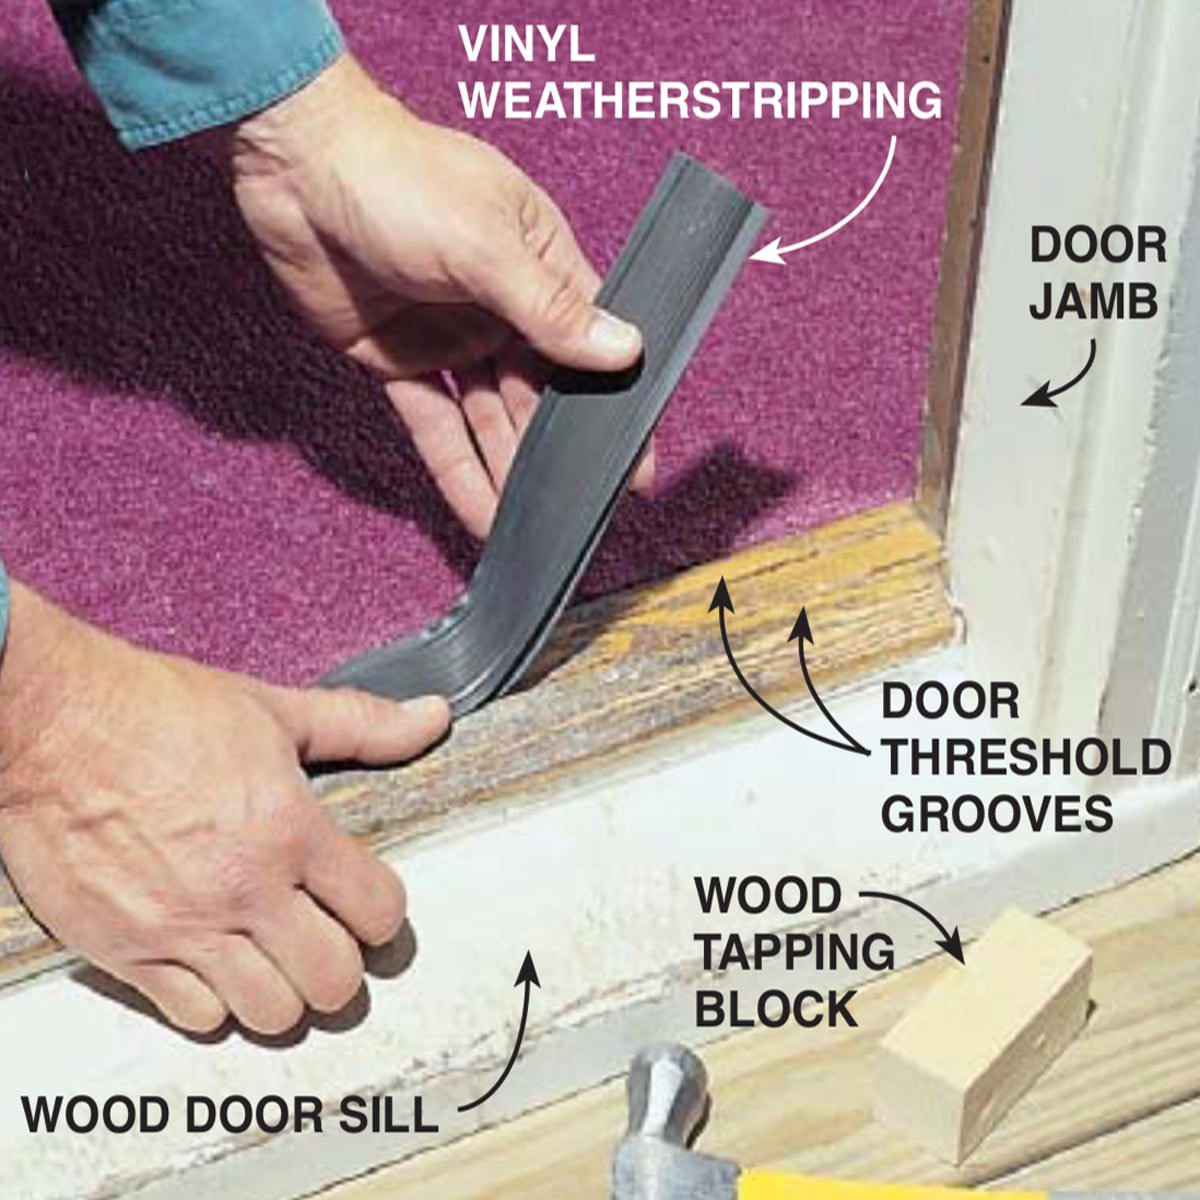
Peel off the adhesive backing. Or slide it onto the door, depending on the style. That sticky feeling! The satisfying shhkkk sound as it adheres. You’re bonding with your door! Okay, maybe you're just sticking rubber to wood, but embrace the moment. Really press it on there. Make it stick! You're committing to a warmer future!
Run your fingers along the length of the weather stripping, ensuring a good seal. Feel for gaps. Be meticulous! Be thorough! Be…slightly obsessive? It’s okay, we all are when it comes to battling drafts. This is about comfort! This is about saving energy! This is about… okay, I’m getting carried away again.
And then… you’re done! Stand back and admire your handiwork. Look at that pristine line of weather stripping. It’s… beautiful. Okay, maybe not "beautiful" in the traditional sense, but it's functional! It's practical! It's…sealed! That’s the important thing.
The Ultimate Test: The Door Slam
Now for the grand finale: the door slam! Gently, of course. Listen to that satisfying thud. It's a different sound now, isn’t it? A more solid, more secure sound. The sound of victory! You’ve conquered the drafts! You've outsmarted the elements! You are a weather stripping warrior!

Okay, maybe that’s a bit much. But seriously, you did it! You put weather stripping on the bottom of your door. You’ve made your home a little cozier, a little more energy-efficient, and a little more…you. And you probably spent less time and money than you thought you would. Go ahead, treat yourself to a hot beverage. You earned it.
Now, go forth and conquer the rest of the doors in your house. The weather stripping awaits!