How To Put Together A Metal Shed
Alright, picture this: your garage is overflowing, your garden tools are doing an impromptu archaeological dig in the backyard, and that "maybe I'll get to it later" pile is starting to resemble a small mountain. Sound familiar? We've all been there! But what if we told you there's a simple, incredibly satisfying solution that's not only practical but also a fantastic way to unleash your inner DIY hero?
Enter the humble, yet mighty, metal shed. Now, before you start picturing intimidating instruction manuals and a weekend of frustration, pause for a moment. Because putting together a metal shed isn't just about screws and panels; it's about building a little slice of organized heaven, a secure home for your gear, and yes, a really rewarding project that’ll have you strutting around with a well-deserved sense of accomplishment.
Why a Metal Shed? (Beyond Just Storage!)
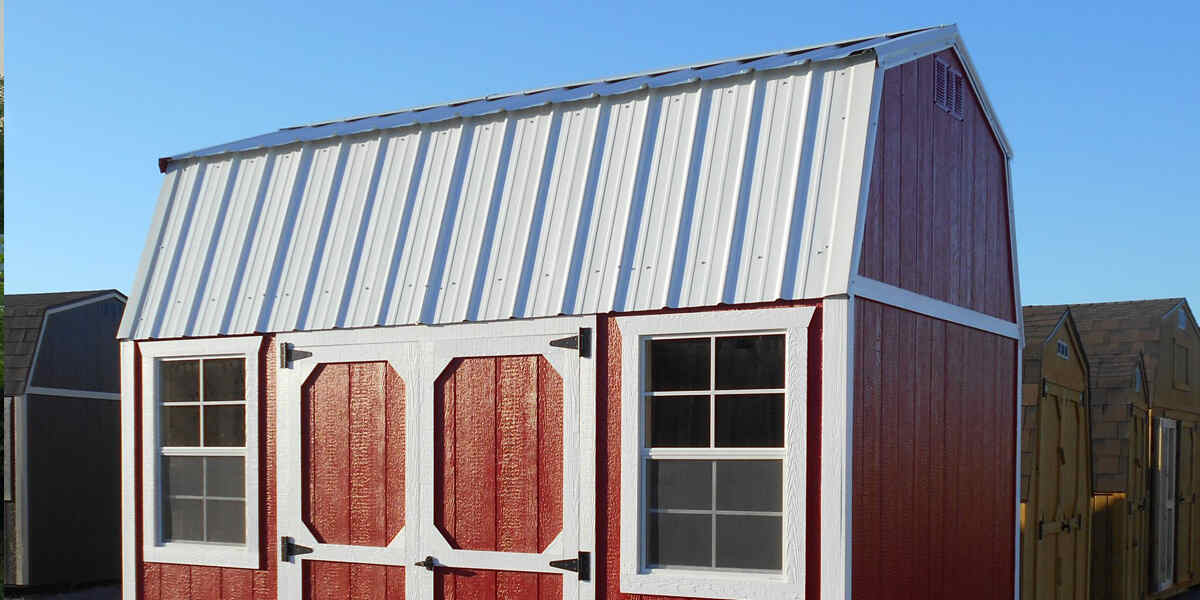
Sure, metal sheds are tough, weather-resistant, and can last for ages. They're perfect for tucking away everything from lawnmowers to holiday decorations. But here's the real magic: they give you back your space! Imagine walking into an organized garage, or finding that shovel exactly where you left it. Pure bliss, right? This isn't just a shed; it's a step towards a more serene, clutter-free life. And guess what? You get to build it yourself!
Must Read
The Grand Adventure Begins: Preparation is Your Superpower
Every epic journey starts with a good map, and building your shed is no different. The key to a smooth, stress-free build lies in preparation. Seriously, this step is your best friend!
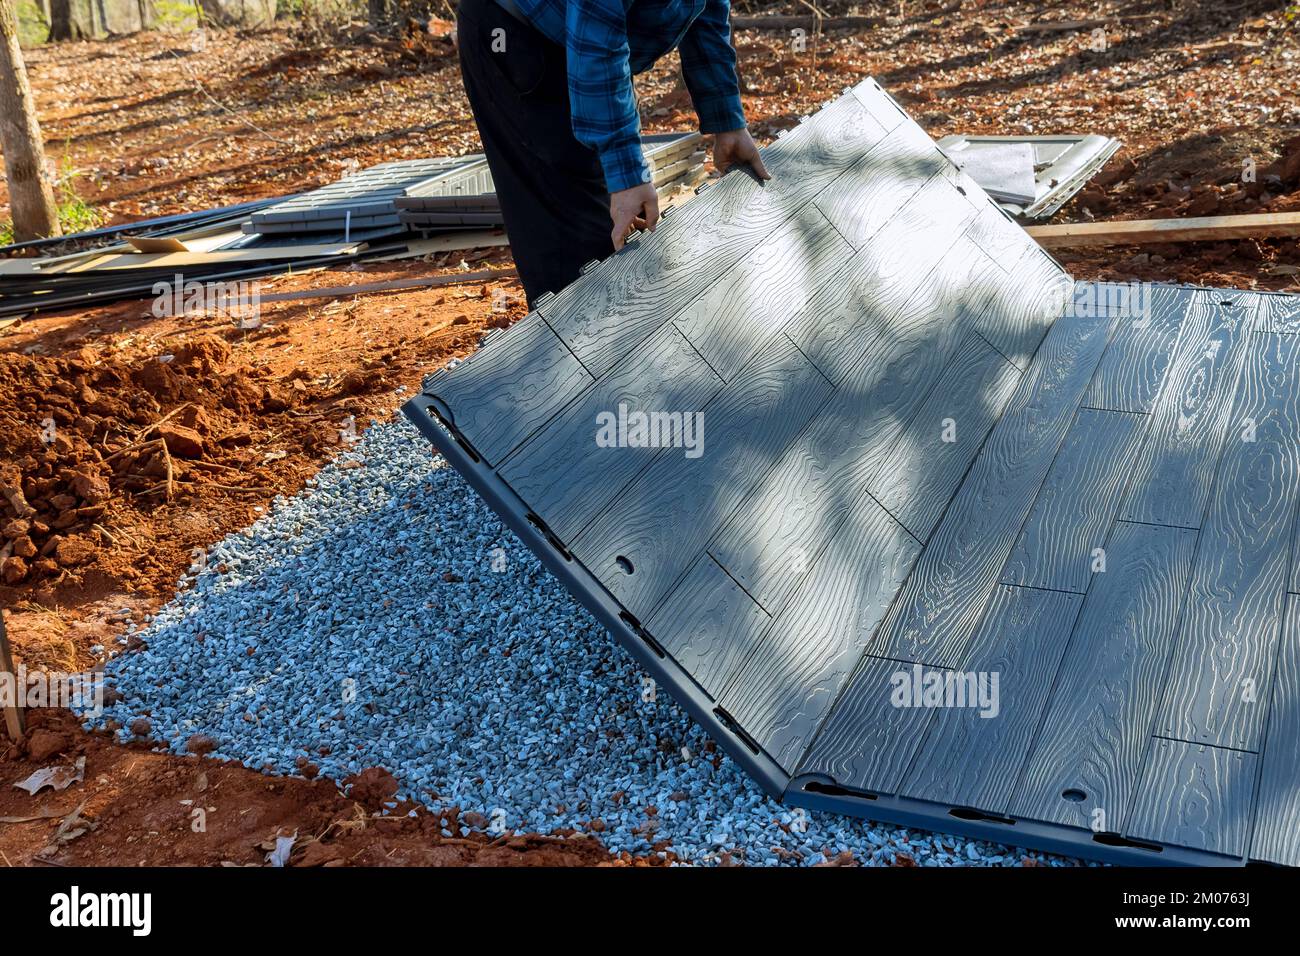
First things first: the foundation. Don't skip this! A level, stable base (think concrete slab, paving stones, or a timber frame kit) is crucial for your shed's longevity and structural integrity. Nobody wants a wobbly shed, right? Get that base perfect, and the rest will fall into place like magic.
Next, gather your tools. Most metal sheds require fairly basic equipment: a drill, screwdrivers, a measuring tape, maybe some work gloves, and a step stool. Lay everything out. It feels like setting up a workstation for a master craftsman – because, for this project, you are one!
Then comes the exciting part: unboxing! Carefully lay out all the panels, screws, and hardware. Take a moment to inventory everything against the parts list. It's like finding all the pieces to a giant puzzle, and knowing they're all there just makes you feel good.
Step-by-Step: Your Shed Takes Shape!
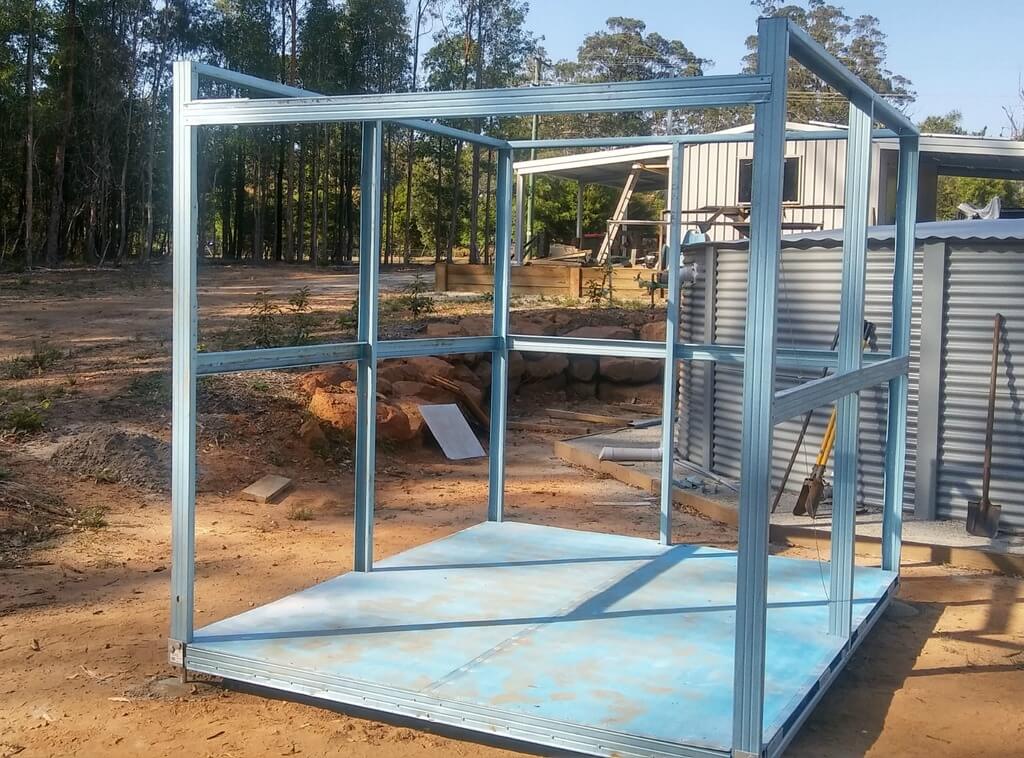
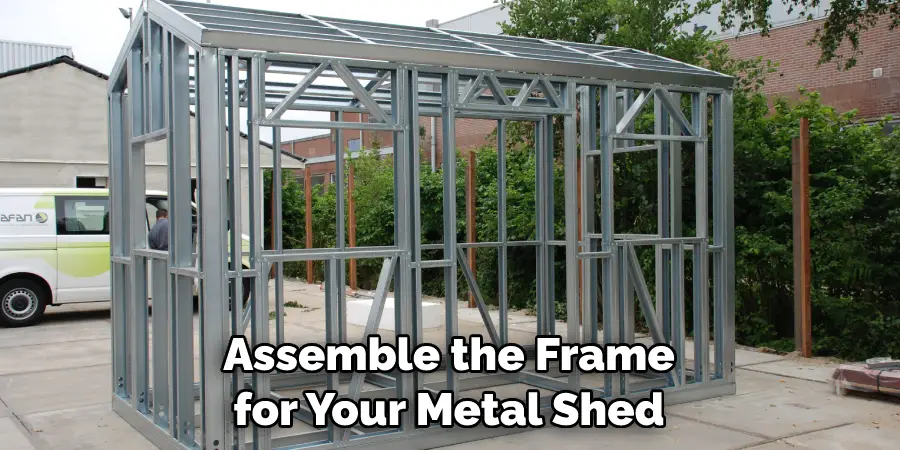
1. The Frame: Building the Skeleton
This is where your shed starts to gain character. You'll typically begin by assembling the base frame. This is often a straightforward process of screwing together pre-drilled metal channels. Follow those instructions closely! Measure twice, tighten once. You'll see the perimeter of your future storage haven taking shape, and trust us, that's a cool feeling.
2. Walls Up! The Panels Go On
With the base frame secure, it's time for the walls. These corrugated metal panels are usually attached to the frame with self-tapping screws. It's often a two-person job for ease, especially with larger panels – so grab a buddy, make some snacks, and turn it into a social event! As each panel goes up, you'll feel your confidence growing. "Hey, I'm actually building this thing!" you'll think, and you'll be right.
3. Raising the Roof (Literally!)
The roof panels are next, followed by the roof frame support. This can sometimes be the trickiest part, but again, patience and precision are your allies. Many kits have smart designs that make this surprisingly manageable. Once the roof is on, stand back. You've officially created a shelter! How cool is that?
4. Doors and Final Touches: The Grand Reveal
Finally, you'll install the doors, handles, and any trim pieces. These are the details that really make your shed functional and complete. You're adding the finishing touches to your masterpiece. Lock the door for the first time, and you'll feel a tiny surge of pride. You did it! From a pile of metal to a fully functional structure.
Beyond the Build: The Joy of Doing It Yourself
This whole process isn't just about assembling a bunch of metal. It's about problem-solving, learning new skills, and proving to yourself that you're capable of tackling a project from start to finish. It's about the satisfaction of stepping back, wiping a little sweat from your brow, and admiring something you've created with your own hands.
Think of the conversations! "Oh, that shed? Yeah, I built that last weekend." Imagine the look on your friends' faces! It's an instant conversation starter and a testament to your can-do spirit. It's about transforming a daunting task into a fulfilling personal achievement, giving you a tangible reminder of your ability to make things happen.
Ready to Build Your Own Little Kingdom?
So, is your garage still groaning under the weight of clutter? Are your tools still playing hide-and-seek? It's time to stop dreaming and start doing! Putting together a metal shed might seem like a big undertaking, but with a little planning, some basic tools, and a positive attitude, you'll be amazed at what you can achieve.
Dive into some online tutorials, read user reviews, or even watch a few assembly videos for your specific shed model. You'll find a wealth of information out there, ready to empower you. Go on, embrace the challenge, enjoy the process, and discover the immense satisfaction of creating your own organized space. Your backyard (and your sanity!) will thank you. Happy building!