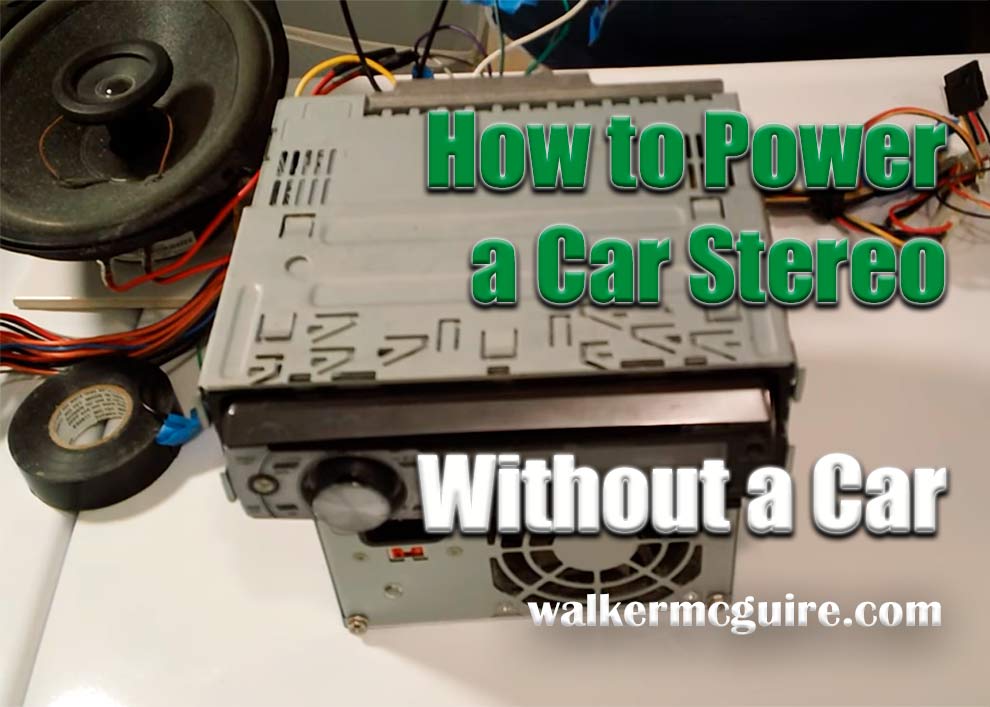
How To Power Car Stereo In House

Alright, settle in, grab your favorite brew. We're about to delve into one of life's truly pressing questions: "How do I get that thumping car stereo out of my dusty garage and into my actual house, without, you know, setting anything on fire?"
You know the feeling. You’ve got that old car stereo, maybe it’s from your first ride, or an upgrade that never quite made it back into a vehicle. It’s sitting there, collecting dust, looking forlorn, humming a silent tune of forgotten bass drops. And you think, "Man, if only I could blast some tunes from this bad boy inside the house without needing a whole car attached!" Well, my friend, you’re in luck. Because today, we’re turning that dusty relic into a bonafide, house-rocking sound system. And don't worry, we're doing it with a smile, a few laughs, and absolutely no arson (hopefully).
The Core Problem: Cars and Houses Are Different Beasts
First, let’s get nerdy for a sec, but like, fun nerdy. Your house, bless its cotton socks, runs on what we call alternating current (AC). We’re talking 120 volts of it – the stuff that makes your toaster pop and your lights glow. It’s like a rollercoaster of electricity, constantly changing direction. Your car stereo, on the other hand, is a delicate flower that only sips on direct current (DC) at a cozy 12 volts. Think of DC as a straight, steady flow of electrons, like a gentle river.
Must Read
So, trying to plug your car stereo directly into a wall socket is like trying to feed a baby formula with a fire hose. It’s not going to end well. We’re aiming for a symphony, not a spark shower!
Enter the Hero: The Power Supply Unit (PSU)
This is where our main character strides in, cape billowing: the 12V DC regulated power supply unit. Now, don't confuse this with the power supply from your old gaming PC, though they're cousins. We need one specifically designed to take that wild 120V AC from your wall and tame it down to a gentle, steady 12V DC, just perfect for your car stereo. Think of it as an electrical translator, making sure everyone speaks the same language.
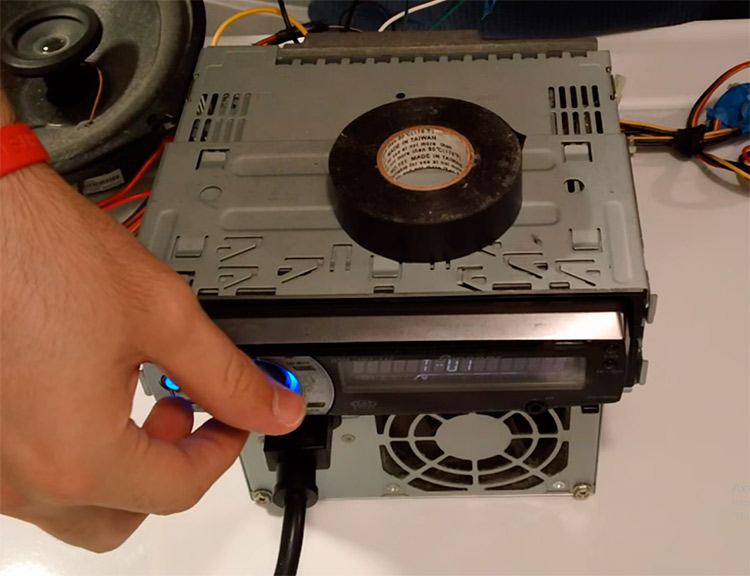
You’ll want one that can deliver enough amperage (that’s the 'oomph' of the electricity) for your stereo. Car stereos are hungry beasts, so look for a PSU rated for at least 10 amps, but ideally closer to 20-30 amps if you plan on really cranking it. More amps equals more party power!
Wiring It Up: The Not-So-Scary Part
Okay, deep breaths. This is where most people get a little squeamish. But honestly, it’s like connecting LEGO bricks, just with wires instead of plastic studs. Most car stereos have a bundle of wires coming out the back. Don't panic! We only care about a few key players:
- Yellow Wire (Constant 12V): This is your main power line. It's the big kahuna that provides continuous power, remembering your radio presets and clock settings. Connect this to the positive (+) terminal on your new power supply.
- Red Wire (Switched/Accessory 12V): This is your stereo’s 'on/off' switch. In a car, it gets power when you turn the ignition. For our house setup, you can connect this together with the yellow wire to the positive (+) terminal of your power supply. This means your stereo will turn on as soon as the power supply is on. If you want a separate switch, that’s a slightly more advanced move, but totally doable for the DIY enthusiast.
- Black Wire (Ground): This is crucial! It completes the circuit. Connect this to the negative (-) terminal on your power supply. Never, ever, skip the ground wire unless you enjoy the smell of burnt electronics.
Now, about that mysterious blue wire, sometimes with a white stripe (the Remote Turn-On wire). This little guy usually tells your car’s amplifier or power antenna to switch on. For a basic house setup, you can usually connect this to the same positive (+) terminal as your red and yellow wires if your stereo needs it to power up its internal amplifier. It’s like the stereo's tiny internal assistant saying, "Hey, I'm ready to party!"
Speaker Connections: Hear the Music!
This is arguably the easiest part. Your stereo will have pairs of wires, usually color-coded or striped, for each speaker (Front Left, Front Right, Rear Left, Rear Right). Each pair will have a positive (+) and negative (-) wire. You just need to connect these to your actual speakers. Make sure the positive from the stereo goes to the positive on the speaker, and negative to negative. Mismatched polarity won't break anything, but it'll make your music sound like it's coming from a swamp monster’s jazz club – all out of phase and weird. We're aiming for crystal clear sound, remember?

Safety First, Fun Second (But Still Lots of Fun)
Before you go full mad scientist, a quick word from your friendly neighborhood electrical safety enthusiast (that’s me!):
- Double-check everything! Polarity is your best friend here. Positive to positive, negative to negative.
- Insulate those connections! Use electrical tape, heat shrink tubing, or proper connectors. Exposed wires are like tiny, angry lightning bolts waiting to happen.
- Fuse it! Most car stereos have an inline fuse. If yours doesn't, consider adding one on the positive power line coming from your PSU. It's a cheap safety net.
- Placement: Keep your power supply in a well-ventilated area. It’s doing a lot of hard work converting power and might get a little warm.
We’re aiming for a jam session, not an impromptu firework display. Safety first, people!
Why Bother, You Ask? Because It’s Awesome, That’s Why!
Why go through all this delightful technical rigmarole? Simple! Maybe you're cheap (like me!) and have a perfectly good stereo gathering dust. Maybe you’re nostalgic and want to relive the glory days of that 90s boom-box-on-wheels. Or perhaps you need a killer sound system for your garage workshop, man cave, she-shed, or even for an epic backyard BBQ where portability isn't an issue. Plus, bragging rights! "Oh, this sweet sound system? Yeah, it used to be in my '98 Civic. NBD."
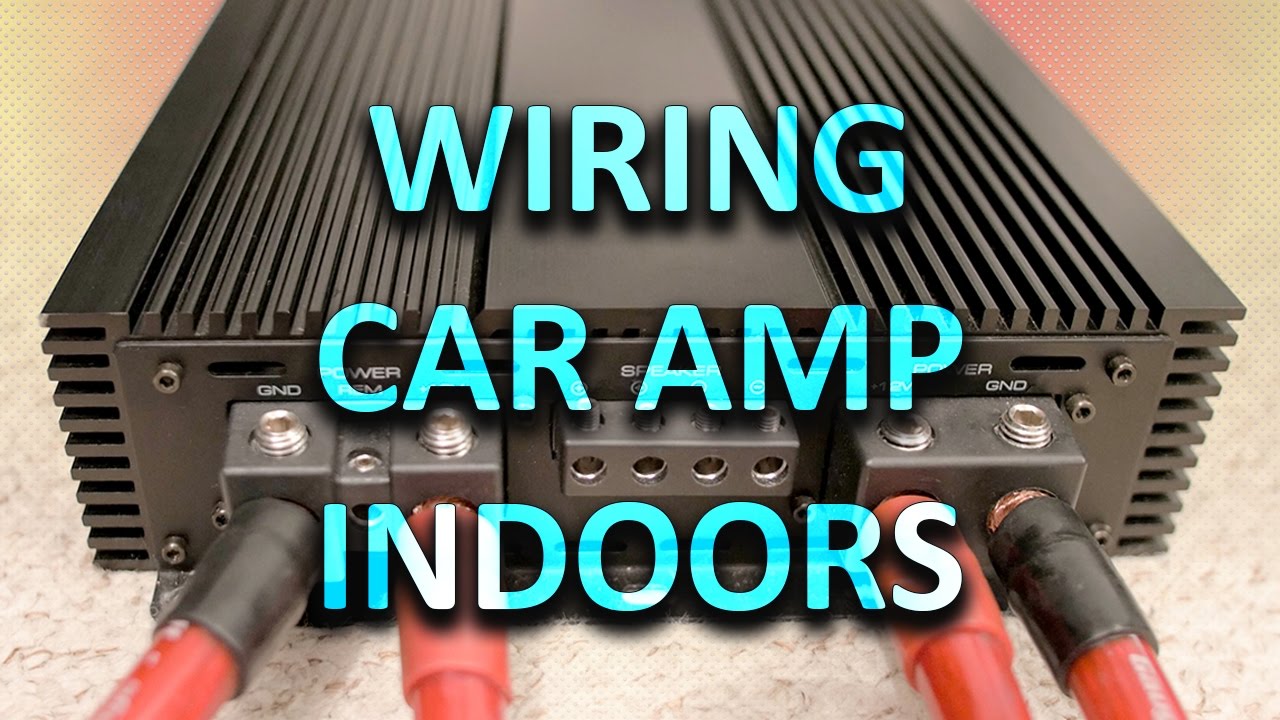
You can even connect external amplifiers for even more power, though that's a story for another café chat. Just remember that each amplifier will need its own powerful 12V DC power supply!
So There You Have It!
From forgotten junk heap to fantastic house-rocking jam session! With a little know-how, a decent power supply, and a healthy respect for electricity, you can give that old car stereo a glorious second life. So go forth, resurrect those dusty old tunes, and fill your home with the sweet, sweet sounds of reclaimed glory. Just try not to rattle the neighbor’s windows too much, okay? Or do. I’m not judging.