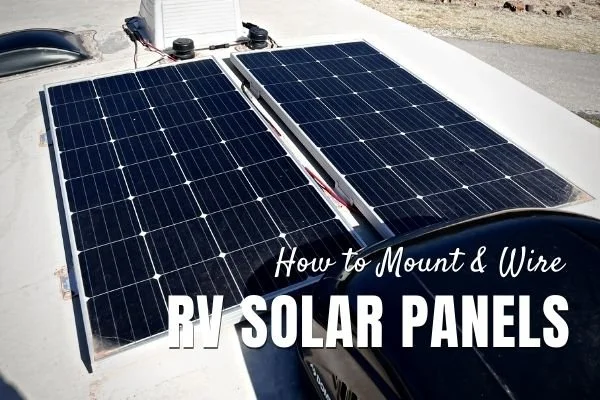
How To Mount Solar Panels On Rv
Hey there, my adventurous friend! Ever dreamt of ditching those crowded campgrounds and their noisy generators? You know, the ones that fire up just as you're enjoying a quiet sunset? Yeah, me too. That's where solar panels come in, giving your RV a serious glow-up in the independence department! Imagine sipping your morning coffee, anywhere, with silent, clean power. It's like giving your rig a superpower, no cap!
So, you're ready to embrace the sun's sweet, sweet energy? Awesome! Mounting solar panels on your RV isn't some rocket science reserved for the pros. It's totally doable, even for us mere mortals. Just grab another mug of coffee, settle in, and let's chat about getting those shiny power-catchers up there. Ready? Let's roll!
Gather Your Arsenal (A.K.A. The Shopping List)
First things first, you need your gear. Think of it as suiting up for an epic DIY quest. You'll need the actual solar panels, obviously. Then, you'll want some sturdy mounting brackets or feet – these are the little heroes that actually attach your panels to your roof. Don't cheap out here, okay? We're talking about things that need to withstand wind, rain, and all sorts of road shenanigans.
Must Read
Beyond the big stuff, grab a good drill (with the right bits!), a measuring tape (your new best friend), some screwdrivers, and a caulk gun. Oh, and perhaps the most crucial item on this list: self-leveling sealant or caulk, preferably a marine-grade type like Dicor. This stuff is your RV's waterproof makeup, and it's non-negotiable. You’re gonna need a lot of it, trust me. Also, wire, connectors, maybe some cable ties to keep things tidy. Safety glasses? Always a good idea!
The Grand Design (A.K.A. Planning & Placement)
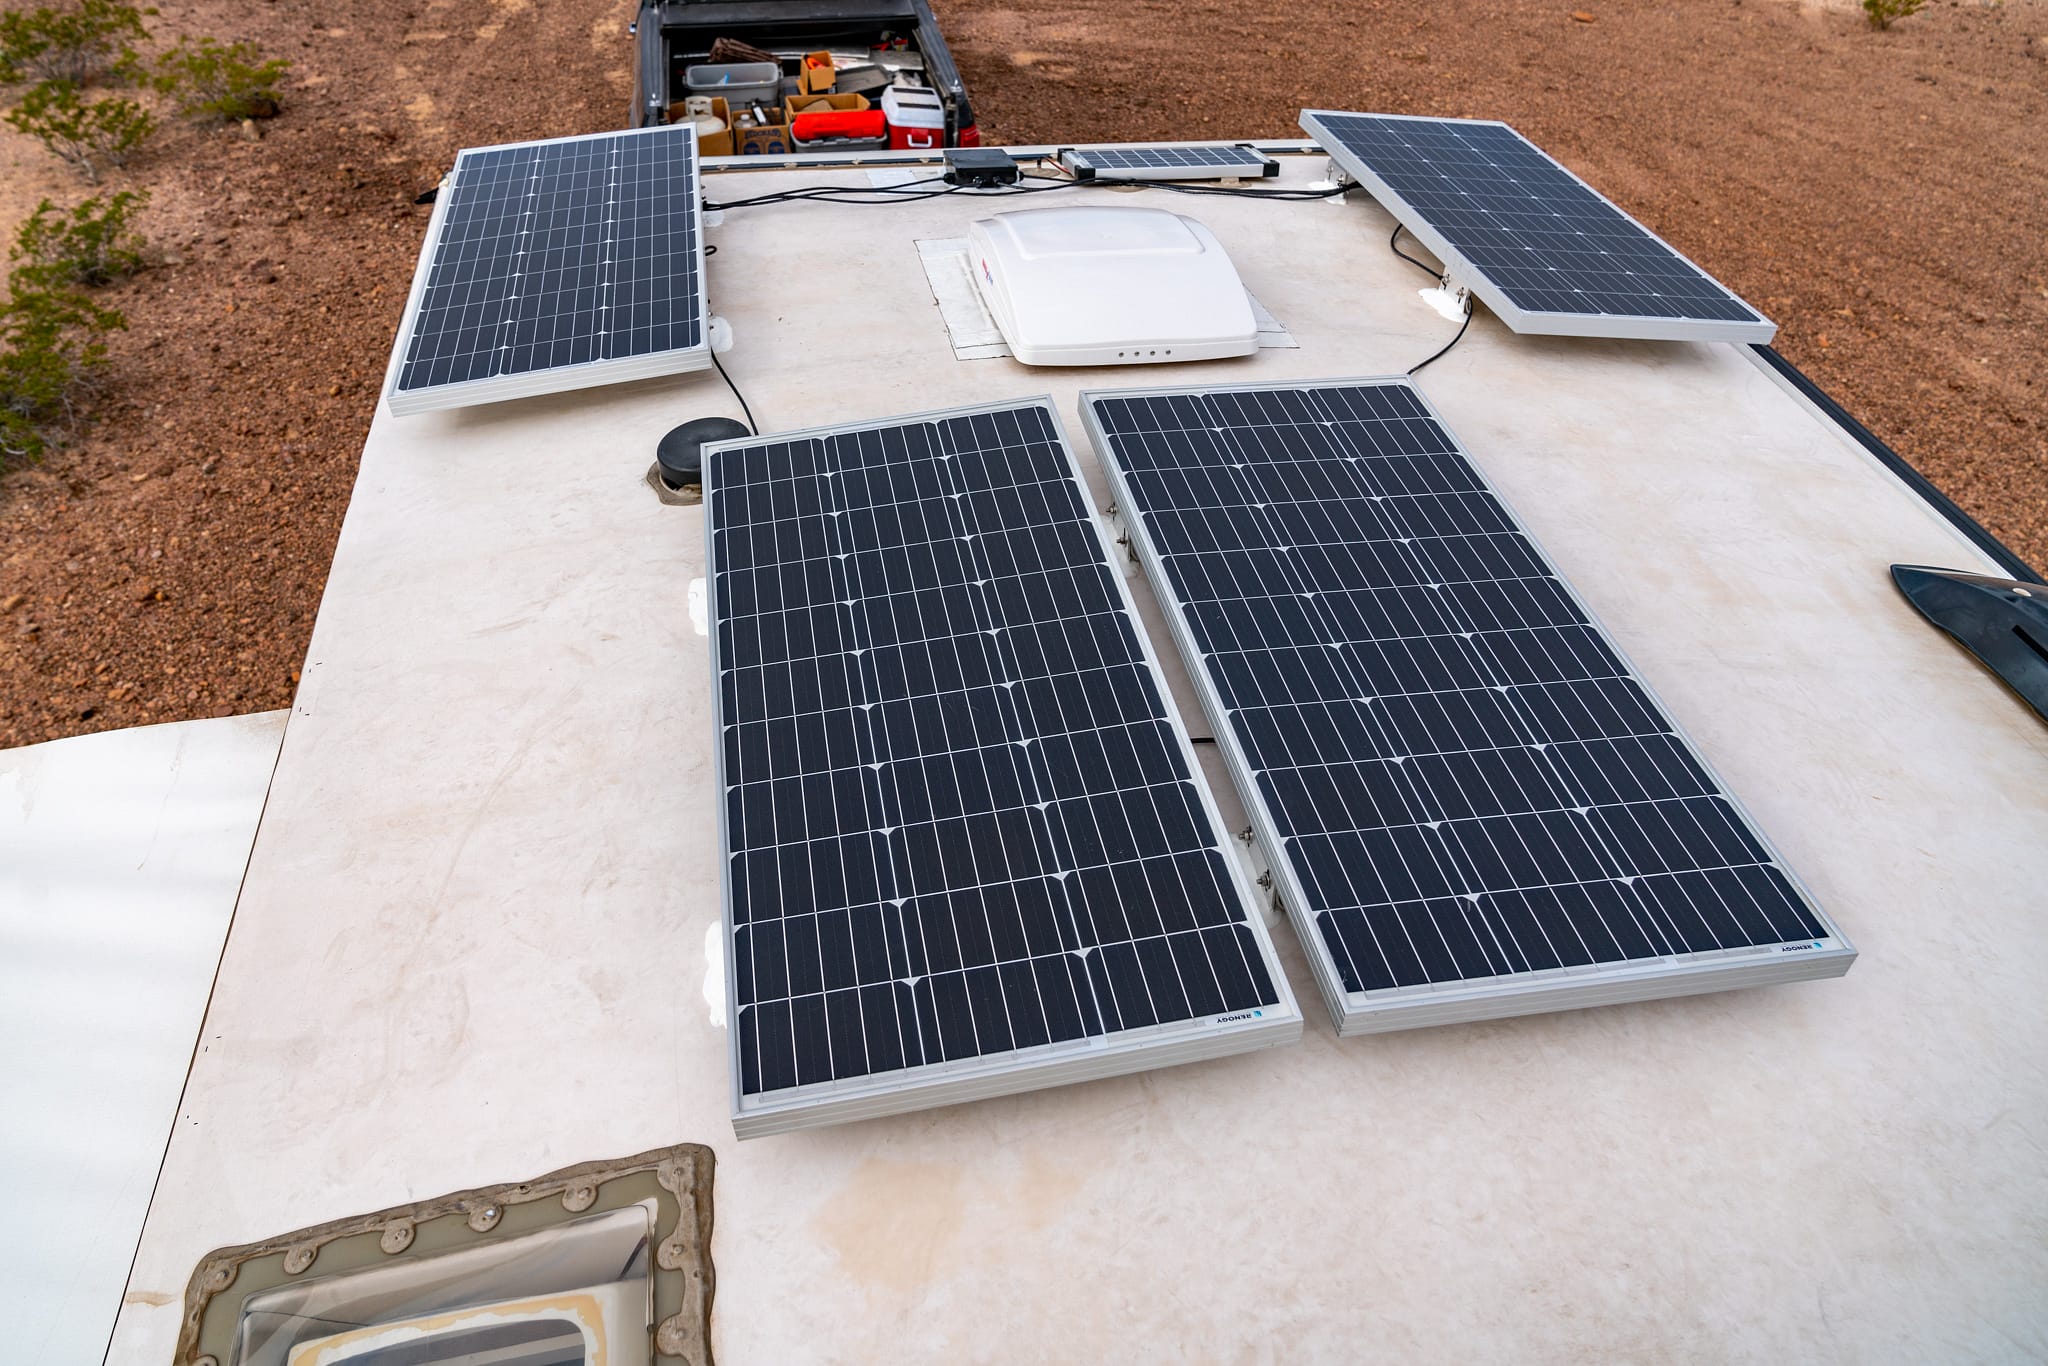
Before you start drilling holes willy-nilly (please, please don't do that!), let's talk strategy. Where are these panels going? Get up on your roof (carefully!), and visualize. You want maximum sun exposure, right? So, try to avoid placing them directly in the shadow of your AC unit, antenna, or any other rooftop doodads. Those things are total buzzkills for solar efficiency.
Measure, measure, measure again! Mark out where your mounting brackets will go. Consider how far apart they need to be to securely hold the panel. Also, think about cable management – where will the wires go from the panels down into your RV? Plan a path that's clean, protected, and doesn't involve drilling unnecessary holes. Remember, every hole is a potential leak point if not sealed perfectly.
Oh, and one more thing: clean that roof! Seriously. A nice, scrubbed surface ensures your sealant bonds properly. No one wants grime getting in the way of a secure mount, do they?
![How to Install a Solar Panel on an RV: A Step-By-Step Guide [Upd. 2021]](https://houseandbeyond.org/wp-content/uploads/2021/02/How-to-Install-Solar-Panel-on-RV-main.jpg)
The Big Mount (A.K.A. The Drilling & Sealing Part)
Alright, deep breaths! This is often the part that makes people a little nervous: drilling into their precious RV roof. But you've planned meticulously, right? You've measured, you've marked. Now, take a tiny pilot bit, and slowly drill your first hole for a mounting foot. Just one! Place the foot, apply a generous dollop of that magical sealant underneath it, and screw it down. Then, apply more sealant over the screw heads and around the entire base of the foot. You want it to look like a little sealant volcano. No gaps allowed!
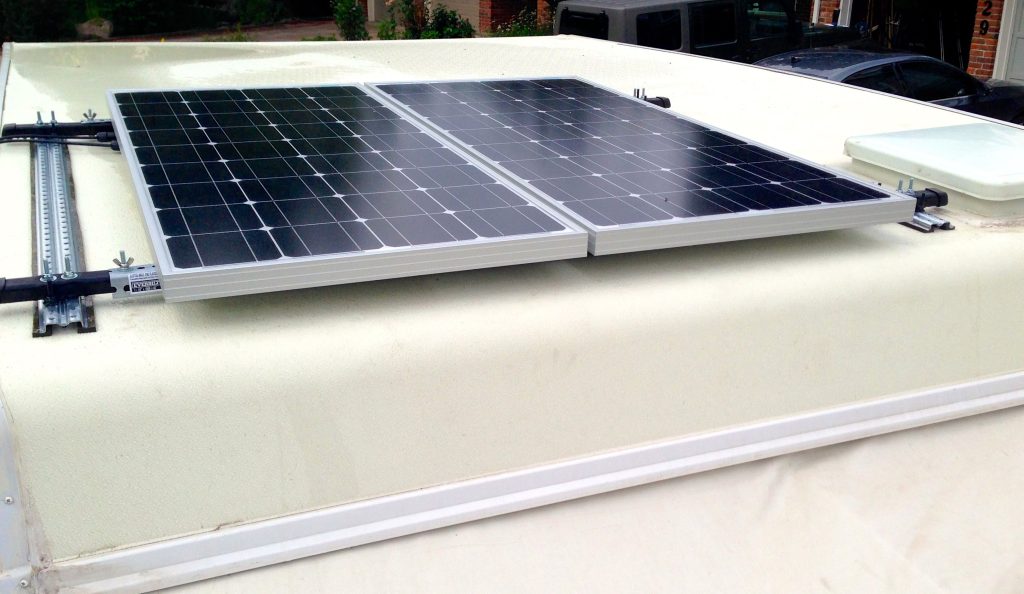
Repeat this for all your mounting feet. Once all the feet are securely screwed down and drowning in sealant, you can attach your solar panels to them. Most mounting kits allow you to tilt the panels for optimal sun angle, which is a neat trick, but flat is totally fine for most RVers. Just make sure everything is super tight and secure. We don't want any panels trying to fly off when you hit the highway, do we?
The Electrical Bit (A.K.A. Wires, Wires, Wires!)
Now, while mounting the panels is a big step, the electrical hookup is a whole other coffee chat! But for now, just know that your panels will connect to each other (usually in series or parallel, depending on your setup), then those wires will run down into your RV to a charge controller. The charge controller is like the brain, making sure your batteries don't get overcharged or damaged. From there, it goes to your batteries.
When running wires into your RV, try to use an existing entry point if possible (like an fridge vent or an already-drilled access point). If you must drill a new hole for the wires, pick a spot that's easy to access from inside, and guess what? Seal it like your life depends on it! Use a cable entry gland for a super professional and watertight finish.

The Moment of Truth (A.K.A. Testing & Victory Lap)
Once everything is hooked up (following the electrical instructions to a T, please!), it's time to test it. Turn on your system, watch those power readings on your charge controller. Is the sun pouring amps into your batteries? Hooray! You've done it! You're now a bona fide solar-powered RV adventurer!
One last, super important step: after your next rain shower, or even better, if you can spray your roof with a hose, check for leaks from inside your RV, especially around any drilled holes. Better safe than sorry, right? A little bit of extra sealant now can save you a huge headache later.
So there you have it! Your RV is now a lean, mean, solar-powered machine, ready to take you off-grid whenever your heart desires. Go forth, explore, and enjoy that sweet, silent, sun-fueled freedom, my friend!