How To Make A Mold With Plaster
Alright, gather ‘round, you curious creatures! Today, we're diving headfirst into the gloriously messy, secretly simple, and utterly satisfying world of making a mold with plaster. Now, I know what you’re thinking: “Plaster? Isn’t that for construction sites and emergency rooms?” And to that, I say,
“Nonsense!”Plaster is also for dreamers, dabblers, and anyone who enjoys a bit of controlled chaos. It’s an activity that, dare I say, has been unfairly pigeonholed. My unpopular opinion? It's way easier than making sourdough from scratch, and arguably, more instantly gratifying.
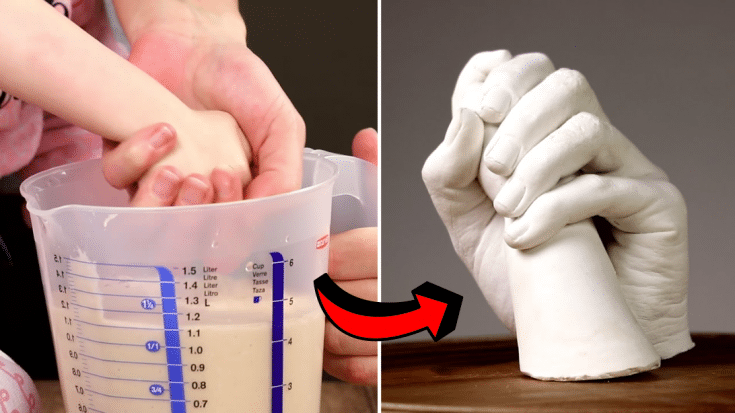
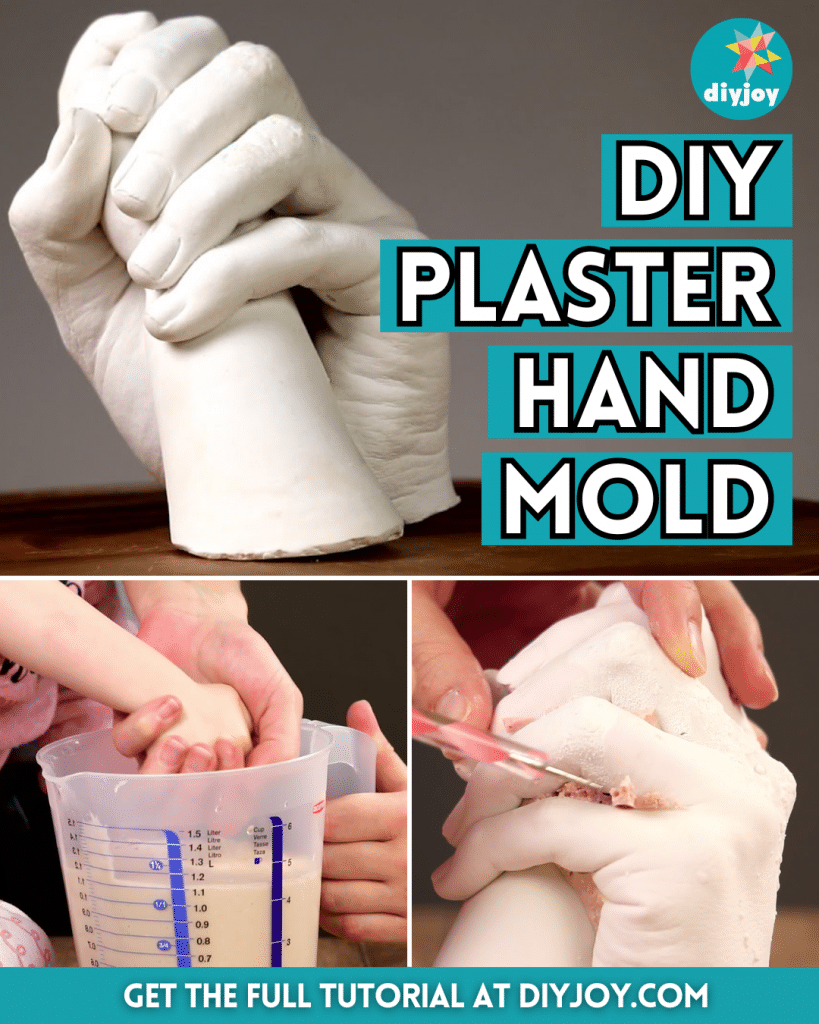
Before we embark on this grand adventure, let's assemble our tools. Think of it like preparing for a very low-stakes heist, but instead of diamonds, we’re stealing the form of an object. You'll need some plaster of Paris – the hero of our story. Grab a measuring cup for water, because precision is our friend, even if we’re being playful. Then, snag a mixing container you truly have no emotional attachment to – an old yogurt tub or a disposable plastic bowl works wonders. A stirring stick, perhaps an old spoon or a craft stick, will do the trick. You’ll also need your chosen original object you wish to immortalize (temporarily, in mold form, that is). A larger container to hold your mold-in-progress, like a small cardboard box or another plastic tub, is essential. And finally, the unsung hero of non-stick separation: Vaseline. Oh, and newspaper. Lots and lots of newspaper. Because, let's be honest, things are about to get delightfully dusty.
Prepping Your Masterpiece
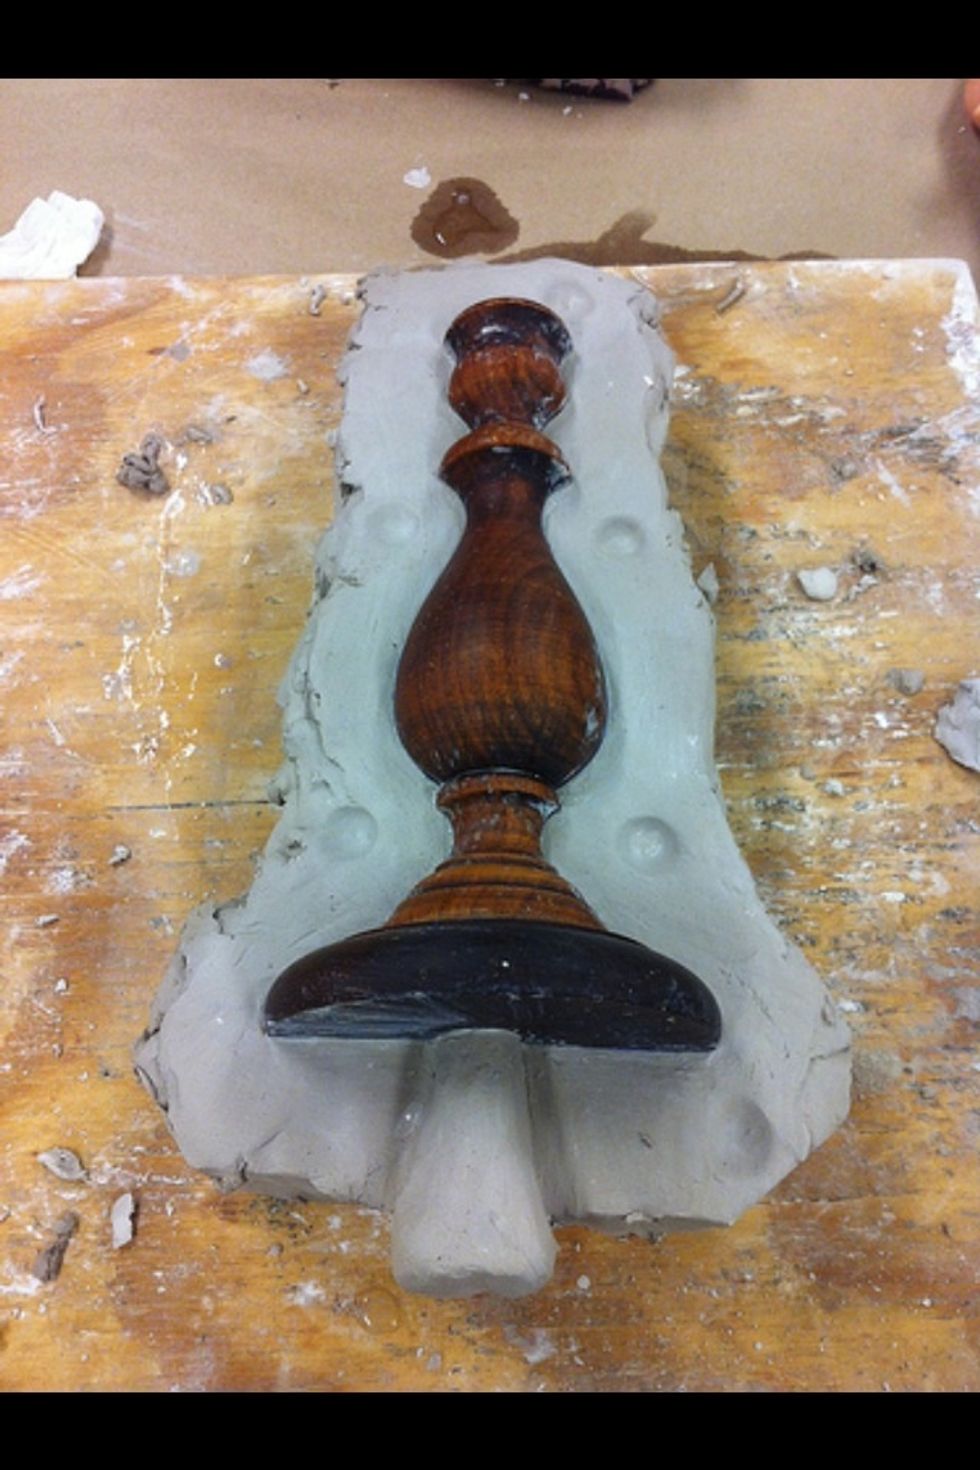
First things first, clear a space and lay down that newspaper like you’re protecting the Mona Lisa from a paint fight. Seriously, you’ll thank me. Now, for your chosen object. This is where the Vaseline comes in. Don’t be shy. Slather that object like it’s going on a fancy spa day. Every nook, every cranny, every little detail needs to be coated. This greasy shield is what will allow your object to gracefully exit the finished mold later, preventing a sticky, frustrating wrestling match. Once your object is gleaming with petroleum jelly, carefully place it into your larger mold container. Make sure it’s stable and won't float away once the plaster comes swooping in. Some people even glue it lightly to the bottom. I say, trust in the universe, and maybe a little gravity.
Must Read
The Plaster Potion (Don't Panic!)
Now, for the main event: mixing the plaster of Paris. This is where most people get cold feet, thinking it's rocket science. It's not. It’s more like making instant mashed potatoes, but with slightly higher stakes for messiness. Take your mixing container. Pour in some water – start with a reasonable amount, say, a cup or two, depending on the size of your object and mold container. Now, slowly, gently, sprinkle the plaster of Paris powder over the water. Sprinkle it like you’re feeding tiny, hungry plaster fairies. You'll see little islands forming, then tiny volcanoes. Keep sprinkling until the powder just barely covers the water's surface, forming a sort of snowy landscape. My unpopular opinion? This is the most meditative part, like watching a tiny, silent blizzard.
Let it sit for a minute or two. This is crucial! It allows the plaster to absorb the water properly. Resist the urge to stir immediately. Think of it as a brief, contemplative pause before the action. After its little rest, grab your stirring stick and gently, slowly, begin to mix. You’re aiming for a consistency like thick pancake batter or creamy yogurt. Smooth, lump-free, and pourable. If it’s too thin, add a tiny bit more plaster. Too thick? A splash of water. Work quickly, but don’t frenzy. This stuff starts to set faster than you can say
“Oh, crumbs, did I remember the Vaseline?”(You did, right? Good).
The Grand Pouring
With your perfectly mixed, creamy plaster ready, it’s time for the pour. Carefully, and I mean carefully, pour the plaster mixture over your Vaseline-coated object in the mold container. Start at one end and let it flow gently over the object, ensuring it covers every part you want to capture. Don’t just dump it in like you’re feeding a hungry dog! That creates air bubbles, and air bubbles are the arch-nemeses of smooth molds. Once it’s poured, gently tap the sides of your mold container on your workspace. This helps those sneaky air bubbles rise to the surface and pop. It’s like burping your plaster mold, an essential step for its comfort and future well-being. My unpopular opinion? This tapping is strangely therapeutic.
The Waiting Game (Patience, Young Grasshopper)
Now, the hardest part for many: doing absolutely nothing. Seriously, walk away. Make a cup of tea. Binge-watch a few minutes of your favorite show. The plaster needs time to cure. You'll notice it start to generate some heat – this is totally normal, a sign it's working its magic! Don’t panic and stick your finger in it. Trust the process. The exact time depends on the thickness of your mold, but usually, within 30 to 60 minutes, it will feel hard and cool to the touch. This means it’s ready for the big reveal. My unpopular opinion? The suspense is half the fun, like waiting for a surprise party you planned yourself.
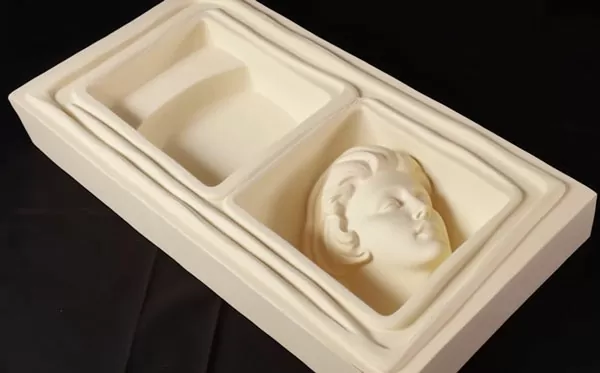
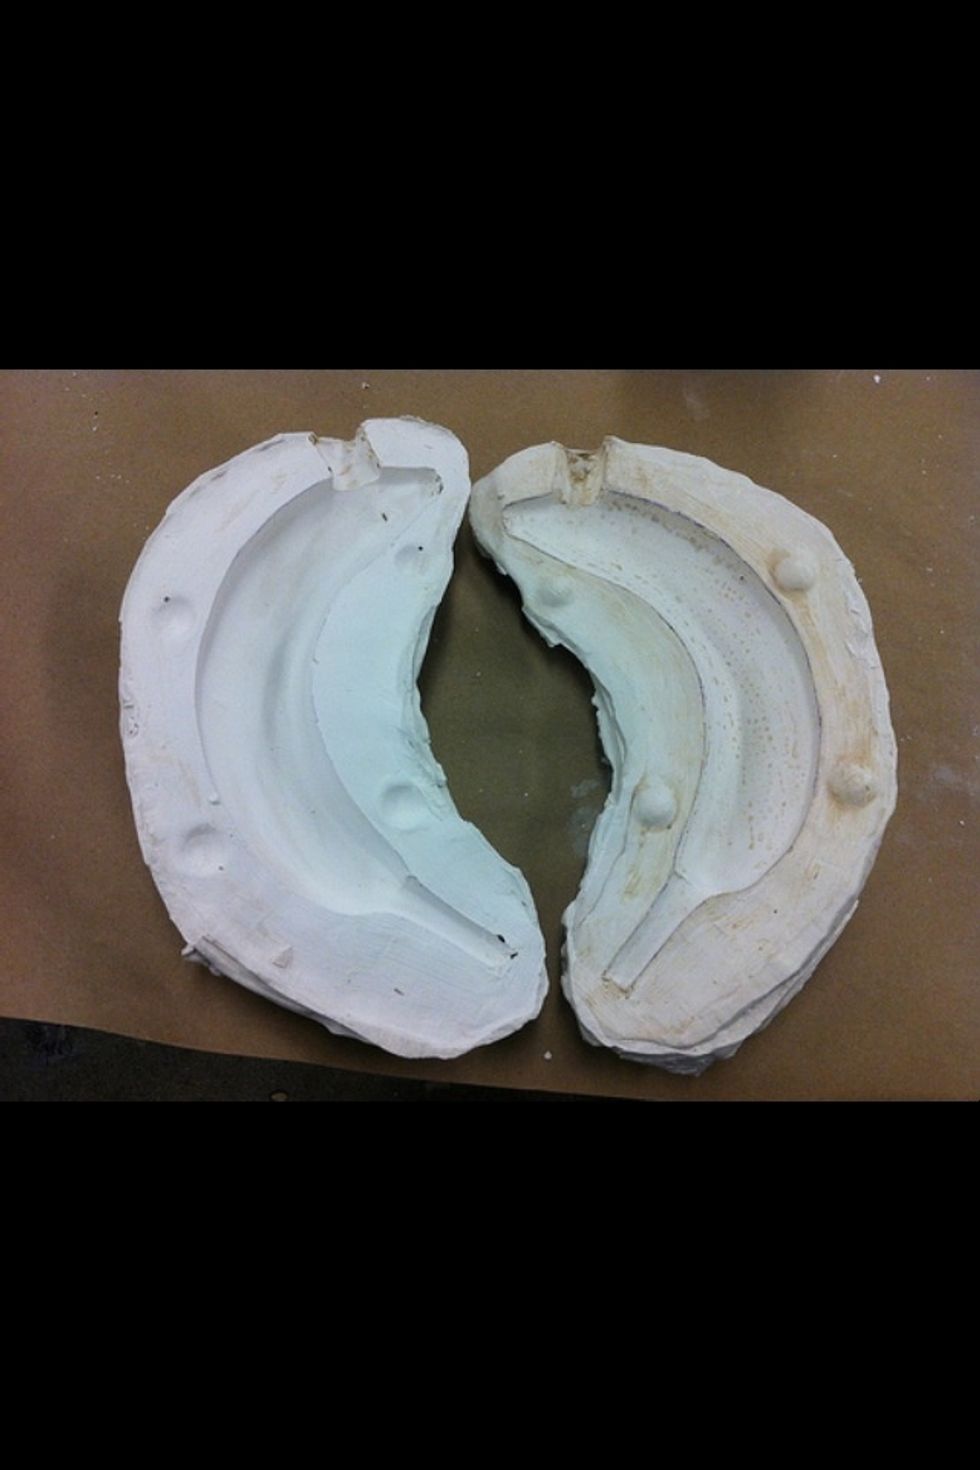
The Big Reveal: Demolding!
This is it! The moment you've been waiting for. Once your plaster is rock-hard and cool, it’s time to demold. Gently, and I mean gently, remove the outer mold container. You might need to wiggle it a bit, or even carefully cut away a cardboard box. Now comes the most delicate part: separating your original object from the new plaster mold. This requires patience, a gentle hand, and maybe a quiet whisper of encouragement. Wiggle, twist, and carefully pry. If you were generous with the Vaseline, it should pop out with relative ease. And there you have it! Your very own plaster mold, a perfect inverse of your original object. It might be a little rough around the edges, a bit imperfect, but it’s undeniably yours. Let your beautiful new mold dry completely for another day or two to ensure it's fully cured and strong. My unpopular opinion? Even the imperfect molds are beautiful, like character lines on a wise old face.