How To Make A Large Resin Mold

You know that feeling when you decide to bake a cake, and then suddenly you're eyeing the recipe for a three-tier wedding masterpiece? That’s kind of what diving into large resin molds feels like. One minute you're making tiny coasters, the next you’re wondering if you can encase your entire garden gnome collection in a giant, crystal-clear sarcophagus. It’s ambitious, a little bit mad, and utterly, wonderfully rewarding. So, grab a cuppa, kick back, and let's chat about turning those big resin dreams into a solid reality – without turning your workshop into a sticky, glittery crime scene.
Planning: The Brainwork Before the Resin Work
First things first, let's talk about the brain work before the resin work. Think of it like planning a road trip: you wouldn't just jump in the car and hope for the best (unless you enjoy discovering you're out of gas in a field of alpacas). For a large resin mold, you need to measure everything. And when I say everything, I mean everything. Your object, your proposed mold dimensions, even the size of your pouring arm. Because trust me, trying to pour into a giant box while doing contortions isn't fun.
Calculation is key. How much resin? There are calculators online, bless their digital hearts. Underestimate, and you’ll have a half-finished, lopsided disaster. Overestimate, and you’ll have enough leftover to start a small resin pond. Aim for just right, and maybe a little extra, just in case. Always a little extra.
Must Read
Building the Containment: The Great Wall of Resin
Okay, so you've got your grand vision. Now, how do you hold all that glorious liquid? This isn't your tiny silicone coaster mold anymore. For the big stuff, you're building a fortress. We're talking melamine-coated particle board, sturdy plastic sheeting, even thick cardboard lined with packaging tape (for lighter, temporary molds). The crucial bit here is sealing it like your life depends on it.
Imagine trying to give a baby a bath in a colander. That's what a leaky mold feels like. Silicone caulk, hot glue, or even a good, strong adhesive tape are your best friends. Don't be shy. Go wild. Better to over-seal than to watch your expensive resin slowly ooze across your floor like a fluorescent slug. It's a tragedy, truly.
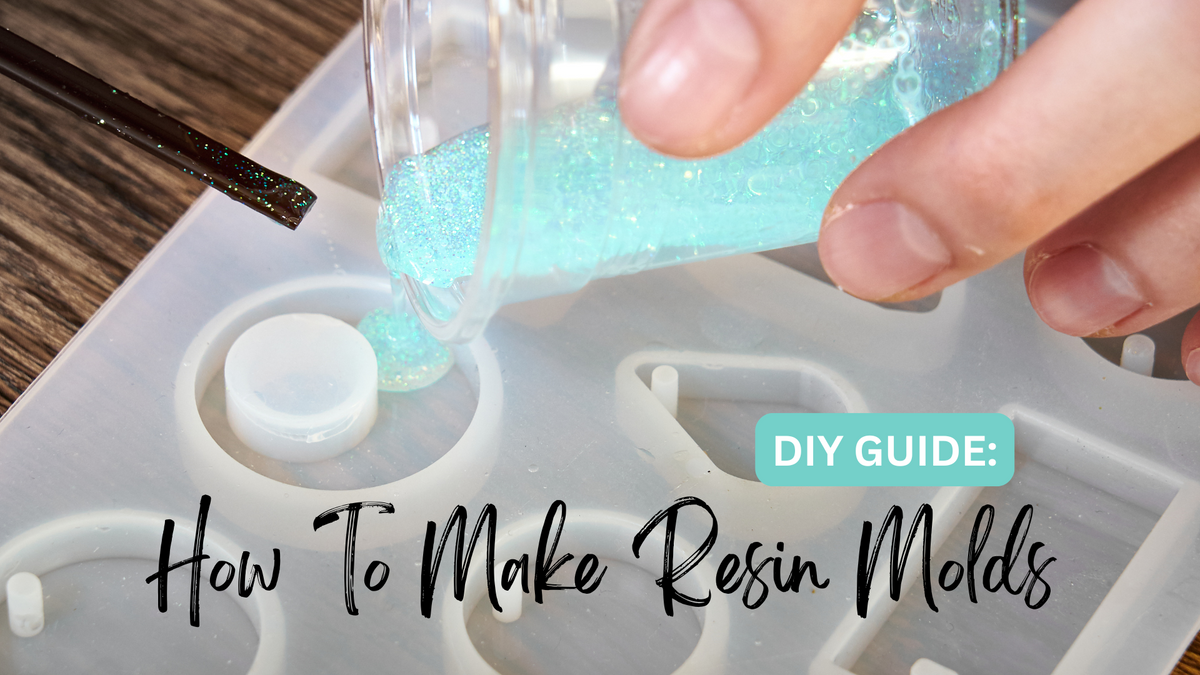
Mixing the Resin: The Dance of the Two Liquids
This is where the magic (or the mayhem) begins. Most large pours use deep pour resin, which has a longer cure time and generates less heat, crucial for big volumes. You've got Part A and Part B, usually mixed by weight or volume – follow the instructions religiously! It's not like baking where you can eyeball a pinch of salt.
Too much of one, and you'll have a sticky, gooey mess forever. Too little, and it'll never fully cure, becoming a tragic, bendy puddle. Mix slowly, carefully, scraping the sides and bottom of your mixing bucket. Think of it like stirring a delicate soup, not churning butter. The goal is to incorporate everything without whipping in a gazillion air bubbles, which are the glitter of doom for clear resin.

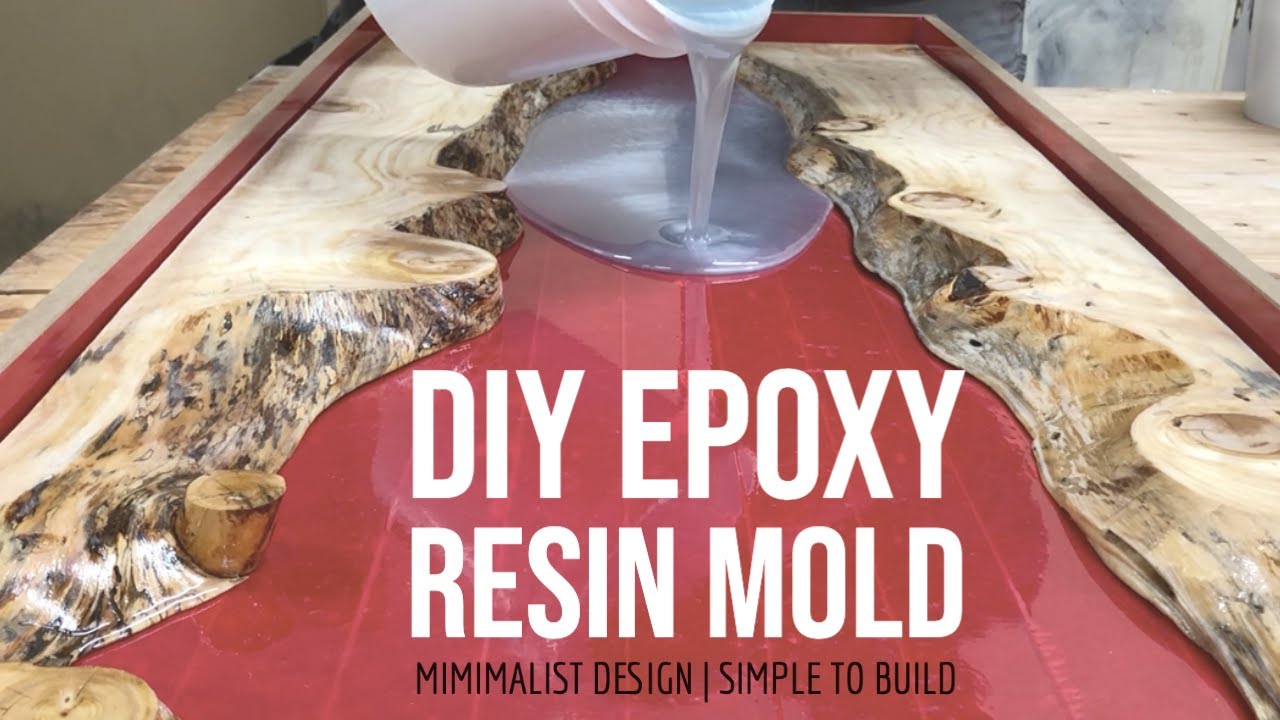
Pouring and Patience: The Zen of Large Resin
Right, fortress built, resin mixed. Now for the pour. For really large items, you'll often do this in layers. It's like building a sandcastle, one careful scoop at a time. Pour slowly, steadily, maybe over an angled surface to minimize bubbles. Got a heat gun or a blow torch? A quick, gentle pass over the surface helps pop those pesky bubbles that rise to the top. Just don't get too close or linger too long – you're popping bubbles, not cooking your resin.
Then, the hardest part: waiting. This isn't instant ramen, folks. Deep pour resins can take days, sometimes even a week, to fully cure. Don't touch it. Don't poke it. Just let it be, like a sleeping dragon. Your patience will be rewarded, I promise.
The Grand Reveal: Demolding Day!
Finally, the moment of truth! Your patience has been tested, your anticipation is at peak levels. It's like Christmas morning, but instead of socks, you're hoping for a perfectly clear, solid resin masterpiece. Carefully disassemble your mold. Start with the sides, gently prying them away. You might need a rubber mallet, a pry bar, or just sheer brute force and a heartfelt plea.
And there it is! Your object, beautifully encased, shimmering and solid. Sometimes there are a few rough edges, maybe a stray bubble or two – that's perfectly normal. A bit of sanding, polishing, and you'll have something truly spectacular. Embrace the imperfections, they tell a story!
So, go forth and cast your big ideas! Embrace the spills, laugh at the temporary stickiness, and revel in the joy of creating something truly monumental. It’s a journey, a challenge, and a genuinely rewarding experience. And who knows, maybe your garden gnome does deserve that crystal sarcophagus after all.
