How To Make A 3d Print Model

Alright, so you’ve seen those amazing 3D prints, right? Little figurines, custom phone stands, even parts for fixing things around the house! And maybe you've thought, "That looks super cool, but how do people actually make the digital models for those?" Well, pull up a chair, grab your imaginary coffee, because we're about to demystify it.
No, you don't need a degree in rocket science, promise! Making a 3D model for printing is actually way more accessible than you might think. It’s less like coding the Matrix and more like… digital sculpting with really cool tools. Let’s dive in, shall we?
Start with an Idea (or Someone Else's Genius)
Every awesome 3D print begins with a spark. What do you want to make? A tiny succulent pot? A specialized clip for your headphones? Or maybe a miniature replica of your cat (good luck with that level of detail, but dream big!)? Once you have that glimmer, you have a few paths.
Must Read
Path 1: The "I'm Not a Designer (Yet!)" Route
This is where most of us start, and it's totally okay! Why reinvent the wheel when there are literally millions of wheels already designed? Websites like Thingiverse, Printables, and MyMiniFactory are goldmines. People upload their designs there for free (or sometimes a small fee), and you can just download the file, usually an .STL file (that's the magic format for 3D printers), and hit print. Easy peasy!
It's like finding a recipe online instead of inventing your own cuisine from scratch. You're still "making" it, just with a little help from a friend. And honestly, it’s a fantastic way to learn what works and what doesn't in the 3D printing world before you even touch a design program.
Path 2: The "Let's Scan It!" Shortcut
Feeling a bit more adventurous? What if you want to replicate a physical object you already own? That’s where 3D scanning comes in. No, you don't need fancy, expensive equipment anymore. Your smartphone, believe it or not, can often do a decent job!
Apps like Polycam or Kiri Engine use your phone's camera to take a bunch of photos from different angles, then stitch them together to create a 3D model. It’s not always perfect, especially for super shiny or transparent objects, but for a quick scan of, say, a cool rock you found, it’s surprisingly effective. Think of it as taking a bunch of selfies of an object until your phone knows what it looks like from every angle. Pretty neat, huh?
Path 3: The "I'm a Creator!" Way (Designing Your Own)
Alright, this is the juicy bit! This is where you actually build your own digital masterpiece from scratch. Don't let that intimidate you! There are tools for every skill level, from absolute beginner to seasoned pro.
For the Absolute Beginner: TinkerCAD
If you've ever played with digital LEGOs, you'll feel right at home with TinkerCAD. It's a free, browser-based tool from Autodesk that is unbelievably intuitive. You literally drag and drop basic shapes – cubes, cylinders, spheres – onto a workplane. Want to make a hole? Drag a "hole" shape onto your solid shape, group them, and poof, there's your cutout! It’s like magic, but with geometry.
TinkerCAD is fantastic for learning the basic concepts of 3D modeling: combining shapes, subtracting shapes, aligning things. You’ll be designing simple brackets, keychains, and custom organizers in no time. It's truly a stress-free zone for learning.
Stepping Up Your Game: Fusion 360 & Blender
Once you’ve mastered TinkerCAD and you’re ready for more power (and maybe a few more buttons to click), you’ll likely venture into the realms of Fusion 360 or Blender.
- Fusion 360: Also from Autodesk, it’s free for hobbyists and startups. This is a parametric CAD program. What does that mean? It means you draw 2D sketches (like blueprints), then extrude them into 3D objects, or revolve them, or sweep them. You can easily go back and change a dimension, and the whole model updates. It’s incredibly powerful for functional parts, mechanical designs, and anything that needs precise measurements. Think engineering, but make it fun.
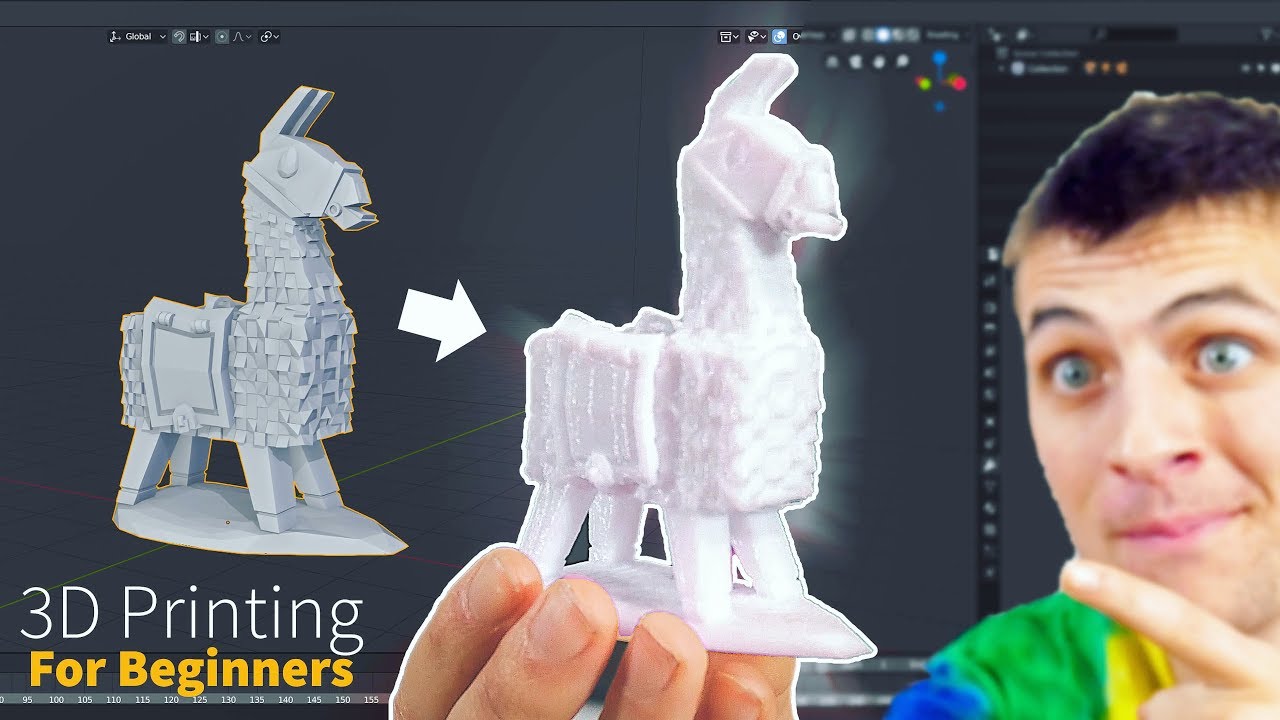
- Blender: This one is completely free and open-source, and it’s an absolute beast. Blender is primarily known for 3D animation, rendering, and sculpting, but it’s incredibly capable for 3D printing too. The learning curve? Let’s just say it’s a bit steeper than Fusion 360. But if you want to sculpt organic shapes (like that cat figurine!), create complex artistic pieces, or just generally feel like a digital wizard, Blender is your jam. It's like going from finger painting to oil painting.
The Actual Designing Process (Simplified)
No matter which software you pick, the core process often involves:
- Sketching: Drawing the 2D outlines of your object.
- Extruding/Revolving: Turning those 2D sketches into 3D forms.
- Adding/Subtracting: Combining shapes or cutting holes (Boolean operations, fancy talk for "mash them together" or "take a bite out of it").
- Refining: Adding fillets (round edges), chamfers (angled edges), or intricate details.
- Considering Printability: Will it need supports? Is it too thin? Don't worry, the software often has tools to help you check for these things.
The key? Start simple. Don't try to design a fully articulating robot arm on your first go. Make a simple box. Then a box with a lid. Then a box with a lid and a hinge. You’ll be amazed how quickly you build skills.
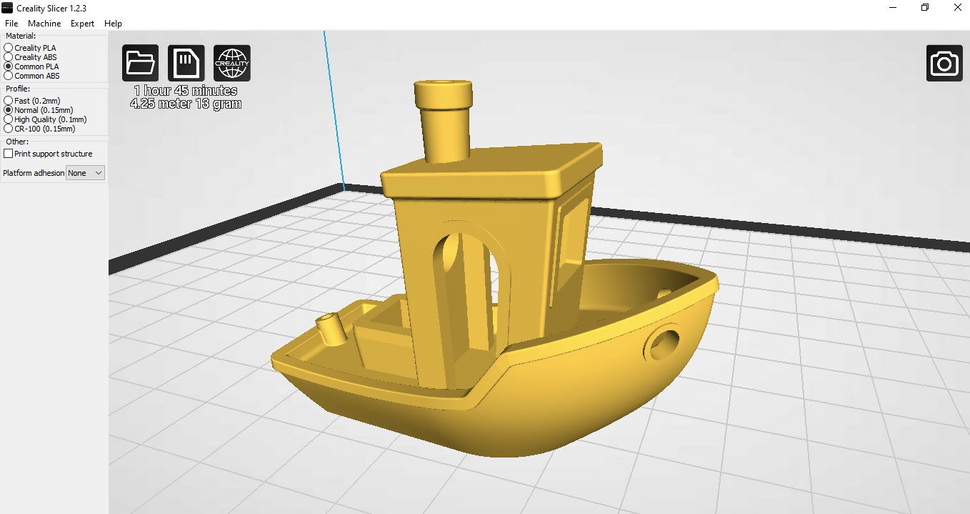
Once your masterpiece is complete in the digital realm, you simply export it as an .STL file. This file is like the universal language for 3D printers, telling them exactly where to put every tiny layer of plastic.
So, there you have it! From borrowing someone else's brilliant idea to crafting your own digital dreams, making a 3D print model is an incredibly rewarding journey. It's all about playing, experimenting, and not being afraid to make a few digital mistakes. Your printer isn't going to spontaneously combust, honest!
Go on, dive in! What will you make first?