How To Install Weatherstripping On A Car Door

Hey there! Ever feel like your car is less of a cozy ride and more of a wind tunnel on wheels? Yeah, me too. Chances are, your weatherstripping is shot. Don't worry, though! Replacing it is surprisingly easy. Like, easier than parallel parking… okay, maybe not for everyone, but definitely doable!
Why Bother with Weatherstripping, Anyway?
Seriously, why? Well, think of it this way: weatherstripping is your car's bouncer. It keeps out the riff-raff – rain, wind, snow, annoying bugs, and that one particularly chatty squirrel who keeps trying to hitch a ride. Plus, good weatherstripping means a quieter, more comfortable drive. And who doesn't want that? Exactly!
It also helps with fuel efficiency! Less wind resistance means your engine isn't working overtime. So, basically, you're saving money and the planet. All with a little strip of rubber. Pretty cool, huh?
Must Read
What You'll Need: The Tools of the Trade
Okay, let's gather our supplies. This isn't brain surgery, but having the right tools makes all the difference. You'll need:
- New weatherstripping: Obviously! Make sure it's the right one for your car model. Double-check! Trust me, you don't want to end up with a weatherstripping version of Cinderella's glass slipper.
- A flathead screwdriver or plastic trim removal tool: For gently prying things. We don't want to scratch up our precious car, do we?
- A clean rag: For wiping away dirt and grime. A clean surface is a happy surface.
- Rubbing alcohol: To further clean the surface.
- Adhesive promoter (optional, but recommended): This helps the new weatherstripping stick like glue (pun intended!).
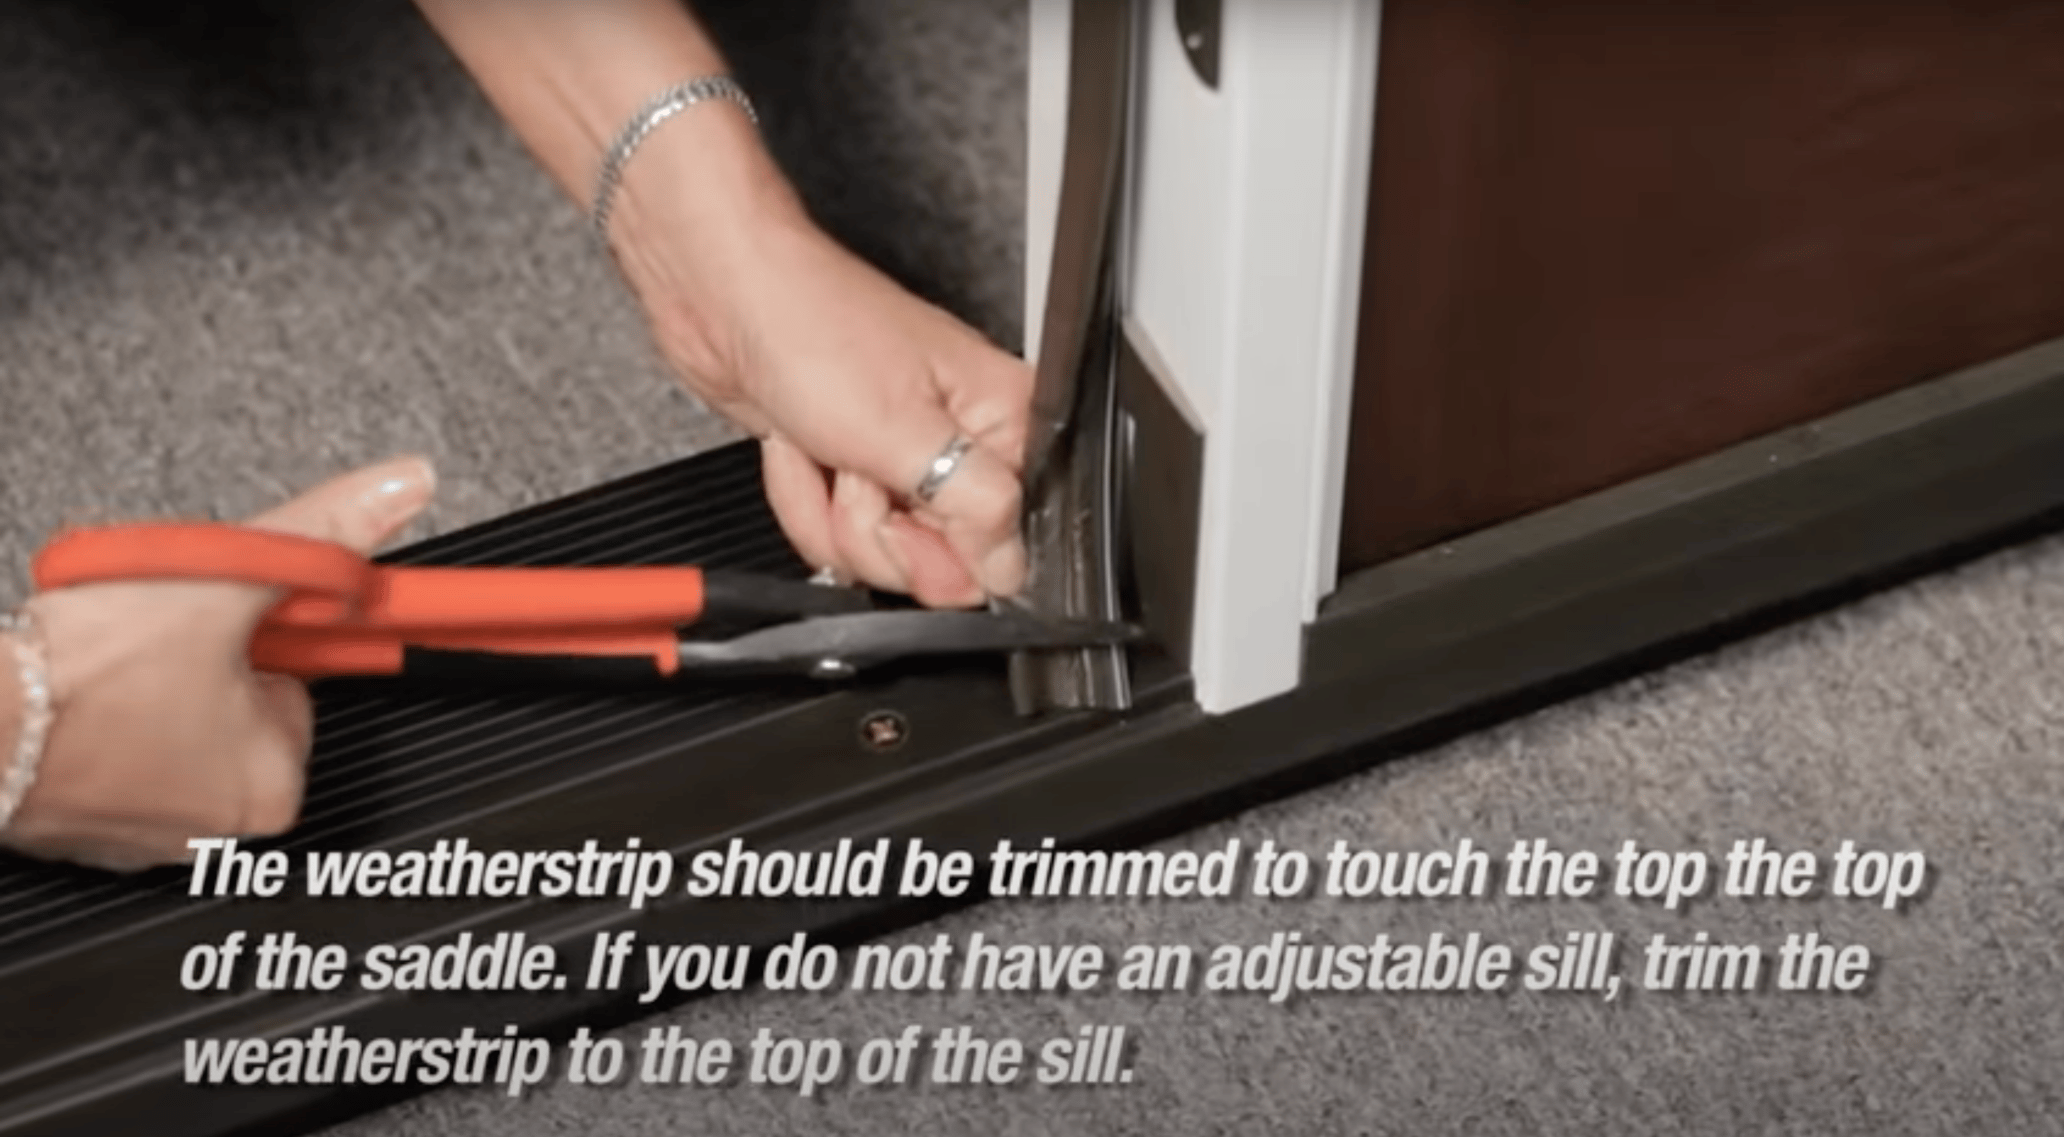
- Scissors or a utility knife: For trimming the weatherstripping, if needed. Be careful! We're fixing the car, not giving ourselves a manicure.
Let's Get Down to Business: Removing the Old Weatherstripping
Alright, time to get our hands dirty! (Well, maybe not too dirty). Gently pry up the old weatherstripping. Start at one corner and work your way around. If it's really stuck on there, use your trim removal tool or flathead screwdriver. Be patient! Ripping it off like a band-aid will only make a mess.
Once the old weatherstripping is off, give the area a good cleaning. Use your rag and some rubbing alcohol to remove any dirt, grime, or old adhesive. You want a nice, clean surface for the new weatherstripping to adhere to. This is important! Think of it as prepping the canvas before painting a masterpiece.
Installing the New Weatherstripping: The Grand Finale
Now for the fun part! (Okay, maybe not "fun" for everyone, but definitely satisfying). If you have adhesive promoter, apply it to the area where the weatherstripping will go. This will help it stick better and last longer. Let it dry for a few minutes, according to the product instructions.

Starting at one corner, press the new weatherstripping into place. Make sure it's snug and secure. Work your way around the door, pressing firmly as you go. If the weatherstripping is too long, trim it with your scissors or utility knife. Measure twice, cut once, as they say!
Once you've gone all the way around, give the weatherstripping a final press. Make sure it's firmly attached and that there are no gaps. You might even want to close the door a few times to make sure it's sealing properly. Does it sound quieter? Is the wind no longer whistling a tune? If so, congratulations! You've successfully installed new weatherstripping!

Troubleshooting: When Things Go Wrong (Because They Sometimes Do!)
Sometimes, things don't go according to plan. Don't panic! If the weatherstripping isn't sticking properly, try using more adhesive promoter. If it's too long, trim it a little more. If it's too short... well, you might need to get a new piece. Hey, nobody's perfect! We all make mistakes. The important thing is to learn from them and keep trying.
And that's it! You've conquered the weatherstripping beast! Now you can enjoy a quieter, more comfortable ride. Go forth and conquer the open road! And maybe invest in some earplugs for those squirrels... just kidding (mostly).