How To Install Weather Stripping Under Door

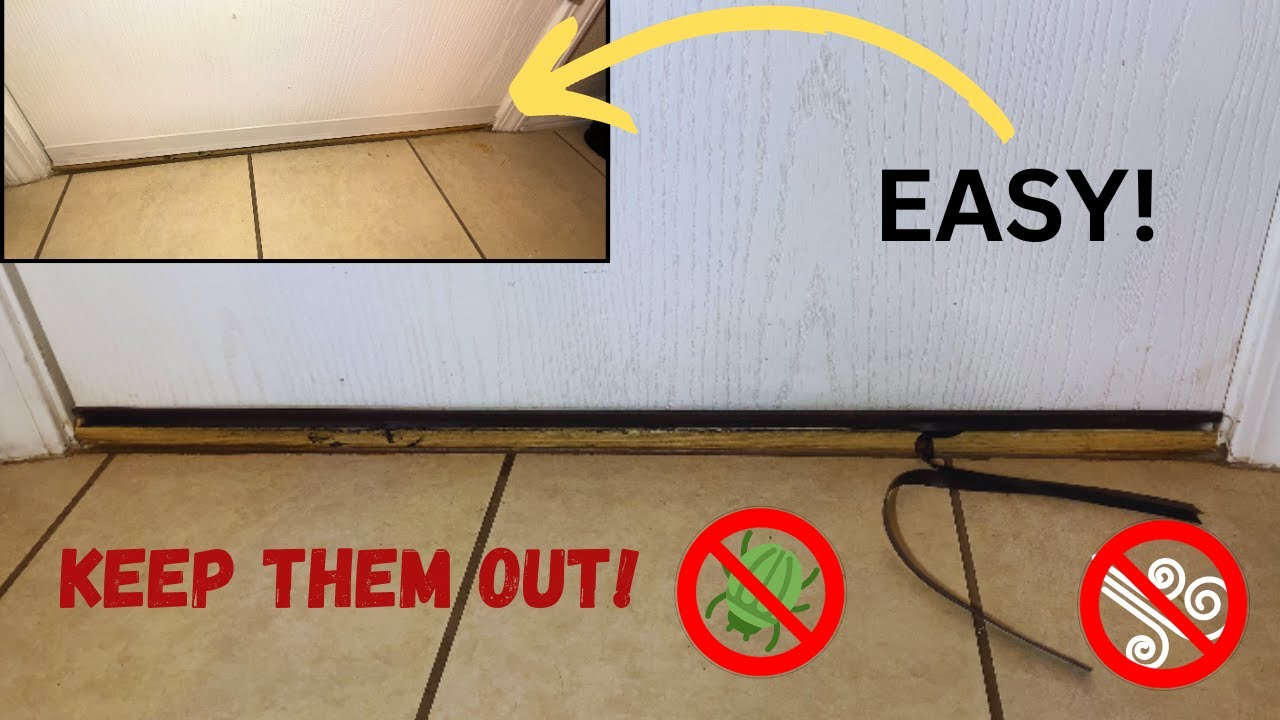
Let's talk about keeping the outside, well, outside. I'm not talking about your problematic neighbor (though weather stripping might help... okay, maybe not). I'm talking about drafts, bugs, dust bunnies the size of small hamsters – all those unwelcome guests that sneak in under your door.
Think of your door as the VIP lounge of your home. You want to control who (or what) gets past the velvet rope. And the bouncer in this scenario? Weather stripping. It's the unsung hero of home efficiency, the guardian against unwanted breezes, and surprisingly easy to install. Seriously, if you can assemble IKEA furniture (and haven't developed a lifelong aversion to Allen wrenches), you can do this.
The Quest for the Perfect Seal: Gathering Your Arsenal
Before we dive in, let’s make sure you're equipped. You'll need:
Must Read
- Your Weapon of Choice: Weather stripping! There are several types – foam, felt, V-strip, and door sweeps. For under-door situations, door sweeps are generally the go-to. They attach to the bottom of the door and create a physical barrier. Choose wisely based on your door type and the size of the gap.
- Measuring Tape: Because eyeballing it rarely works. (Trust me, I've tried.)
- Scissors or Utility Knife: For trimming the weather stripping to the perfect length.
- Screwdriver: If your chosen weather stripping requires screws. A power drill with a screwdriver bit can speed things up.
- Pencil: For marking where to cut or screw. Precision is key!
- (Optional) Cleaning Supplies: A clean surface ensures better adhesion. Wipe down the bottom of your door before you begin.
Operation: Sealing the Perimeter
Now for the fun part (okay, maybe not fun-fun, but definitely satisfying-when-it's-done fun).
Step 1: Measure and Mark. Measure the width of your door. Transfer this measurement to the weather stripping and mark it with your pencil. Pro Tip: It's always better to cut a little long and trim more later. You can’t un-cut!

Step 2: Cut to Size. Using your scissors or utility knife, carefully cut the weather stripping along the line you marked. If using a utility knife, use a cutting board underneath to protect your floor.
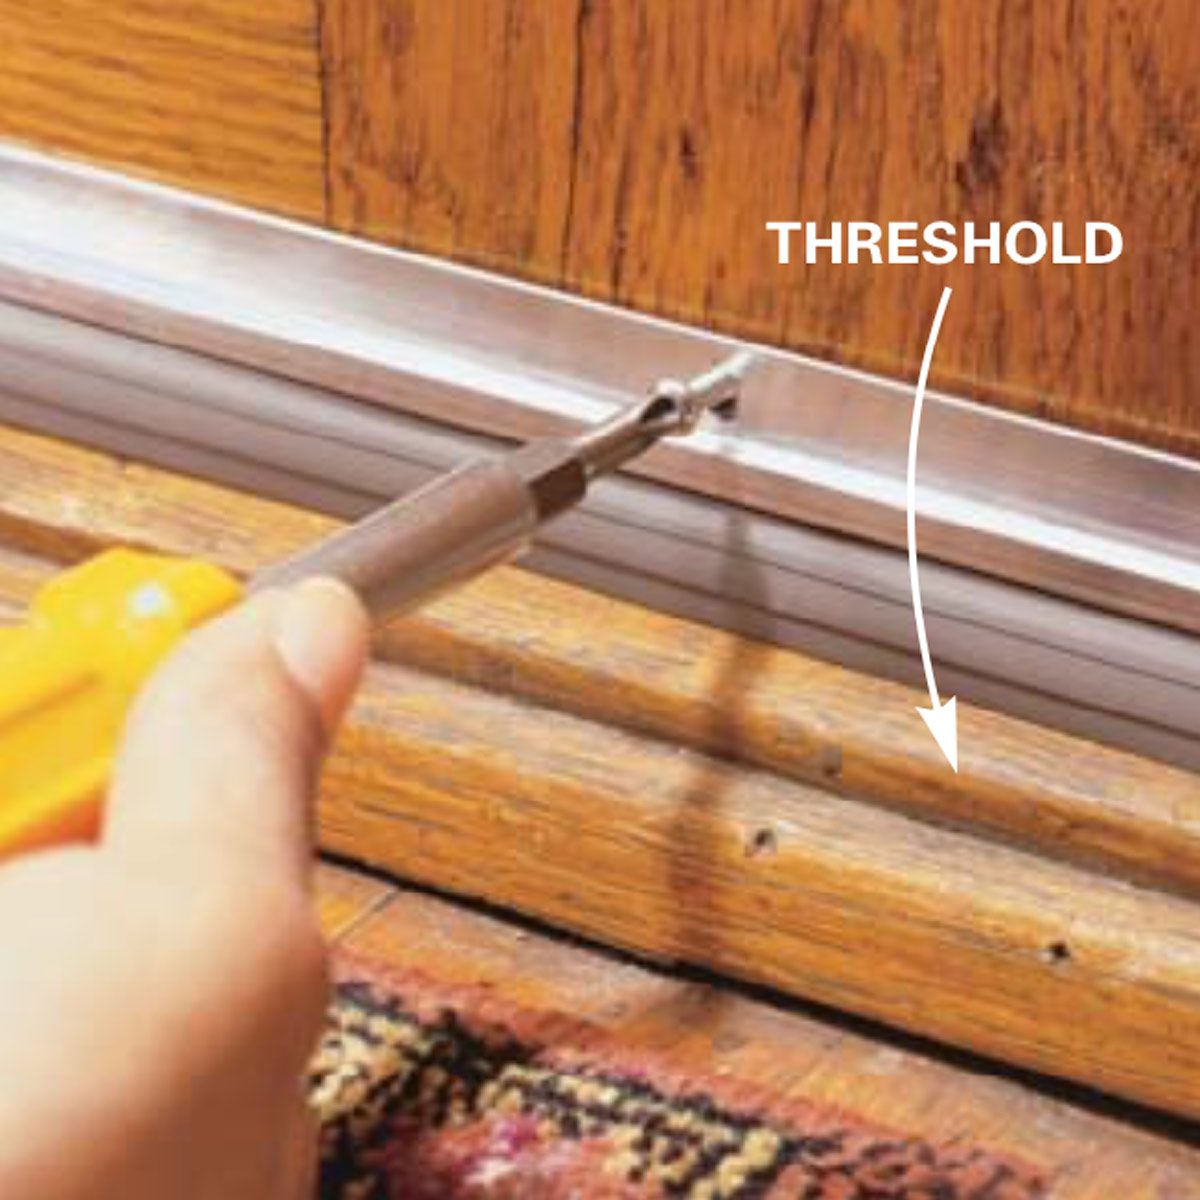
Step 3: Position and Attach. This is where things get specific depending on the type of weather stripping you chose. Door sweeps typically attach with screws or adhesive. For screws, position the sweep against the bottom of the door (usually on the interior side) and align it so it properly seals the gap. Use your pencil to mark the screw holes, then pre-drill pilot holes (if necessary). Screw the sweep securely into place.
If using adhesive, peel off the backing and carefully stick the weather stripping to the bottom of the door. Apply firm pressure to ensure good adhesion. Practical Tip: On a cold day, adhesive strips can sometimes be difficult to attach. Warmed up with a hairdryer for a few seconds prior to use will help with adhesion.

Step 4: The "Door Test." Open and close your door a few times to make sure the weather stripping isn't catching on the floor or door frame. If it is, you may need to adjust its position or trim it further.
Step 5: Admire Your Handiwork! You've successfully sealed the perimeter and are now one step closer to a draft-free, bug-free, dust-bunny-reduced sanctuary. Seriously, take a moment to appreciate the subtle but significant impact you've made.
A Brief Interlude: Weather Stripping Trivia
Did you know that weather stripping has been around in some form for centuries? Early versions involved using rags or mud to seal gaps. Thankfully, we've come a long way! The modern materials have evolved and are more efficient in their role. Think of it as the industrial revolution for door frames.
Beyond the Door: The Ripple Effect
Installing weather stripping isn't just about comfort and cleanliness. It's about saving energy, reducing your carbon footprint, and lowering your utility bills. Think of it as a small act of environmental stewardship that also happens to make your wallet happier. It's a win-win, like finding a parking spot right in front of your favorite coffee shop.
So, next time you feel a draft sneaking in under your door, remember this little project. It's a small investment of time and effort that yields surprisingly big results. And who knows, maybe you'll even inspire your neighbors to join the weather stripping revolution. After all, a well-sealed home is a happy home (and a less dusty one).