How To Install Weather Stripping On Exterior Door
Okay, let's talk weather stripping. I know, I know, it sounds about as exciting as watching paint dry. But trust me, this little home improvement project is like giving your house a cozy hug and saving you money at the same time. Think of it as putting on a good pair of socks in the winter – suddenly, everything just feels better!
Ever notice that weird draft sneaking in around your front door? Or maybe your energy bill is looking a bit… grumpy? That's where weather stripping swoops in to save the day. Basically, it's that squishy stuff that seals up the gaps around your doors (and windows, for that matter). Those gaps are like tiny little escape routes for your heat in the winter and your cool air in the summer. And that escaping air? It's money flying right out the door – literally!
Why Bother? It's All About the Benjamins (and Comfort!)
Let’s get real. Why should you spend an afternoon wrestling with sticky foam and tiny tacks? Here's the deal: weather stripping is a superhero in disguise.
Must Read
- Save Money: This is the big one. By sealing those drafts, you’re making your heating and cooling systems work less hard. Less work equals lower energy bills. Think of it as finding a twenty-dollar bill in your old jeans. Score!
- Stay Comfortable: No more icy blasts hitting you when you’re trying to relax on the couch. Weather stripping keeps your house at a consistent, comfortable temperature.
- Peace and Quiet: It can even help dampen outside noise! Think of it as a mute button for your house. Bliss!
- Keep Out the Critters: Bugs and creepy crawlies love sneaking in through those gaps. Weather stripping is like a bouncer for your home, keeping the unwanted guests outside.
Gather Your Gear: Time to Get Crafty!
Don't worry, you don't need to be a master carpenter for this. Here's what you'll need:
- New Weather Stripping: Head to your local hardware store. There are tons of options – foam, felt, rubber, vinyl. Ask a sales associate for advice if you're feeling overwhelmed. Think of it like picking out the right kind of chocolate – there's one that's perfect for you!
- Measuring Tape: You gotta know how much weather stripping you'll need.
- Scissors or Utility Knife: For cutting the weather stripping to the right size. Be careful!
- Hammer or Screwdriver: Depending on the type of weather stripping you choose.
- Cleaning Supplies: A clean surface is a happy surface. Wipe down the door frame with soap and water before you start.
Let's Get Stripping (Weather Stripping, That Is!)
Okay, deep breath. Here's the step-by-step:

- Prep the Area: Clean the door frame thoroughly. Remove any old, crumbly weather stripping. This is like giving your door a spa day before the main event.
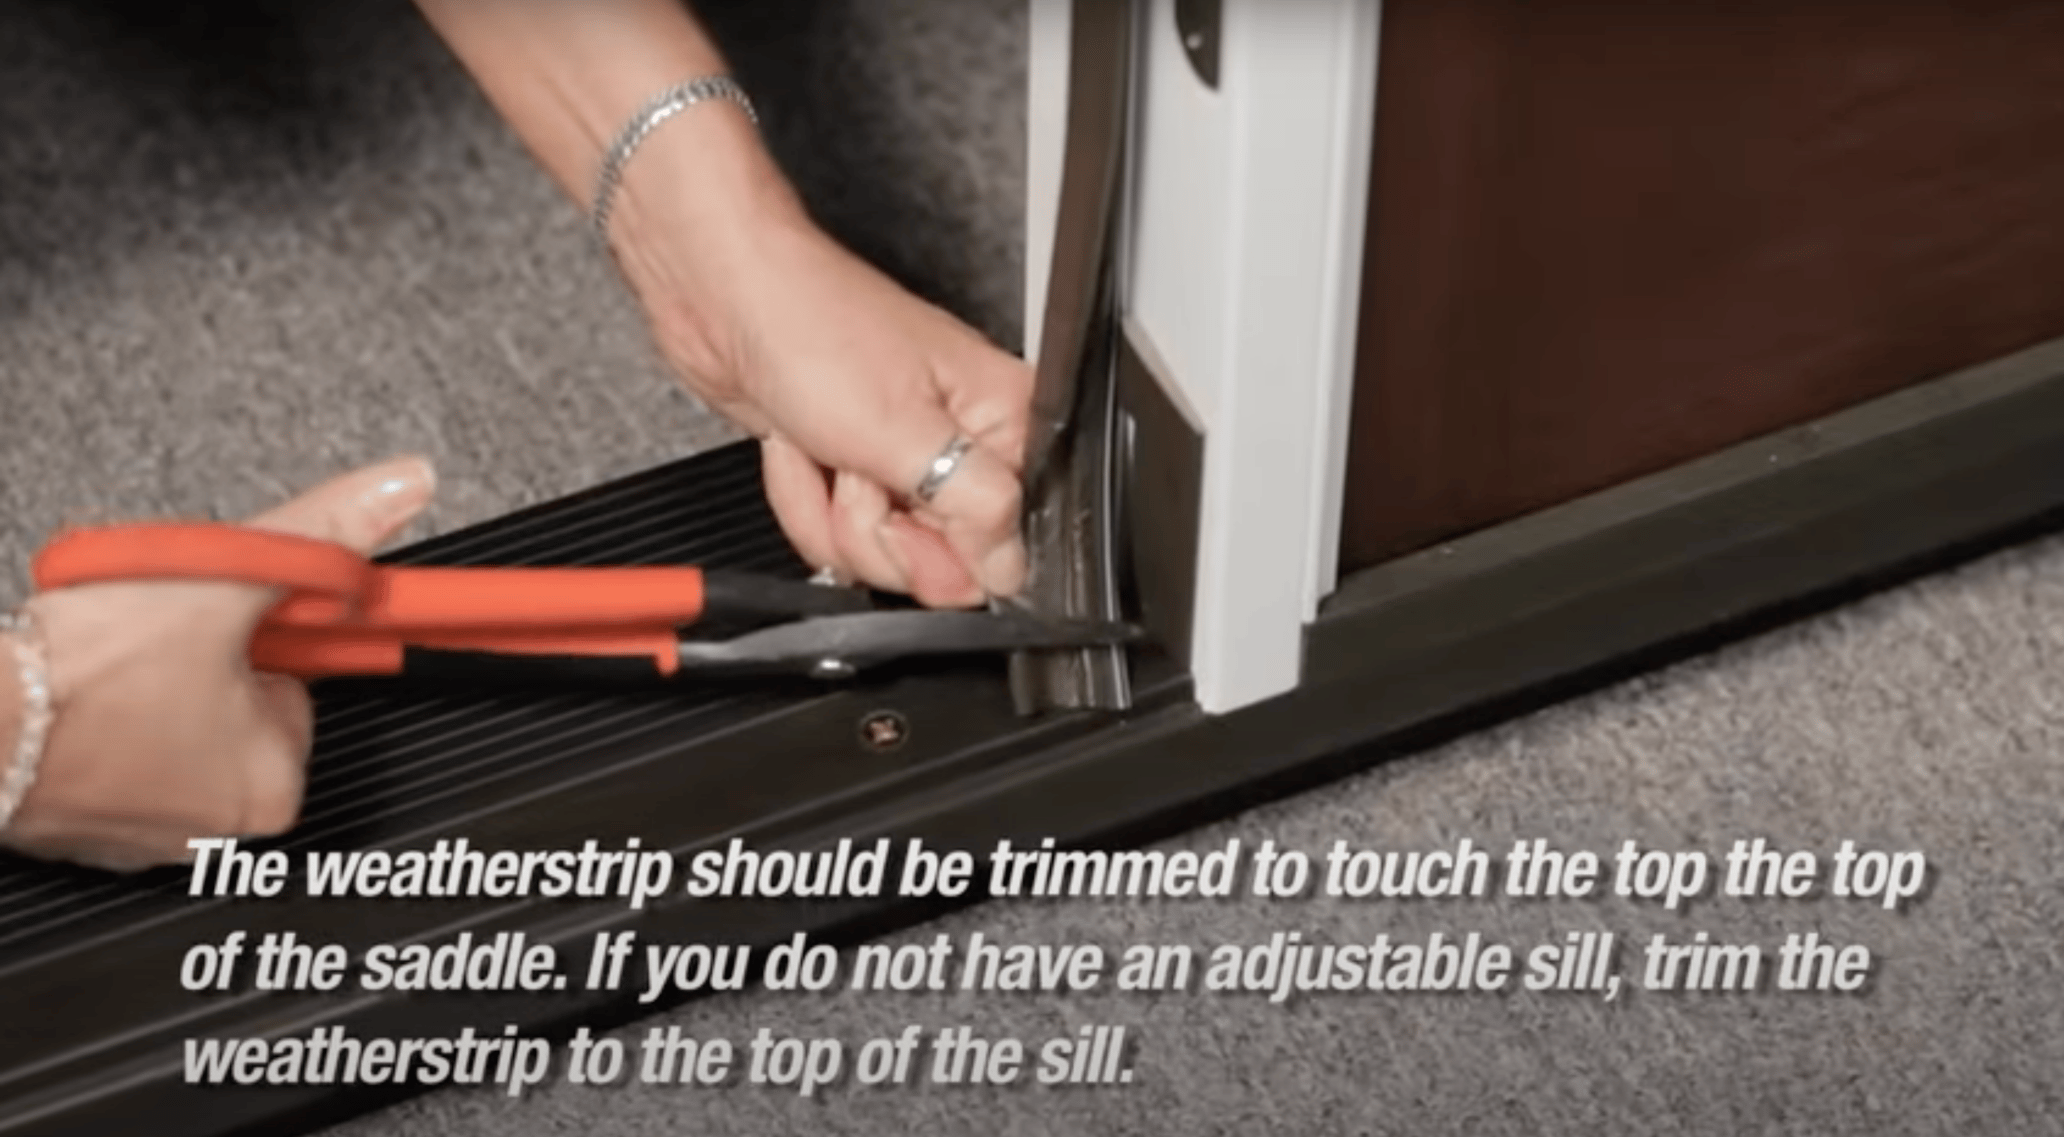
- Measure Twice, Cut Once: Measure the length of the door frame where you'll be applying the weather stripping. Then, cut the weather stripping to size. This is the most important step!
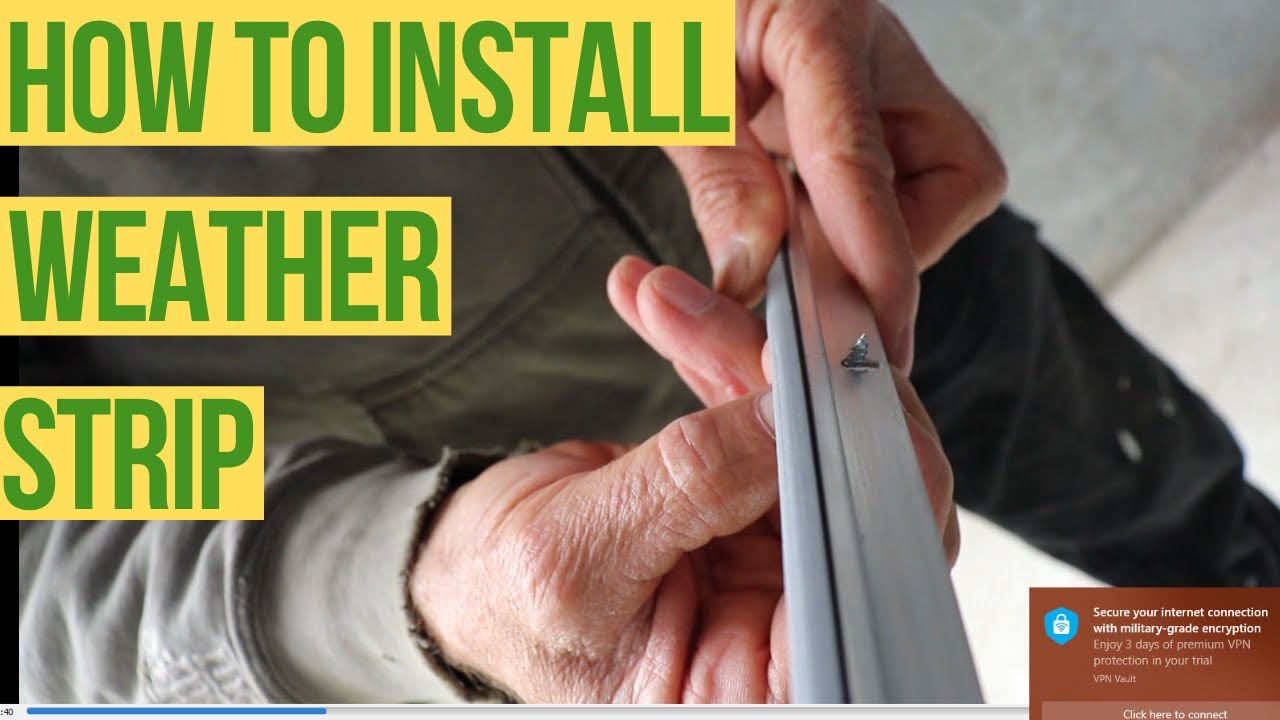
- Apply the Weather Stripping: This is where things get fun (sort of). Depending on the type of weather stripping, you'll either peel off the backing and stick it on, or you'll use tacks or screws to attach it. Make sure it's snug against the door when it's closed.
- Test It Out: Close the door and feel around the edges. Can you still feel a draft? If so, you might need to add a little more weather stripping or adjust what you've already installed.
Troubleshooting Time: Don't Panic!
Sometimes things don't go perfectly smoothly. Here are a few common issues and how to fix them:
- The door won't close properly: You might have installed the weather stripping too tightly. Try loosening it a bit.
- The weather stripping keeps falling off: Make sure you're using the right adhesive or fasteners. You might also need to clean the surface more thoroughly.
- You're still feeling a draft: Double-check that you've covered all the gaps. You might need to use a different type of weather stripping in some areas.
Think of this as a learning experience. Even if you mess up the first time, you'll get better at it. And remember, a little effort goes a long way in making your home more comfortable and energy-efficient.

You Did It! Now Enjoy the Cozy Vibes (and the Savings!)
Congratulations! You've successfully installed weather stripping on your exterior door. Now you can sit back, relax, and enjoy the cozy vibes of your draft-free home. And when that energy bill comes in lower next month? You can thank yourself for being such a savvy homeowner.
So, go forth and conquer those drafts! Your wallet (and your comfort level) will thank you.