How To Install A Solar Panel On A Motorhome
Alright, friend, so you're thinking about slapping some solar panels on your motorhome? Awesome! Get ready for some serious freedom and the ability to tell everyone you're "off-grid." (Even when you’re parked in your driveway. We won’t judge.) Don't worry, it's not as scary as it sounds. Think of it like building a really cool, energy-generating Lego set… that's stuck to your roof.
First things first: Gear Up!
Before we even think about climbing on the roof – and please be careful up there! – let's gather our supplies. Think of it as preparing for a picnic... a picnic where you're battling the sun and possibly gravity. You'll need:
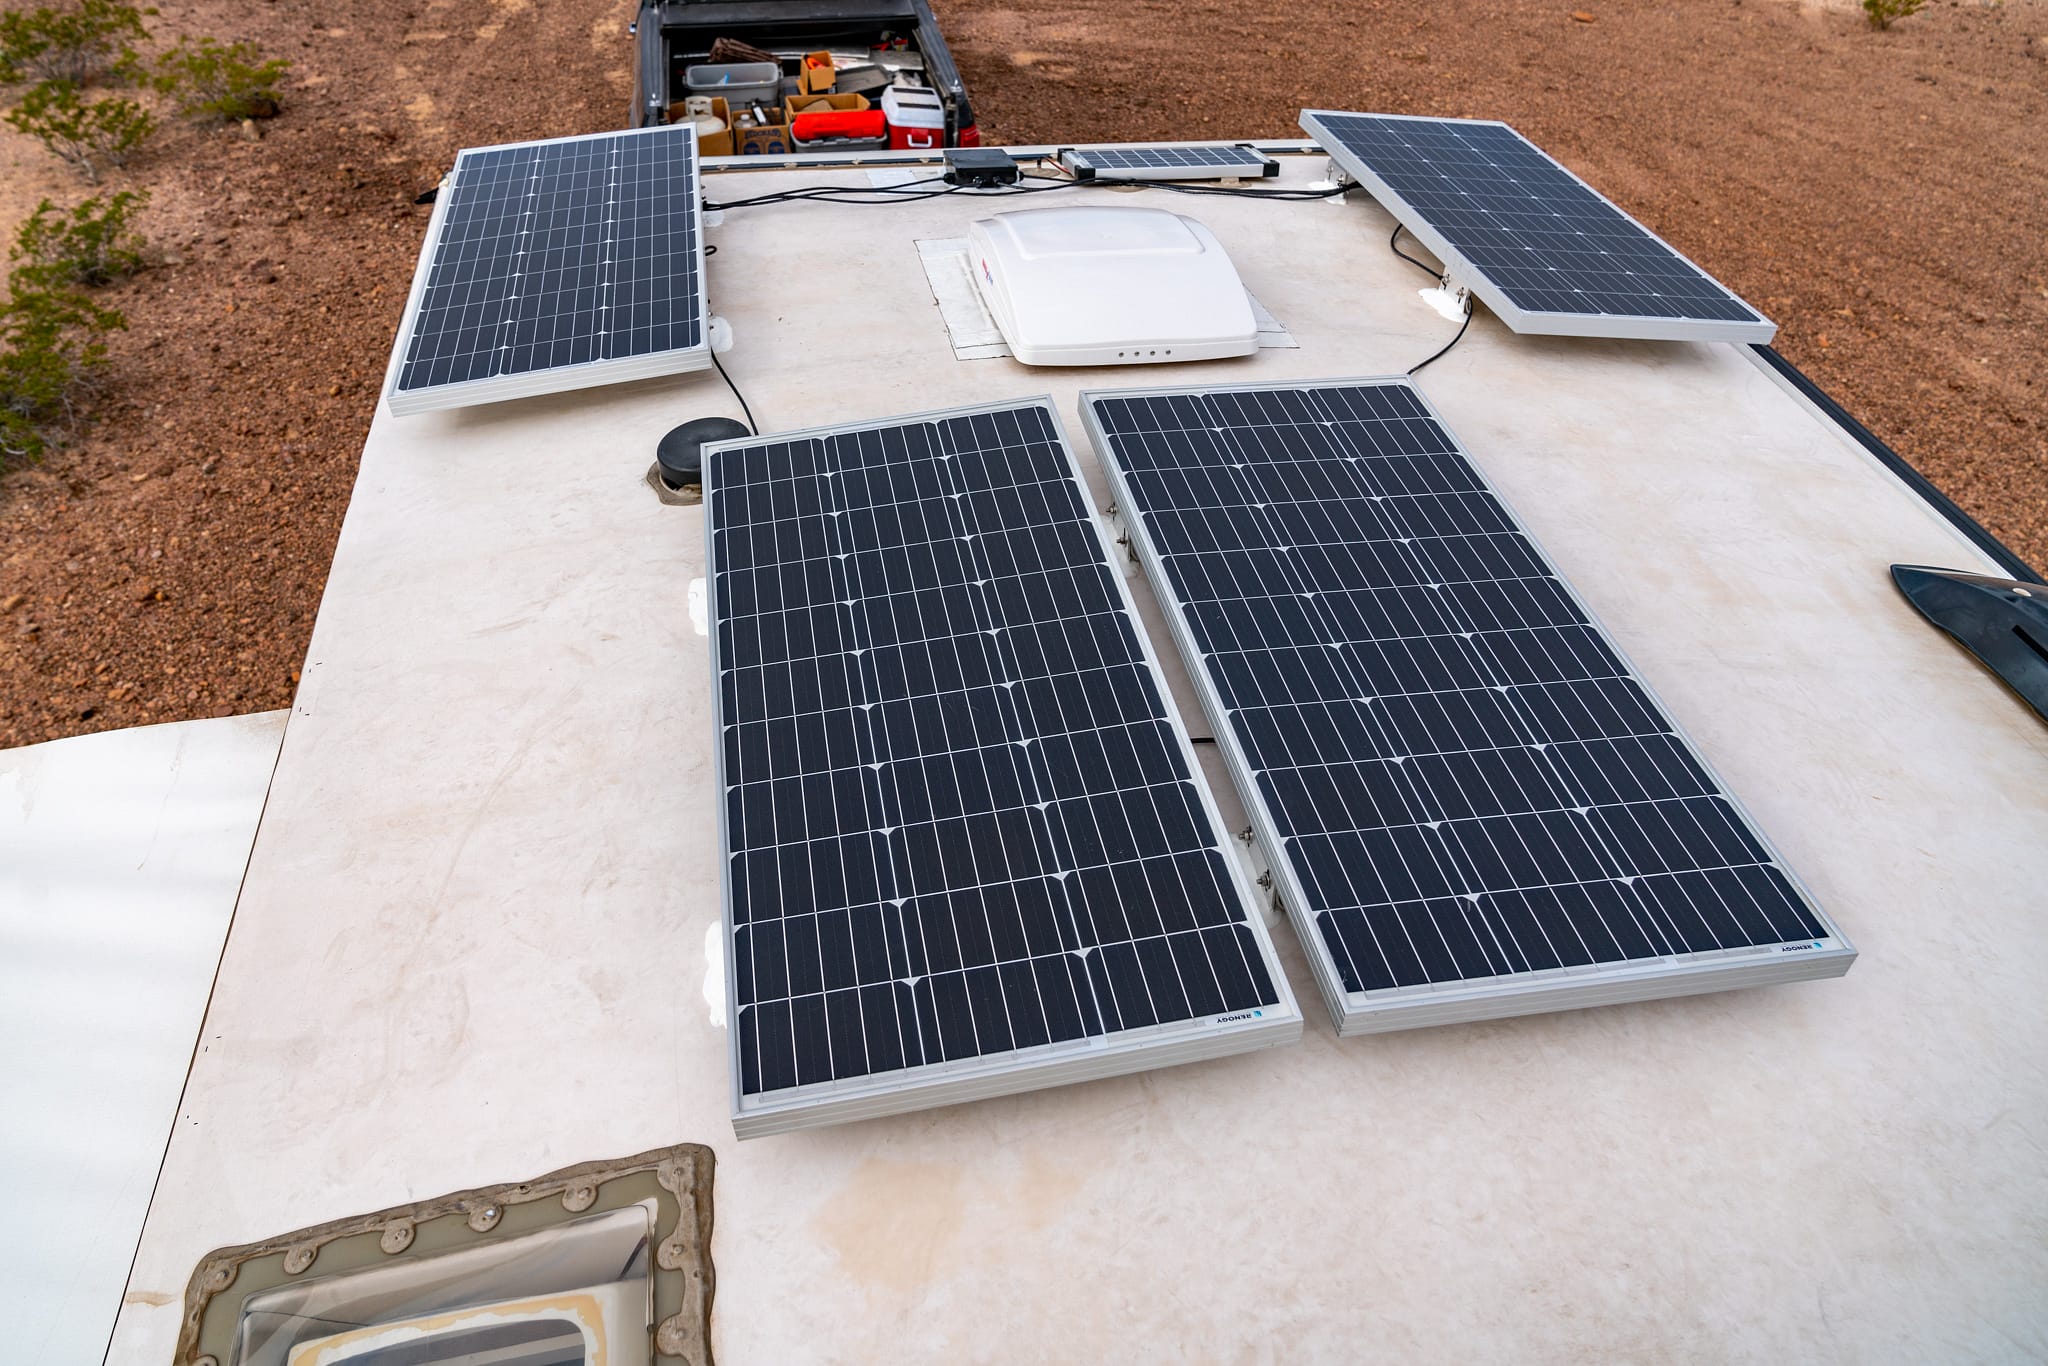
- Solar panels (Duh! Choose ones that fit your energy needs and roof space. Measure twice, buy once, as they say.)
- A charge controller (This is the brains of the operation, preventing your batteries from overcharging. Think of it as a bouncer for electricity.)
- Batteries (The energy storage units. You probably already have these, but make sure they're compatible with your system.)
- Mounting brackets (To securely attach the panels to your roof. Don't skimp on these! You don't want your solar panels becoming surprise projectiles on the highway.)
- Wiring (Get the right gauge! Too thin and you'll have a fire hazard. Too thick and you'll be wrestling with a garden hose disguised as electrical wire.)
- Connectors (MC4 connectors are the standard for solar panels. Make sure they're waterproof!)
- A voltmeter (To check your connections and make sure everything is working properly. Think of it as your electrical health inspector.)
- Tools! (Drill, screwdrivers, wire strippers, crimpers, sealant... the usual suspect. Also, a comfortable hat. The sun is a jerk.)
Oh, and definitely safety glasses. Seriously. Trust me on this one.
Must Read
Step 1: Plan Your Attack (Placement, That Is)
Where are you going to put these shiny new power generators? Consider: sunlight exposure, shading from trees or your AC unit (the nemesis!), and ease of access for installation and maintenance. Aim for the sunniest spot you can find. Imagine your panels are sunbathers, and you're helping them find the perfect tanning location.
Step 2: Mount Up! (The Panels, That Is)
Attach the mounting brackets to your solar panels according to the manufacturer's instructions. Then, carefully position the panels on your roof and mark where you need to drill. Now for the slightly scary part: drilling holes in your roof. Don't panic! Use a good sealant (like Dicor lap sealant – that's the good stuff) around the holes to prevent leaks. Water and electricity are not friends, remember? Securely bolt the mounting brackets to your roof.

Pro Tip: Before you drill, double, triple, and quadruple check that you're not drilling into any wires or plumbing. Trust me, you don't want to discover you've just accidentally added a skylight to your bathroom.
Step 3: Wire It Up! (The Electrical Kind)
Now comes the fun part: connecting the panels to the charge controller. This is where that voltmeter comes in handy! Make sure you're connecting the positive (+) and negative (-) terminals correctly. Reversing the polarity is a surefire way to have a bad day. Route the wires from the panels to the charge controller, usually through a weatherproof entry gland (a fancy name for a hole with a rubber thingy to keep water out). Connect the charge controller to your batteries, again making sure the polarity is correct. The charge controller will have detailed instructions, so follow those closely.
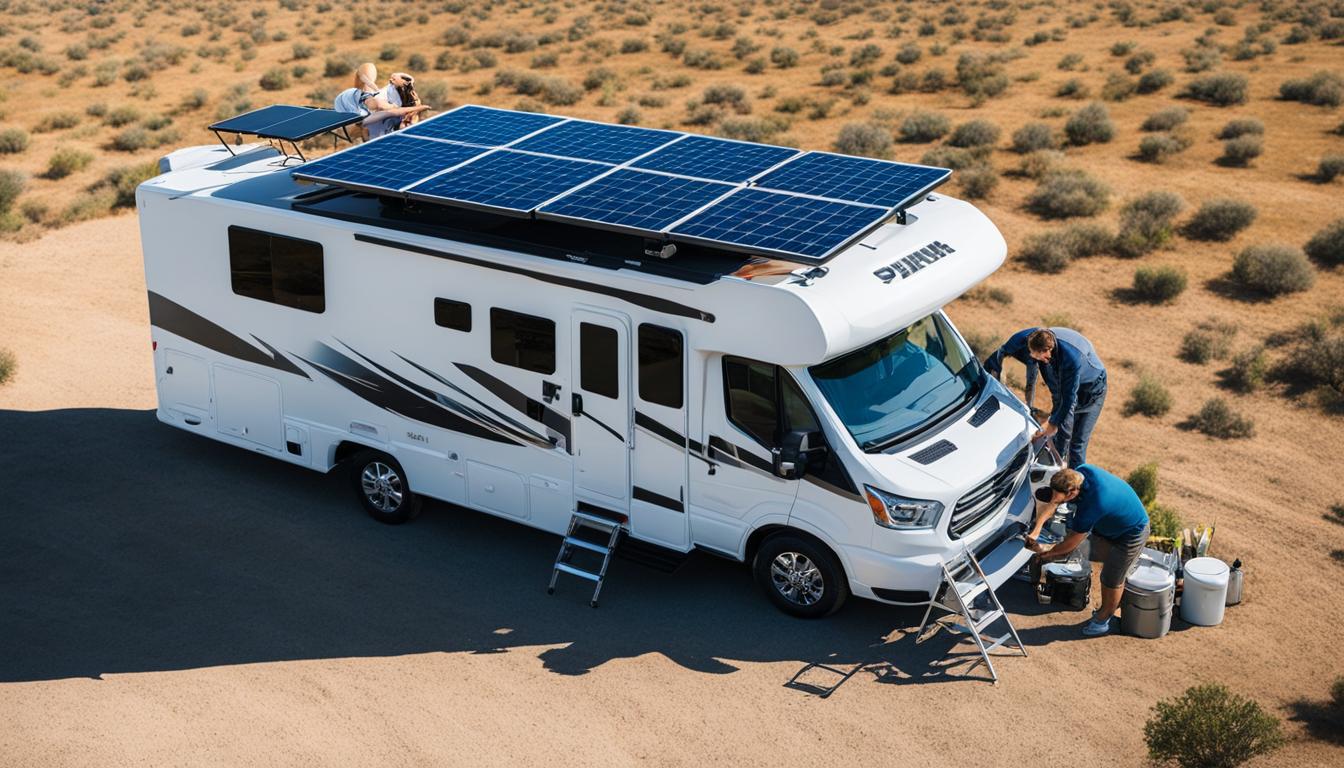
![How to Install a Solar Panel on an RV: A Step-By-Step Guide [Upd. 2021]](https://houseandbeyond.org/wp-content/uploads/2021/02/How-to-Install-Solar-Panel-on-RV-main.jpg)
Step 4: Test, Test, 1, 2, 3!
Once everything is connected, it's time to test the system. Use your voltmeter to check the voltage at the batteries. If everything is working correctly, you should see the voltage slowly increasing as the sun charges the batteries. If not, retrace your steps and check all your connections. Troubleshooting is part of the fun (or at least, that's what we tell ourselves).
Step 5: Celebrate! (Responsibly)
Congratulations! You've successfully installed solar panels on your motorhome. Now you can bask in the glory of free energy and tell everyone about your newfound self-sufficiency. Go ahead, brag a little. You deserve it! Just maybe don't rub it in too much to those folks still chained to the grid. Unless they're annoying, then go for it.
Remember, this is a general guide, and specific instructions may vary depending on your equipment. Always consult the manufacturer's instructions and, if you're not comfortable with electrical work, hire a qualified electrician. Safety first, friend!
Now, go forth and soak up the sun! You've earned it. May your adventures be powered by sunshine and good vibes!
