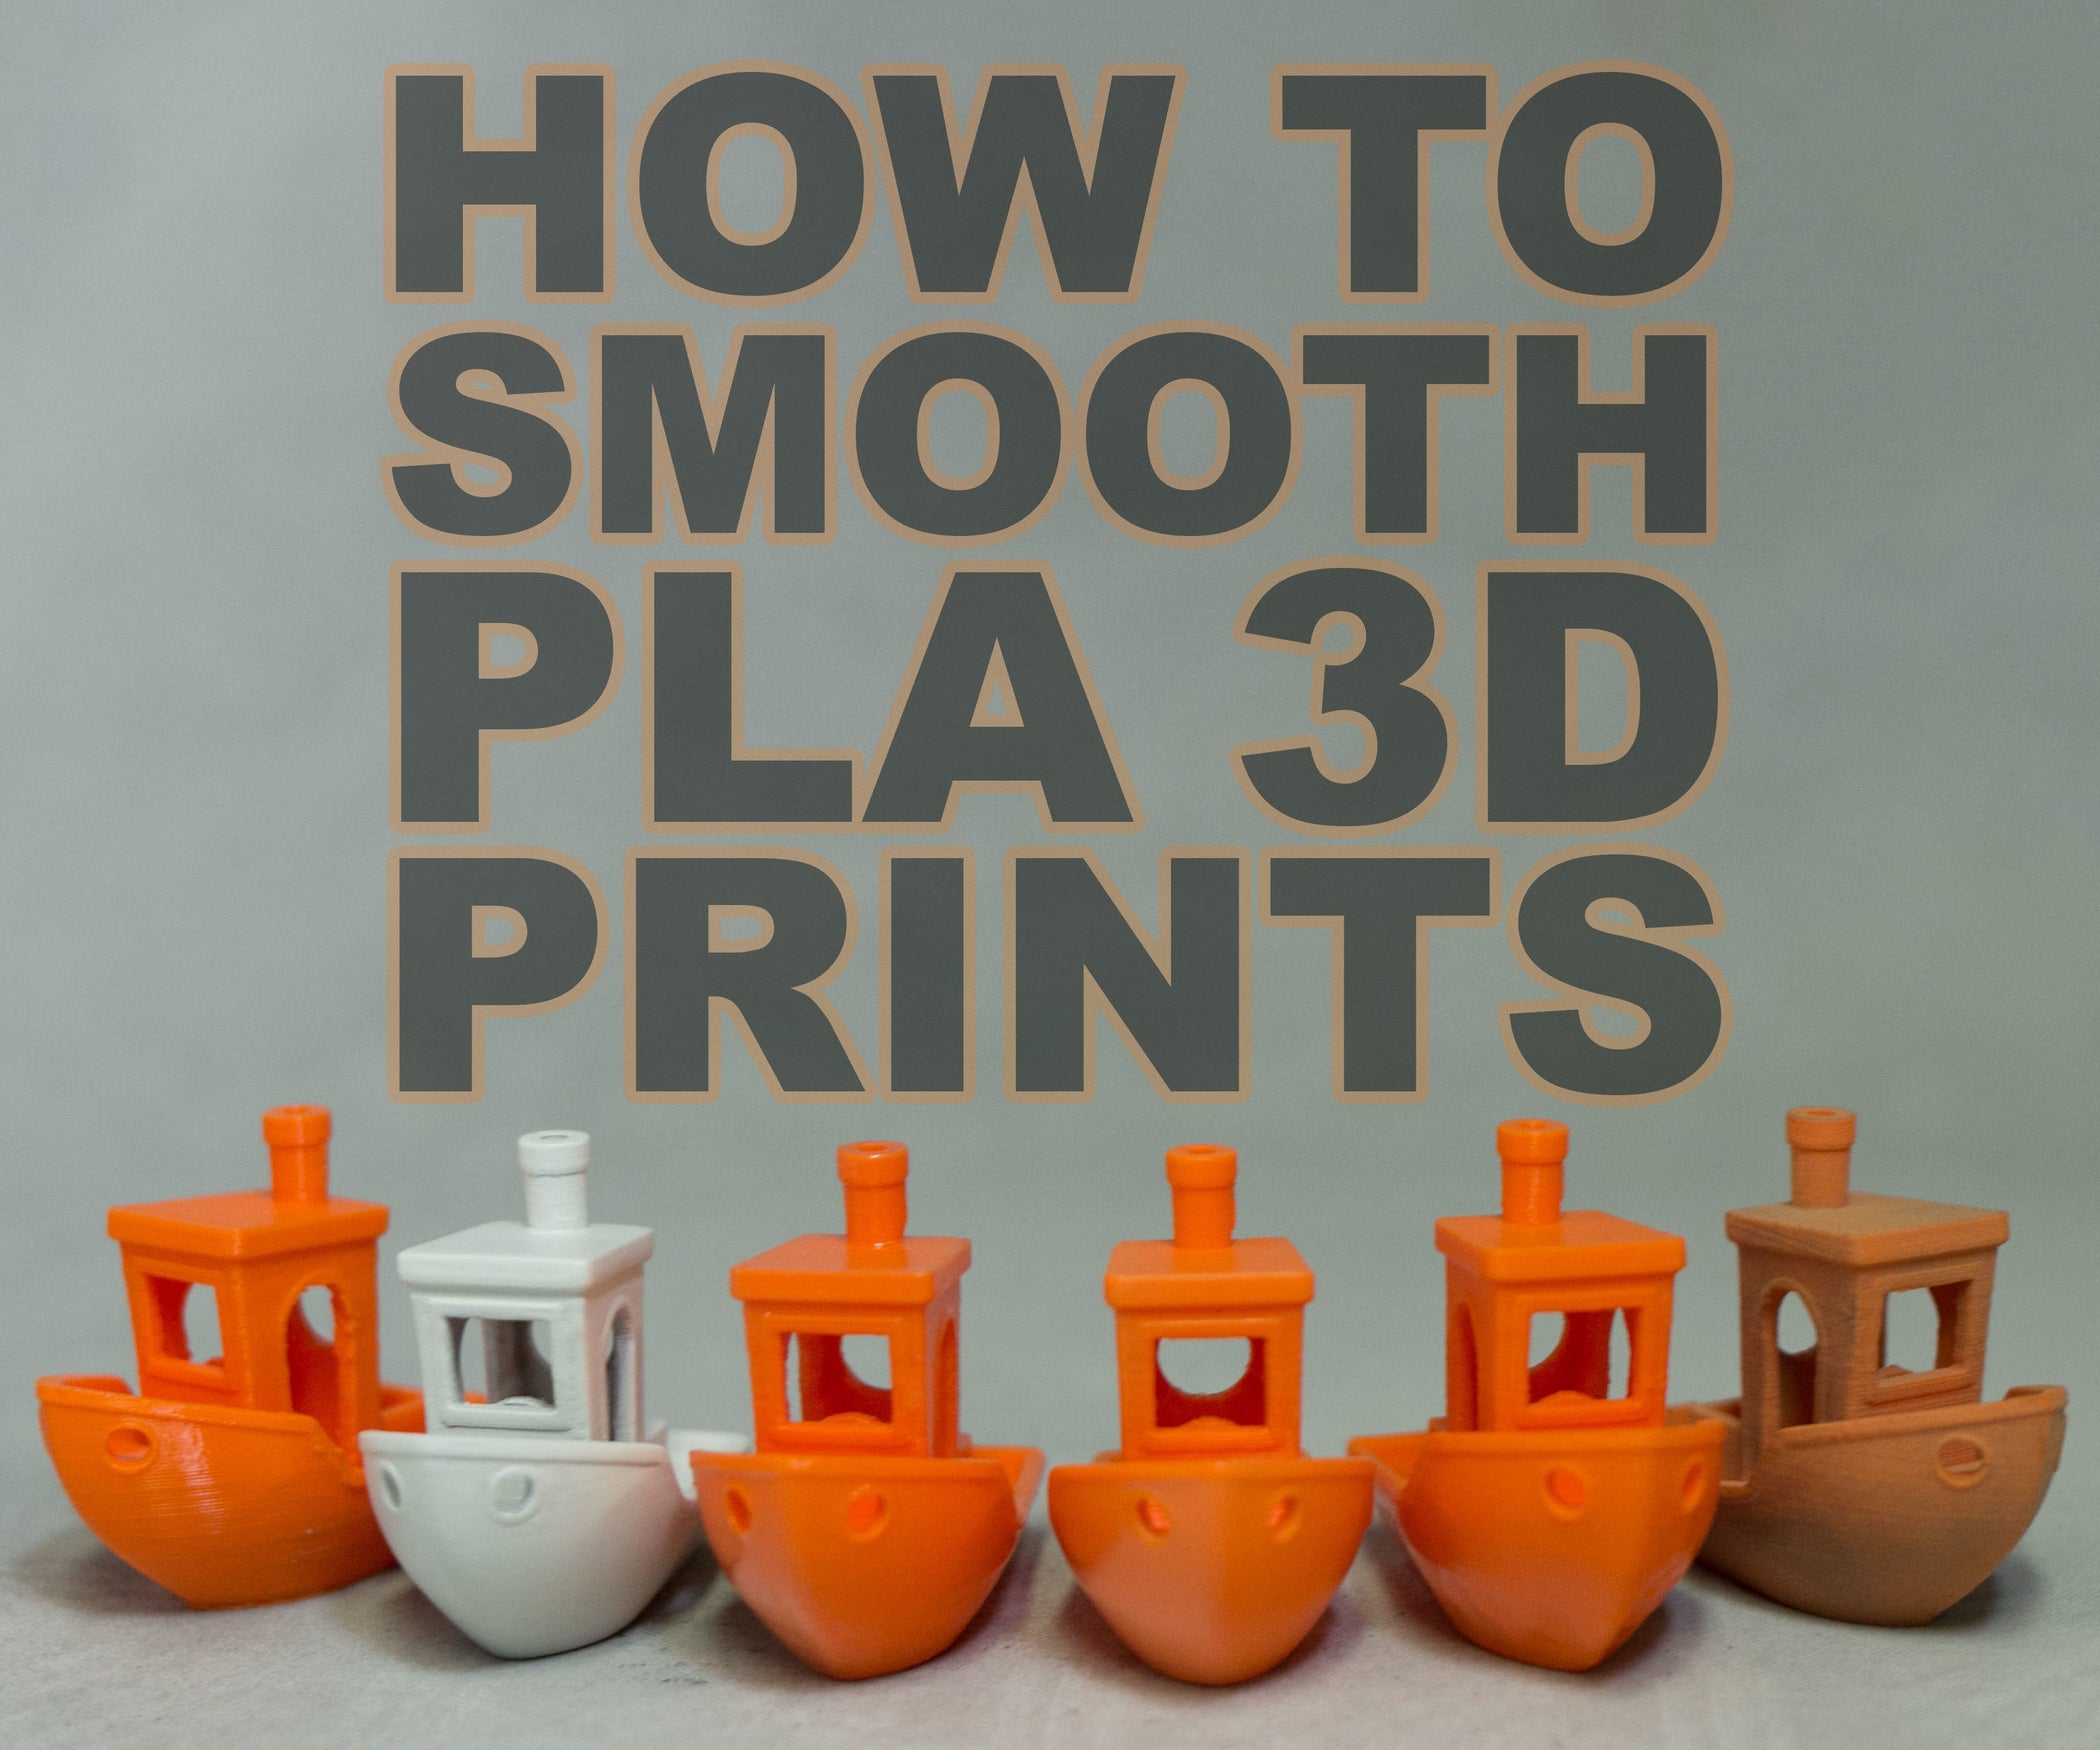
How To Get Smoother 3d Prints
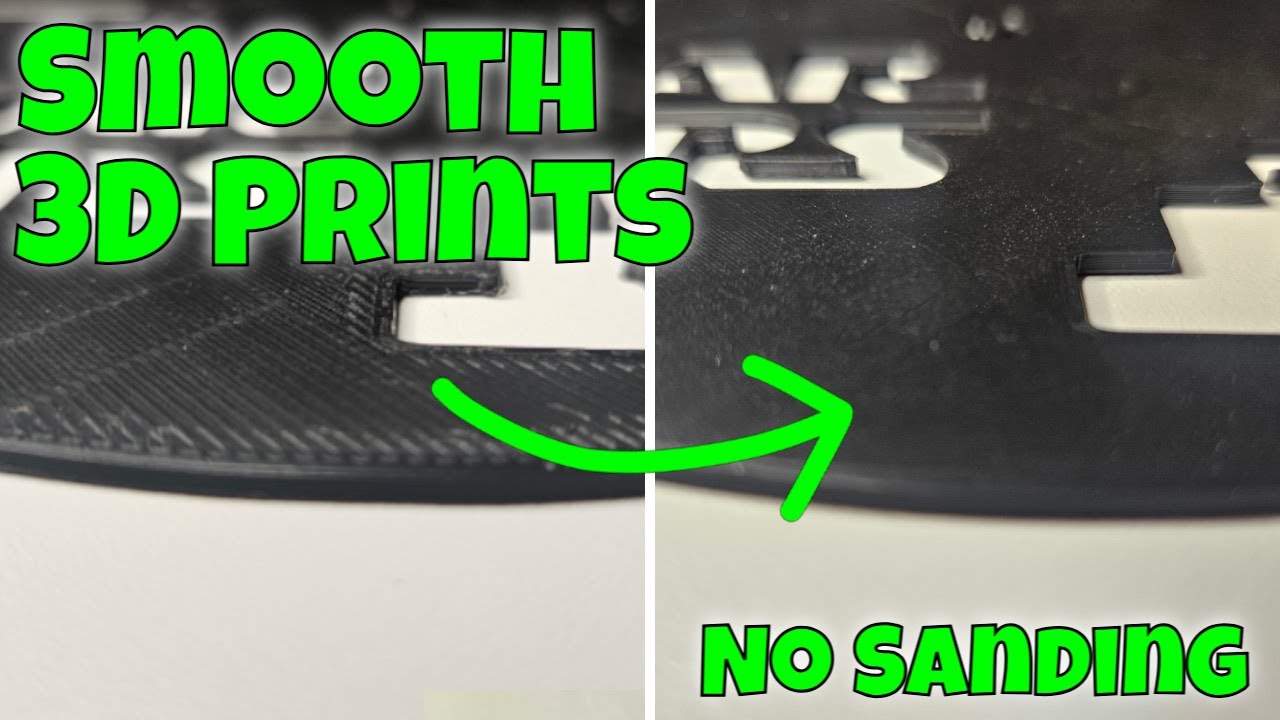
There's a special kind of magic that happens when you watch a 3D printer bring a digital design to life, layer by tiny layer. From complex prototypes to whimsical figurines, the possibilities seem endless. But often, once the print is complete and you hold it in your hand, you might notice something a little... textured. Those subtle lines, those tiny ridges – they're the tell-tale signs of the printing process. While perfectly functional, sometimes we crave that sleek, professional finish, don't we? This is where the fun begins: learning how to get smoother 3D prints.
It’s not just about vanity, though a beautiful print is certainly satisfying! The purpose of smoothing your 3D prints extends beyond mere aesthetics. A smoother surface can lead to a host of practical benefits. For instance, parts that need to fit together precisely, like gears or interlocking components, will often function much better with less friction and a more accurate fit. Smoother surfaces are also generally stronger in certain stress conditions and much easier to clean, as dirt and grime have fewer nooks and crannies to cling to. Imagine a piece of medical equipment or a food-safe utensil – a smooth finish isn't just nice, it's essential for hygiene and durability.
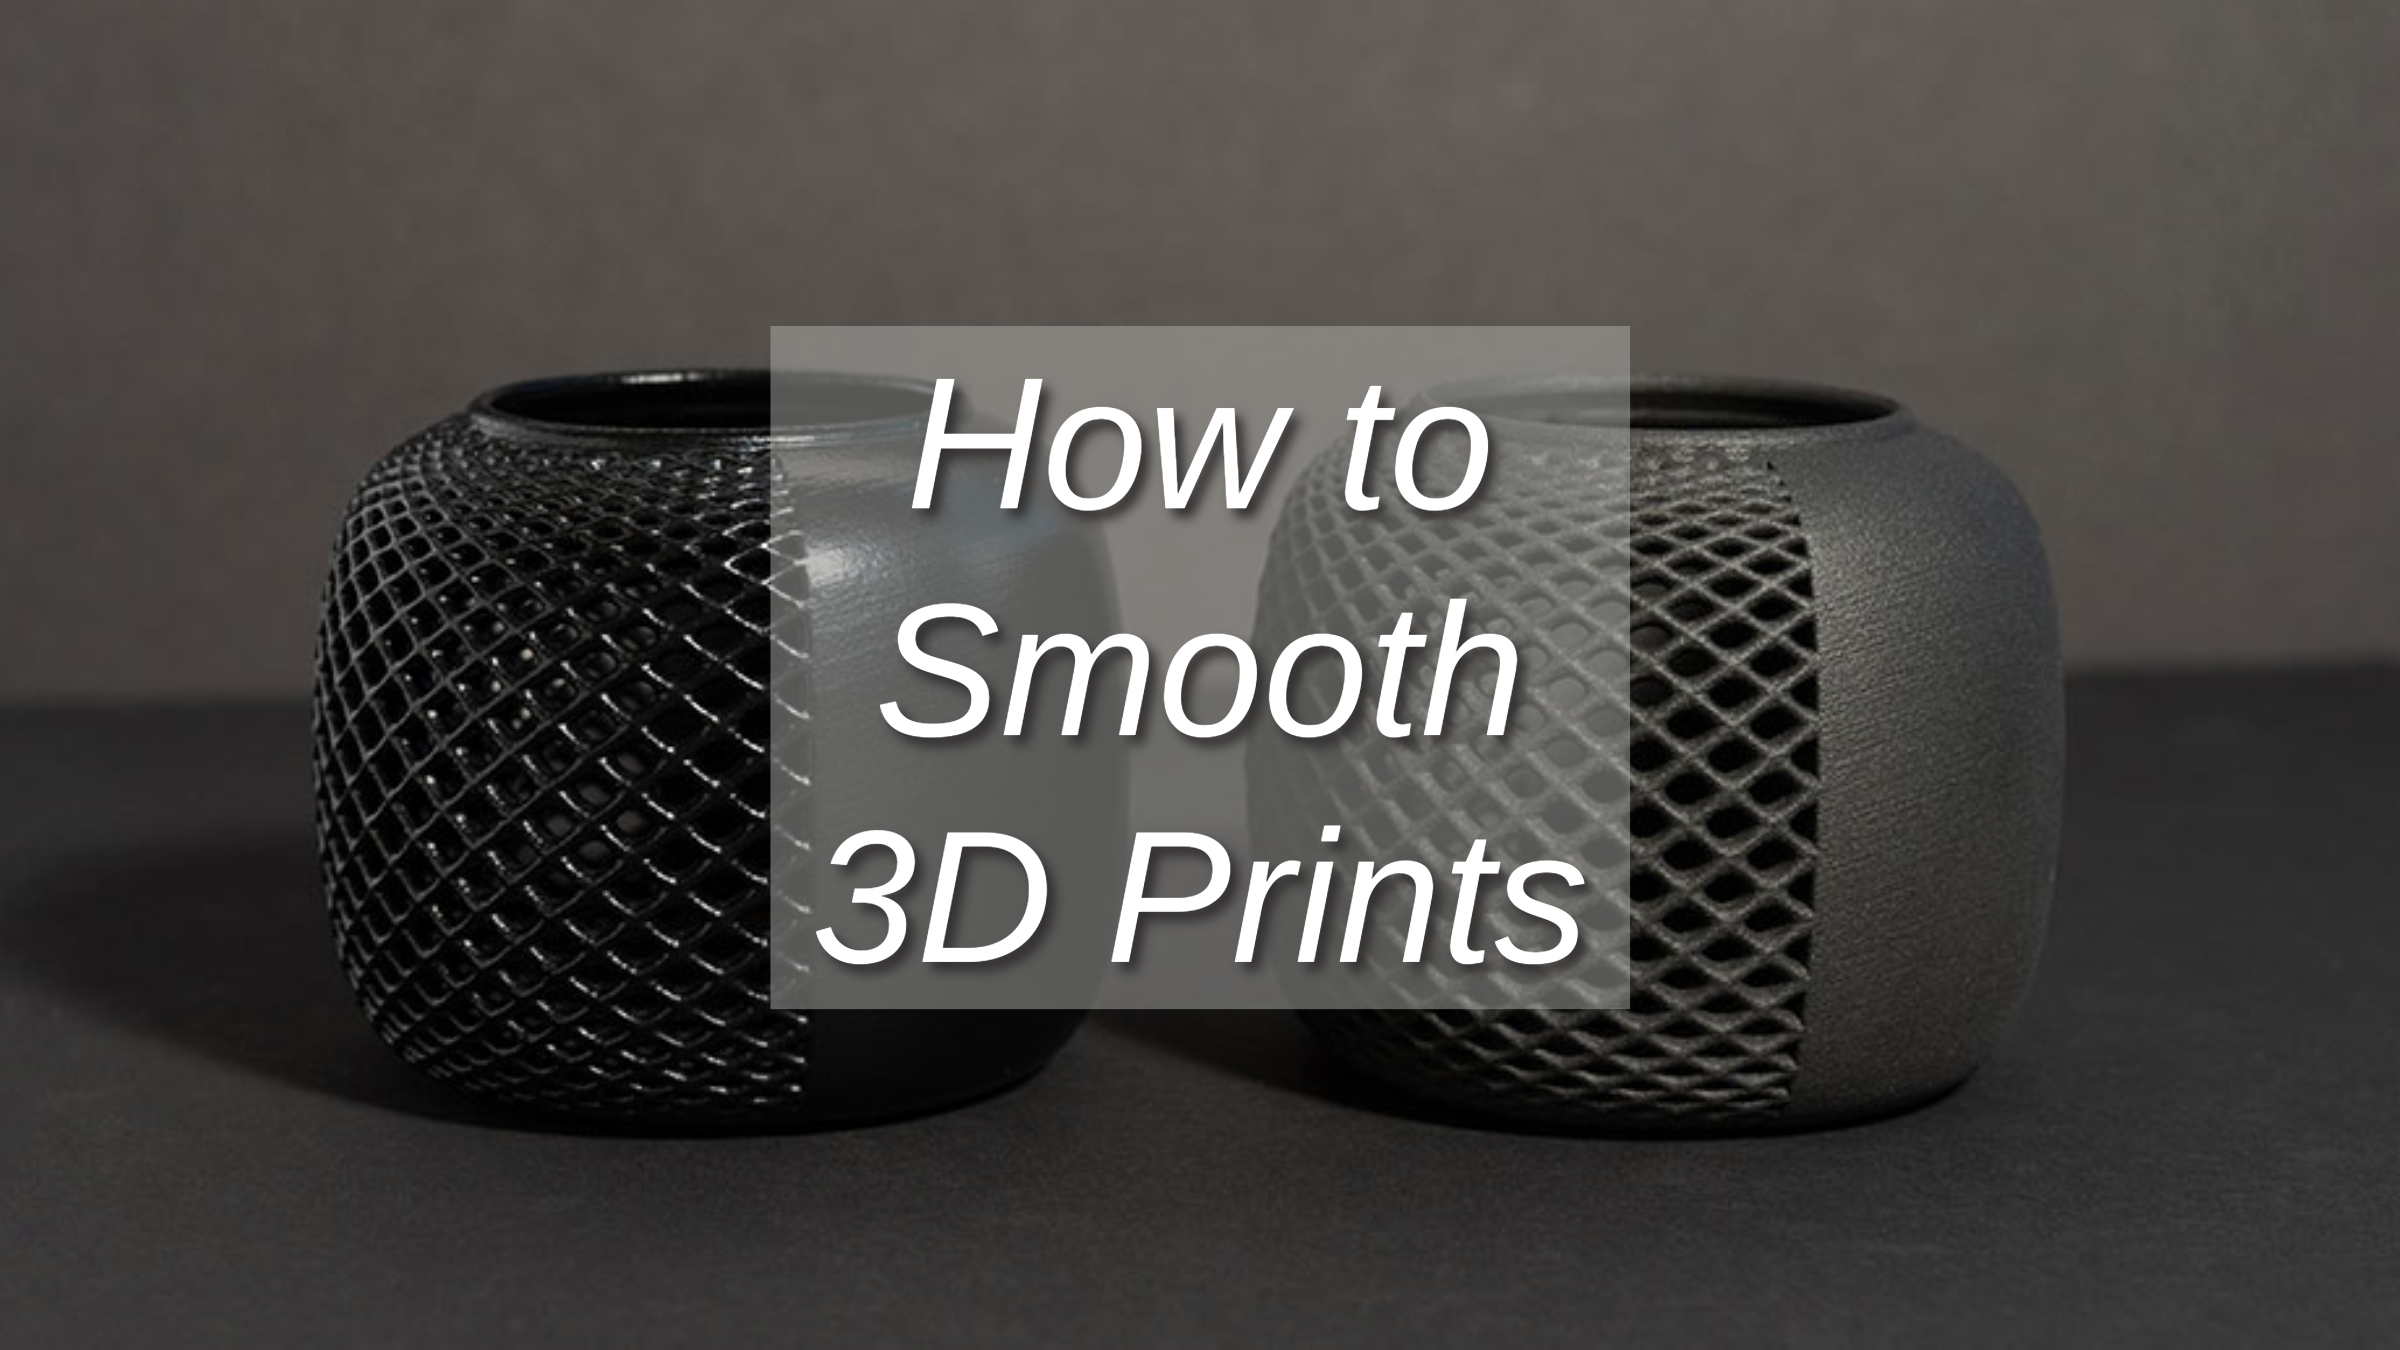
This quest for smoothness isn't just for hobbyists; it pops up in various aspects of education and daily life. In schools, students in design and technology classes might print prototypes for projects – a smoother finish makes their designs look more professional and function as intended during presentations. Imagine a student designing a new ergonomic handle for a tool; a smooth prototype allows for better testing and feedback. In daily life, consider custom-printed phone holders, unique home decor, or even cosplay props. A rough, layered surface on a beautifully designed vase might detract from its elegance, but a carefully smoothed one could pass for a store-bought item. Even spare parts for household repairs, like a custom knob for an appliance, benefit from a good finish, making them feel less "homemade" and more integrated.
Must Read
So, how do we achieve this silky-smooth dream? Thankfully, there are several practical tips and simple ways to explore post-processing. One of the easiest starting points is actually within your printer's settings. Printing with a lower layer height (e.g., 0.1mm instead of 0.2mm) significantly reduces the visibility of layers, creating a much finer starting point. Also, printing at a slower speed can allow your printer to lay down plastic more precisely, minimizing imperfections. Ensuring your printer's cooling is optimized and that your filament extrusion is perfectly calibrated are also crucial steps.
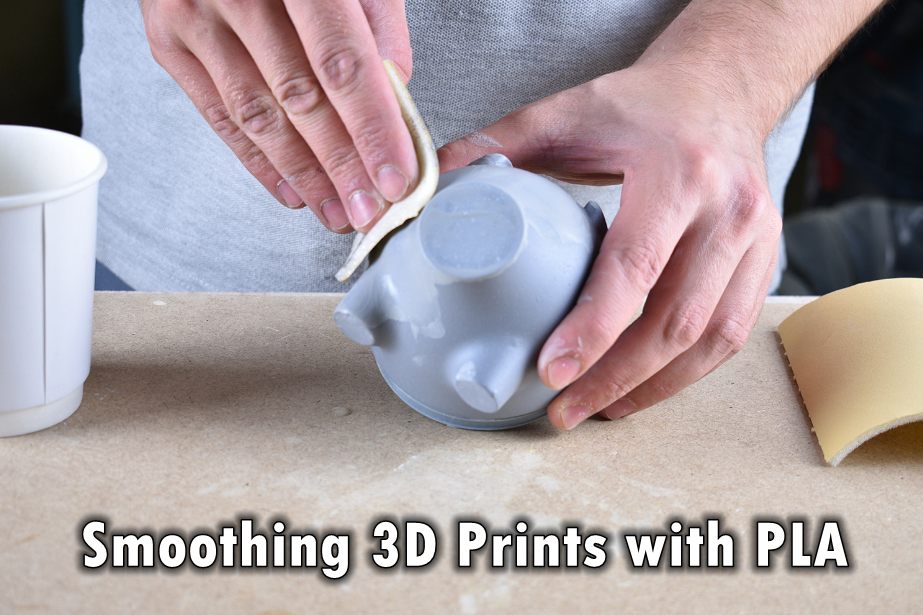
Beyond settings, hands-on post-processing is where you can truly transform a print. The most common method is sanding. Start with a coarser grit sandpaper (around 150-200) to quickly remove significant layer lines, then progressively move to finer grits (400, 800, 1000, or even higher) to achieve an incredibly smooth finish. For certain plastics like ABS, a technique called vapor smoothing can be used, where acetone vapor gently melts the outer layer, but this requires caution and proper ventilation. Another fantastic option is to apply a filler primer after initial sanding. This coats the print, filling in minor imperfections, and provides an excellent base for painting. Experimentation is key – try different grits, different primers, and see what works best for your specific filament and desired outcome. The journey to a perfectly smooth print is an incredibly rewarding one!