How To Form Carbon Fiber Parts

Ever gazed longingly at a sleek racing bike, a futuristic drone, or even a high-performance sports car and wondered what makes them so light yet incredibly strong? Chances are, you're admiring the magic of carbon fiber! This material isn't just for aerospace engineers and millionaire supercar owners anymore; it's becoming more accessible and finding its way into all sorts of cool gadgets and everyday items. Understanding how these incredible parts are formed is a bit like peeking behind the curtain of modern manufacturing – and it's surprisingly fascinating!
So, what's the big deal with carbon fiber? The purpose and benefits are quite simple, yet profound: it offers an unbeatable combination of strength-to-weight ratio. Imagine a material that's five times stronger than steel but weighs two-thirds less! This means lighter vehicles that are more fuel-efficient, faster sports equipment, and durable components that can withstand extreme conditions. Plus, let's be honest, the distinctive woven pattern of carbon fiber just looks incredibly cool and high-tech.
Now, let's dive into the fun part: how do they actually make these amazing carbon fiber parts? It's a process that combines science, engineering, and a touch of artistry. Here’s a simplified breakdown:
Must Read
The Raw Material: Tiny Fibers, Big Strength
It all begins with incredibly thin threads of pure carbon, thinner than a human hair. These threads are spun together and then woven into a fabric, much like cloth. This fabric is what you typically see, often in patterns like "twill" or "plain weave."The "Glue": Resin is Key
The carbon fiber fabric itself is flexible and floppy. To give it rigidity and strength, it needs a binder, most commonly an epoxy resin. Think of the carbon fibers as the skeleton and the resin as the hardening muscle that locks everything into place. Sometimes the fabric comes pre-impregnated with resin ("pre-preg"), or liquid resin is applied during the shaping process.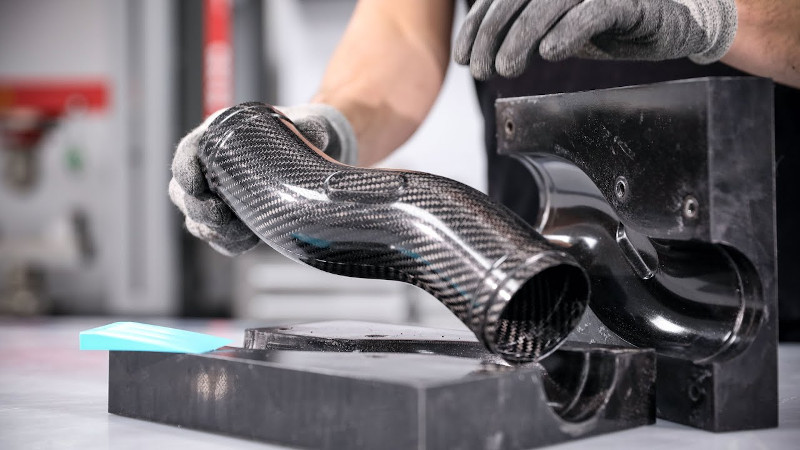
Techniques For Making Complex Carbon Fibre Tube Parts | Hackaday The Mold: Setting the Shape
To create a specific part, you need a mold. This mold is a perfect negative impression of the desired component, meticulously crafted from durable materials that can withstand heat and pressure.The Lay-Up: Building Layers
This is where the magic begins. Layers of the carbon fiber fabric are carefully placed into the mold. This isn't random; engineers strategically orient the fibers in different directions to achieve maximum strength and stiffness exactly where it's needed most. If not using pre-preg, liquid resin is applied to each layer, saturating the fibers and removing any air bubbles.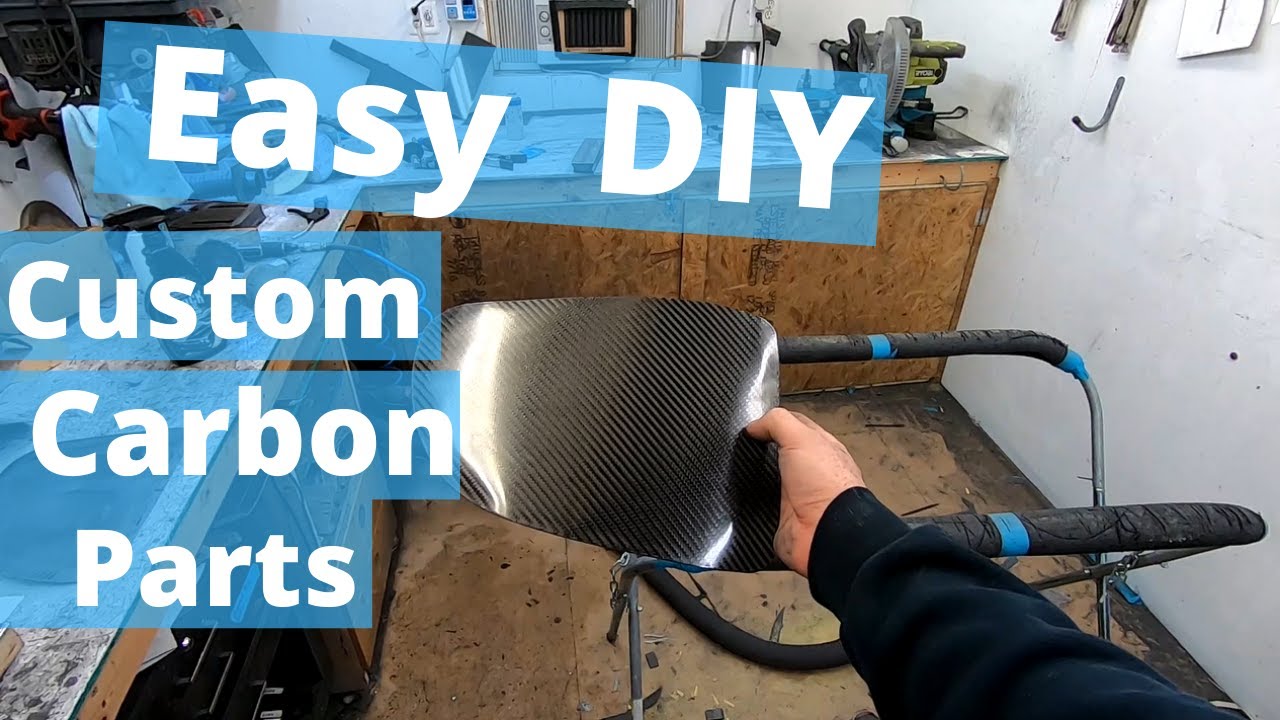
Easy DIY Custom Carbon Fiber Parts - YouTube Compaction & Curing: The Transformation
To ensure a solid, void-free part, pressure is applied. This is often done using a vacuum bag (which sucks out air and presses the layers together) or, for higher performance parts, in an autoclave (a specialized oven that uses heat and high pressure). The heat causes the resin to "cure," transforming it from a sticky liquid into a hard, rigid plastic that permanently binds the carbon fibers together. This curing process is absolutely crucial for the final strength of the part.Finishing Touches: Ready for Action
Once cured, the part is removed from the mold. Any excess material is trimmed, edges are smoothed, and often a clear coat is applied to protect the surface and give it that signature glossy, deep carbon fiber look.
And there you have it! From tiny carbon strands to a super-strong, lightweight component ready for action. While the process can involve advanced machinery, the core principles are quite straightforward: strong fibers, a binding resin, a mold to dictate the shape, and some pressure and heat to make it all permanent. It's a brilliant blend of material science and engineering that gives us those amazing performance gains we see in so many modern marvels!

