How To Check Gas Line For Leaks
Alright, homebodies and kitchen adventurers! Let's talk about something that's super important but often flies under the radar: your gas lines. We're not talking about a scary, complicated lecture here, but more of a friendly chat about keeping your cozy haven safe and sound. Think of it as giving your home a little health check-up, just like you'd pamper yourself with a good face mask or a restorative yoga session. Peace of mind? It's the ultimate home accessory.
From firing up that gourmet stove to keeping your water toasty, natural gas (or propane) is a silent hero in many modern homes. But, like any hero, it needs a little attention now and then. The good news? Checking for gas leaks is surprisingly simple, empowering you with a little DIY superpower. Ready to become a gas line guru? Let's dive in!
The Ol' Sniff Test: Trust Your Nose
First things first, your nose is your first line of defense. Natural gas is actually odorless, but gas companies add a special chemical called mercaptan to give it a distinctive, unmistakable smell – often described as rotten eggs or sulfur. It's a bit like a stinky superhero cape, specifically designed to alert you!
Must Read
- If you ever catch a whiff of this smell, indoors or out, don't ignore it.
- It’s a clear signal that something might be amiss.
- Immediate action is key here. More on that later.
The Visual Check: A Quick Look-See
Before we get to our main event, take a quick stroll around your appliances that use gas – your furnace, water heater, stove, dryer, and any outdoor BBQ connections. What are you looking for?
- Damaged Hoses: Are there any visible cracks, kinks, or frayed spots on flexible gas lines?
- Loose Connections: Do any connections look corroded, rusty, or simply not snug?
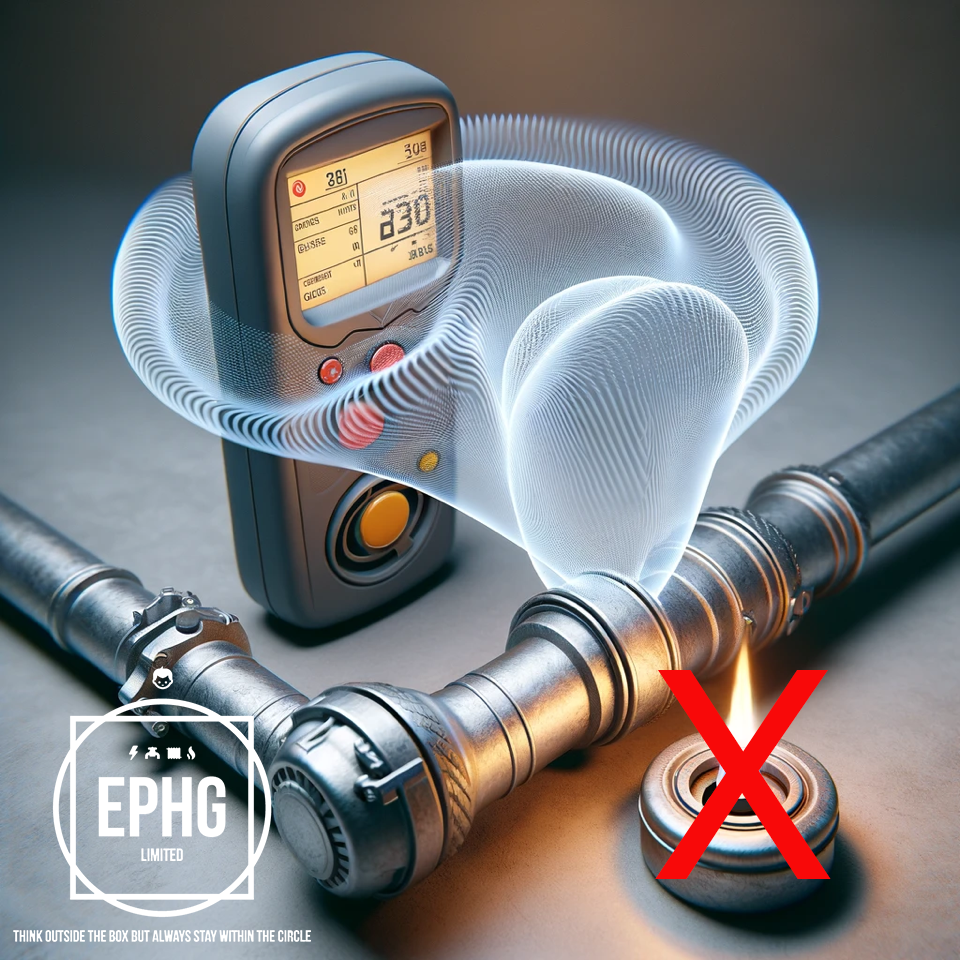
- Pilot Lights: If applicable, are pilot lights burning with a strong, blue flame? A weak or yellow flame can sometimes indicate an issue.
Even if everything looks tip-top, a quick visual inspection is always a great habit to build. It’s like glancing at your car tires before a long drive – a small step for big safety.

The Star of the Show: The Soap & Water Test
This is where the magic happens, and it's surprisingly fun! All you need is a little dish soap, some water, and a spray bottle or sponge. It's practically a science experiment you can do in your PJs!
What You'll Need:
- Dish Soap: Any liquid dish soap will do the trick.
- Water: Just plain old tap water.
- A Spray Bottle or Sponge: For easy application. A spray bottle is often best for getting into tricky spots.
- Your Eyes: To spot those tell-tale bubbles!
How to Do It:
- Mix Your Solution: In your spray bottle or a small bowl, mix about one part dish soap with one part water. You want a good, sudsy consistency, like you’re ready to blow some serious bubbles!
- Apply Generously: Spray or dab the soapy solution onto all the gas connections and joints you can safely reach. Focus on the threaded areas where pipes connect, the valve stems, and any appliance connections.
- Watch for Bubbles: This is the exciting part! If there’s a leak, the escaping gas will create bubbles in the soapy solution. Think of it like a tiny, enthusiastic bubble machine dancing on your gas line. The bigger and faster the bubbles, the more significant the leak.
- Wipe Away: Once you’ve checked all the connections, simply wipe off the soapy residue with a damp cloth.
This test is incredibly effective and gives you a visual confirmation that everything is sealed up tight. It's truly a DIY win!

Oh No, I See Bubbles! What Now?
Found some bubbly evidence? Don't panic, but act swiftly and decisively. This isn't the time to channel your inner MacGyver, but rather to follow a clear safety protocol:
- Turn Off the Gas: If possible and safe to do so, immediately turn off the main gas supply valve to your home. It’s usually a quarter-turn valve near your gas meter.
- Open Windows and Doors: Ventilate the area thoroughly to disperse any accumulated gas.
- Evacuate: Get everyone (and pets!) out of the house to a safe distance.
- Do NOT: Operate light switches, use phones inside, ignite flames, or use anything that could create a spark.
- Call for Help: From a neighbor's house or a safe distance, immediately call your gas company's emergency line or 911. Tell them you suspect a gas leak.
A gas leak is serious business, and it’s always best to let the professionals handle it. They have the expertise and equipment to fix it safely.

When to Call the Pros (Even Without Bubbles!)
Even if you're a DIY superstar, some things are best left to licensed professionals. Always call a qualified technician or your gas company if:
- You consistently smell gas, even faintly.
- You hear a hissing sound near a gas line.
- You're installing a new gas appliance or modifying existing lines.
- You're unsure about any aspect of your gas system.
They have specialized tools and knowledge to detect even the smallest, trickiest leaks and ensure everything is up to code.
Your Home, Your Haven
See? Checking for gas leaks isn't some daunting task reserved for experts. It's a simple, proactive step that empowers you to keep your home a safe, happy, and worry-free space. Just like remembering to water your plants or getting your car's oil changed, a quick gas line check is part of responsible, mindful homeownership. It’s all about creating that perfect ambiance where you can truly relax, knowing everything is in tip-top shape. So go forth, happy homeowner, and enjoy your peace of mind!
