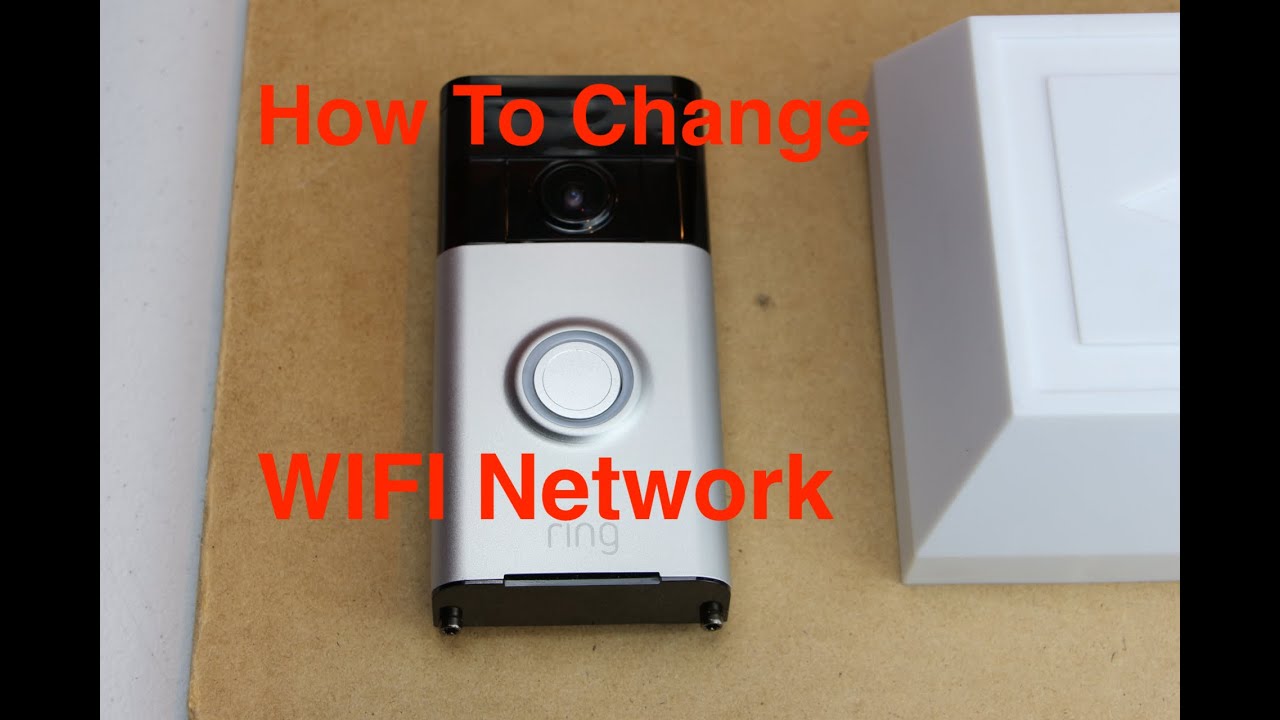
How To Change The Wifi On My Ring Camera

Ever felt that slight pang of panic when you realize your trusty Ring camera is suddenly offline? Maybe you've just upgraded your internet, moved to a fantastic new pad, or simply got a snazzy new Wi-Fi router. Fear not, fellow tech adventurer! This isn't a digital mystery you need a detective for. In fact, changing your Ring camera's Wi-Fi network is a surprisingly straightforward and empowering task. It’s like giving your smart home a fresh start, ensuring your watchful eye is always connected and ready to protect.
So, why bother? Well, an offline Ring camera is like a superhero without their powers – it just can't do its job! The main purpose of updating its Wi-Fi is to ensure your device stays connected to the internet, allowing it to send you crucial motion alerts, let you check in with live view, and record important events. The benefits are clear: uninterrupted security, continued peace of mind, and the ability to fully leverage your smart home investment. No need to buy a whole new camera just because your Wi-Fi password changed!
Ready to become a Wi-Fi wizard? Grab your smartphone and let's dive in! First things first, make sure your phone is connected to the new Wi-Fi network you want your Ring camera to join. This helps streamline the process.
Must Read
1. Open the Ring App: Launch the Ring app on your smartphone or tablet. If you haven't logged in recently, do so now.
2. Select Your Device: From the dashboard, tap on the specific Ring camera you want to update. You'll see a tile for each of your devices.

3. Navigate to Device Health: Look for the gear icon (settings) in the top right corner, then tap on Device Health. This section gives you an overview of your device's status.
4. Change Wi-Fi Network: Scroll down in the Device Health section until you see Change Wi-Fi Network. Tap on it.
5. Put Your Device in Setup Mode: The app will now guide you to put your Ring device into setup mode. For most Ring cameras, this involves pressing and holding the orange button (or sometimes a smaller button hidden on the back, side, or even under a cover) for a few seconds until you see a spinning white light or hear a voice prompt. It might require a little detective work, but once you find it, it's a quick press and hold!

6. Connect to the Ring Network: Your Ring device will now broadcast a temporary Wi-Fi network. The Ring app will prompt you to leave the app and go to your phone's Wi-Fi settings. Don't panic, this is a normal part of the process! Connect your phone to the Wi-Fi network named something like "Ring-" followed by a series of numbers or letters. Once connected, switch back to the Ring app.
7. Select Your New Network: Back in the app, you’ll see a list of available Wi-Fi networks. Find and select the name of your new Wi-Fi network (your SSID).
8. Enter Your Password: Carefully type in the password for your new Wi-Fi network. Make sure it's accurate!
9. Reconnect Your Phone: After entering the password, your Ring device will connect to the new Wi-Fi. The app might prompt you to reconnect your phone to your main home Wi-Fi network if it hasn't automatically.
And just like that, you're done! Your Ring camera should now be happily reconnected to its new Wi-Fi home, ready to keep watch. You've successfully navigated the digital waters and ensured your smart security system is back online. Give yourself a pat on the back – you're officially a smart home savant!
