How To Change Battery On Ring Doorbell

Ever had that sudden, heart-stopping moment? Your phone, on its last gasp at 1% battery, is practically begging for a charger. You know the drill, right? That little jolt of digital panic! Now, imagine that exact feeling, but it’s for your Ring Doorbell. Your home’s vigilant guardian, usually buzzing with smart activity, suddenly goes quiet. A digital mime, if you will. Gasp! But hold that panic! Because today, we’re not just changing a battery; we’re embarking on a mini adventure, a delightful little dance with home tech that’s far less daunting than it sounds.
Honestly, learning to swap out your Ring’s power pack is like discovering a secret superpower. It’s an act of empowerment! No more waiting for a tech wizard or stressing about missed package deliveries because your doorbell decided to take an unscheduled nap. This isn't rocket science; it's more like a fun, satisfying puzzle. And guess what? Your doorbell actually wants you to do this. It’s practically whispering, "Feed me, Seymour!" (Okay, maybe not that dramatic, but you get the idea).
Unmasking Your Ring: Battery Detective Work!
First things first, let’s play detective. Not all Ring Doorbells are created equal in the battery department. Some, like the popular Ring Video Doorbell 2, 3, 3 Plus, and 4, are rocking the amazing removable battery pack. This is the golden ticket! It means a quick swap, like giving your doorbell a fresh, energetic heart transplant. Others, like the original Ring Video Doorbell (1st Gen), have a built-in battery that charges via a micro-USB port. But fear not! For the removable crew, the fun is just beginning. Identifying your model is as simple as flipping it over or checking the app. It's like finding out your doorbell has a secret identity!
Must Read
Imagine your doorbell having its own little internal clock, counting down its energy reserves. When it sends you that "low battery" notification, it’s not nagging; it’s a gentle digital nudge, a polite "ahem" from your front door, asking for a little juice. It's strangely endearing, isn't it? Like a tiny, tech-savvy friend letting you know it needs a break.
Your Heroic Tool Kit (No Capes Required!)
Ready for your mission? What do you need for this heroic feat? A secret handshake? A decoder ring? Nope! Just a few humble items. The best part? Ring often includes the perfect little screwdriver in the box when you buy a new doorbell. It’s like they knew you’d be a battery-changing ninja someday! Beyond that, your most crucial asset is a fully charged spare battery. Think of it as your doorbell's secret energy drink, already powered up and ready to leap into action. Having a spare means zero downtime, zero missed deliveries, and zero awkward moments wondering who just rang!
The Grand Operation: A Step-by-Step Power-Up!
Alright, deep breaths! This is easier than assembling flat-pack furniture, we promise. And way more satisfying! Let's bring that doorbell back to life.
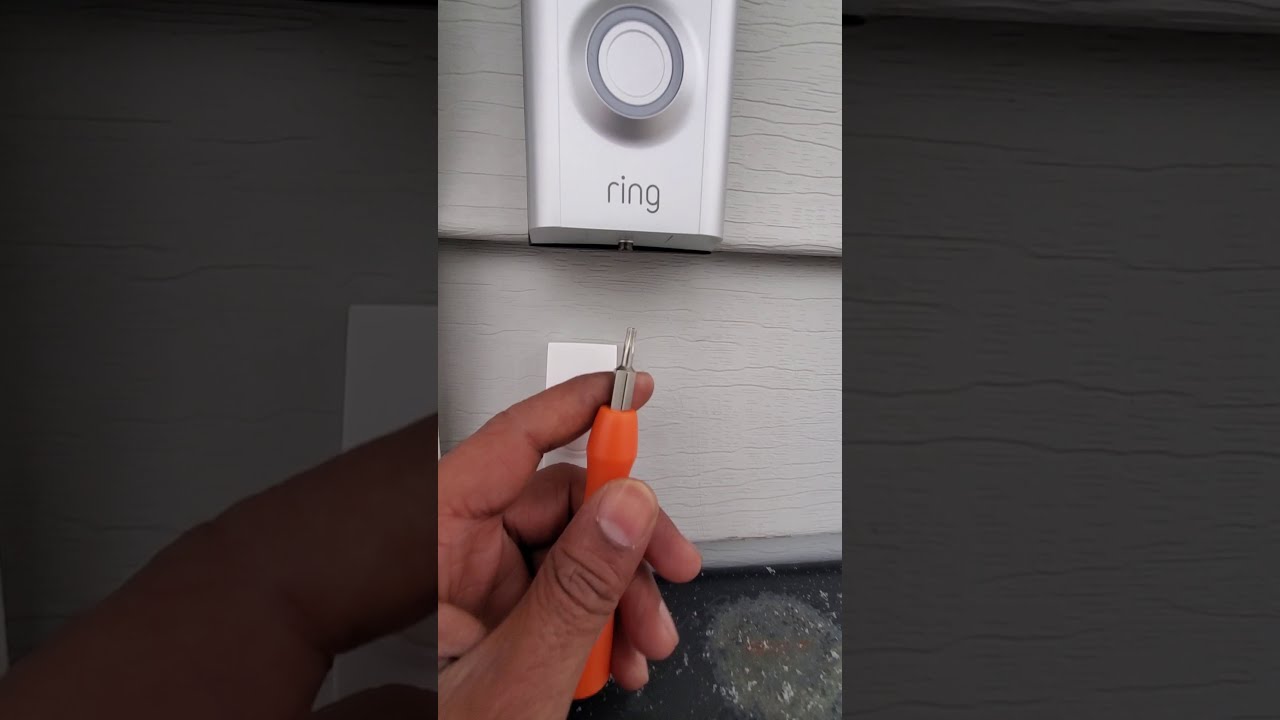
Step 1: Locate the Secret Screws
Give your Ring doorbell a friendly nod. Look at the bottom edge. See those two tiny, star-shaped screws? These aren't just decorative! They're the guardians of the battery compartment. Grab that special screwdriver – it’s often a Torx T15 – and gently, but firmly, unscrew them. Pro tip: place them somewhere super safe, like a small bowl, so they don’t stage a vanishing act. Those little guys love to disappear into the carpet abyss!

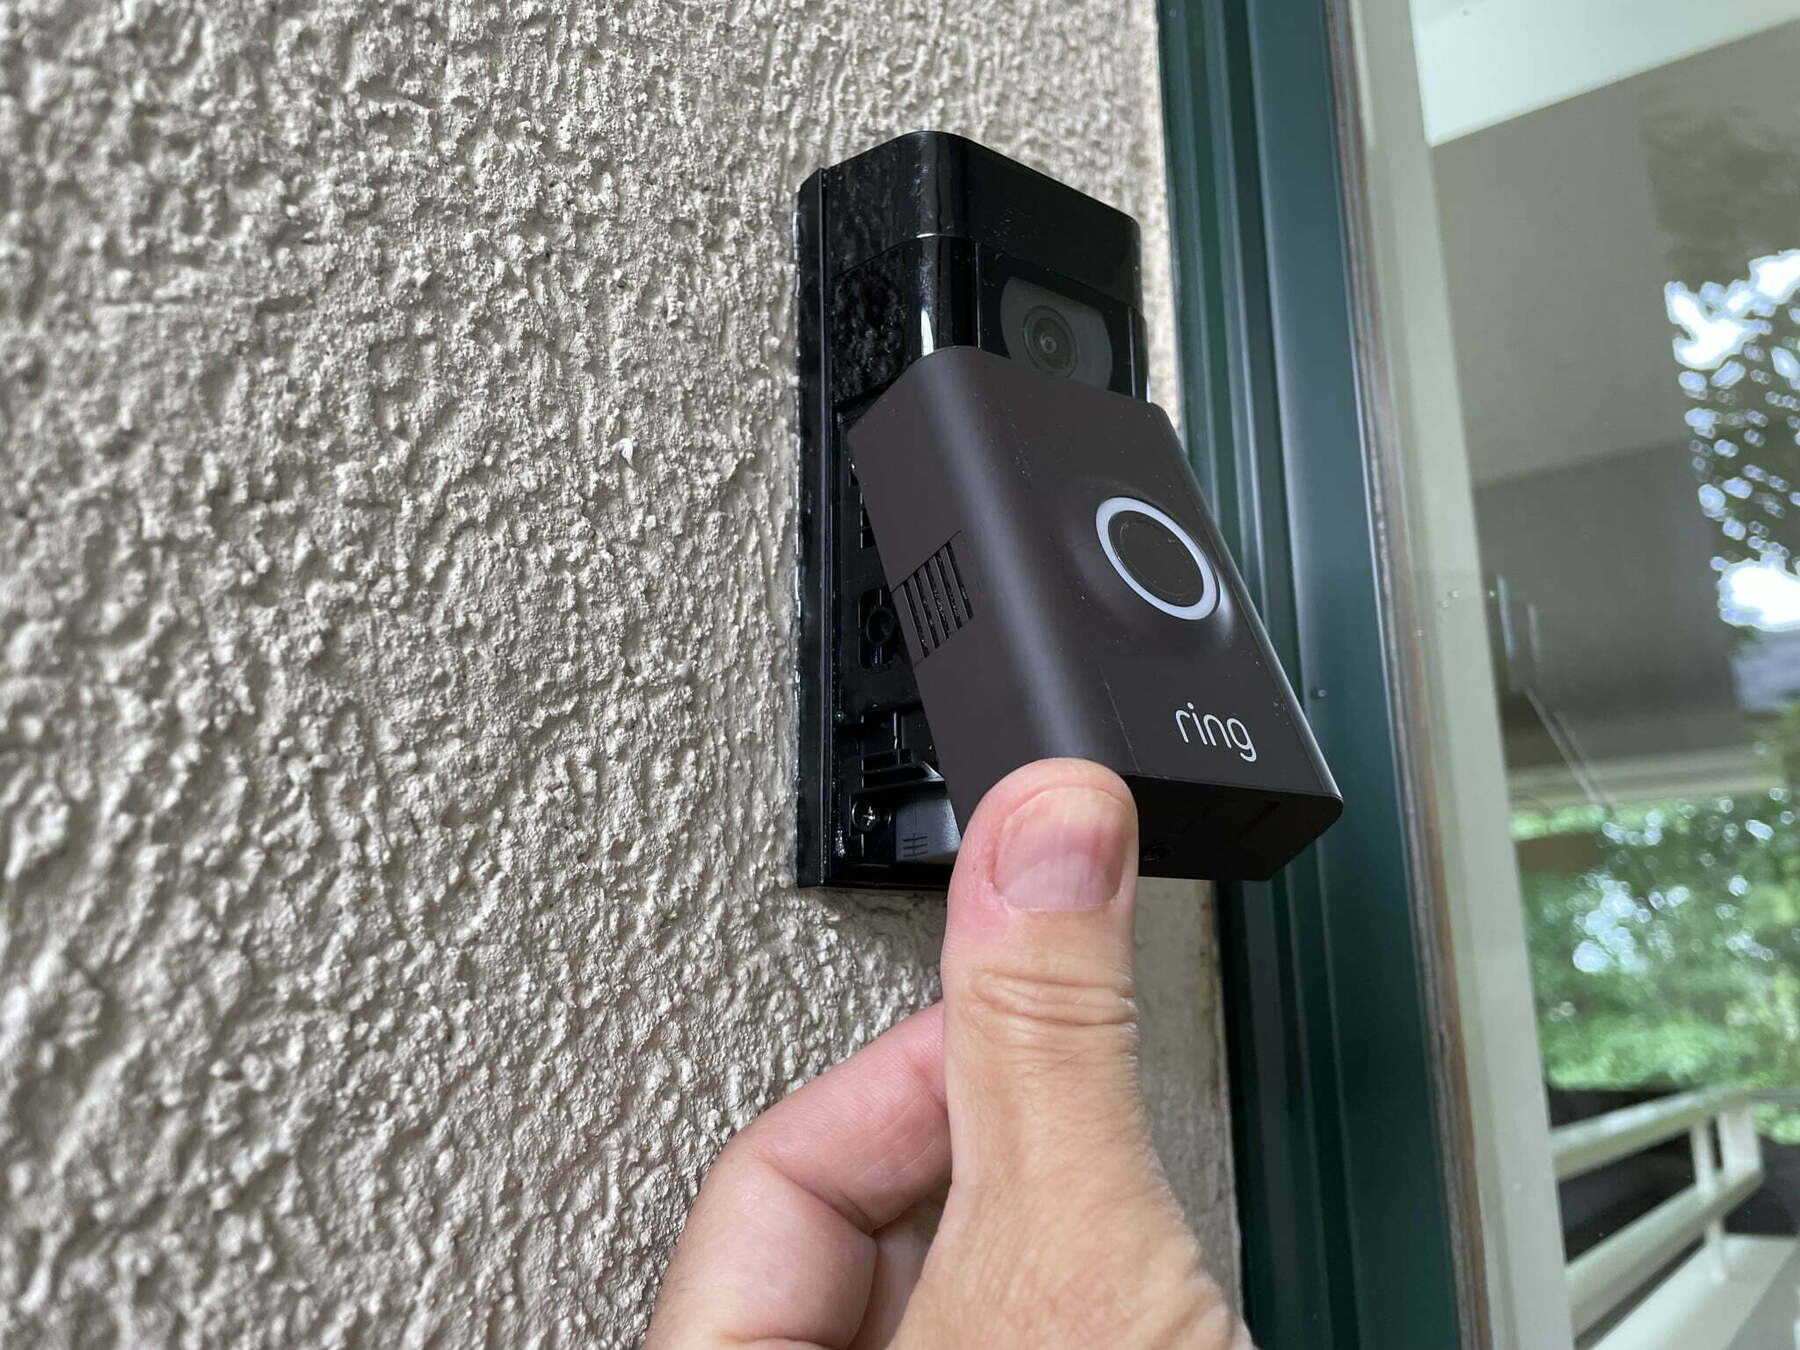
Step 2: The Big Reveal!
With the screws safely tucked away, the faceplate usually slides up and then off. It’s like opening a secret portal to your doorbell’s inner workings! Peek inside. What do you see? Ah, there it is! That sleek, black, rectangular block. That’s your battery! Give it a respectful nod. It’s been working hard, powering all those alerts and video captures. It deserves a moment of appreciation.
Step 3: Pop Goes the Battery!
This is the satisfying part. There's often a little tab or a gentle push needed to release the battery. It usually just slides right out, smooth as butter. You just extracted the old power source! Take a moment to admire your handiwork. Now, grab your fully charged spare. Slide it into the slot, making sure it clicks snugly into place. You might hear a gentle thunk or feel a reassuring click. That’s the sound of power returning, baby!

Step 4: The Triumphant Reassembly
Slide the faceplate back onto your Ring doorbell. Make sure it aligns perfectly, like a glove. Then, carefully replace those two tiny screws at the bottom. Tighten them just enough so they’re secure, but don’t go full Hulk on them! We’re not building a battleship here. A gentle snugness is all that's required. You’re almost there, smart home warrior!
Step 5: The Grand Test!
Now for the moment of truth! Push your doorbell button. Did it light up? Did you hear that familiar ding-dong on your phone or chime inside your house? If so, you are a champion! You’ve just performed a perfect tech revival. Your Ring is back in action, wide awake and ready to spot the package delivery person, alert you to that rogue squirrel, or just greet Aunt Mildred with a cheerful chime.
Why This Is Actually Fun (No, Really!)
Think about it! You didn’t call a technician. You didn’t spend ages debugging. You just took charge, armed with a tiny screwdriver and a can-do attitude. There’s something incredibly empowering about keeping your smart home tech humming yourself. It's like being the captain of your own little digital ship. Plus, did you know some Ring batteries can take a few hours to fully charge? That's precisely why having a spare is pure gold – instant power, no waiting!
It’s kind of cool how something so small holds so much power, right? Like a mini-power brick for your front door's eyes and ears. Every time you swap that battery, you're not just performing maintenance; you're reaffirming your mastery over your home's tech. You're the boss! And your doorbell, your faithful front-door friend, is silently thanking you for its renewed energy.
See? No sweat! Changing your Ring Doorbell battery isn’t a chore; it’s a mini adventure! It’s a chance to peek behind the digital curtain, wield a tiny screwdriver, and feel like a tech wizard. So next time your Ring gives you the silent treatment, you’ll know exactly what to do. You’ll be ready to bring it back to life, armed with knowledge, a spare battery, and a triumphant grin. Go forth, smart home warrior! Your doorbell (and your packages) will thank you.