How To Change Battery In A Fire Alarm
Ah, the sound of a fire alarm... usually a sign of an emergency, right? But then there's that other sound. The one that starts subtly, then grows into a persistent, high-pitched, utterly maddening "chirp... chirp... chirp." It's the sound of a battery begging for mercy, and if you've ever experienced it, you know it's not just annoying – it's practically a universal signal for "time to become a DIY hero!" Changing a fire alarm battery might seem like a chore, but trust us, mastering this quick fix is not only incredibly useful but also surprisingly satisfying. It’s a small act of household maintenance that brings immense peace of mind and saves your sanity.
So, why bother with this chirping menace? The purpose is simple and profound: safety first. Fire alarms are our silent guardians, designed to alert us to potential dangers like smoke and fire, giving us precious extra minutes to escape. A dead or dying battery renders them useless, turning your crucial safety device into a decorative ceiling ornament. Keeping them powered ensures they can do their job, protecting you and your loved ones. Plus, let's be honest, who wants to live with that incessant chirping? A fresh battery means a quiet home and a fully functional alarm, giving you true peace of mind.
Ready to tackle the chirp? Here's how to become a battery-changing superstar:
Must Read
Step 1: Gather Your Tools (and Your Courage!)
You'll need a new 9-volt battery (the rectangular kind with two terminals on top), and possibly a sturdy step stool or ladder if your alarm is high up. Make sure you have the right battery type; most residential alarms use 9-volt, but double-check your alarm's manual if unsure.
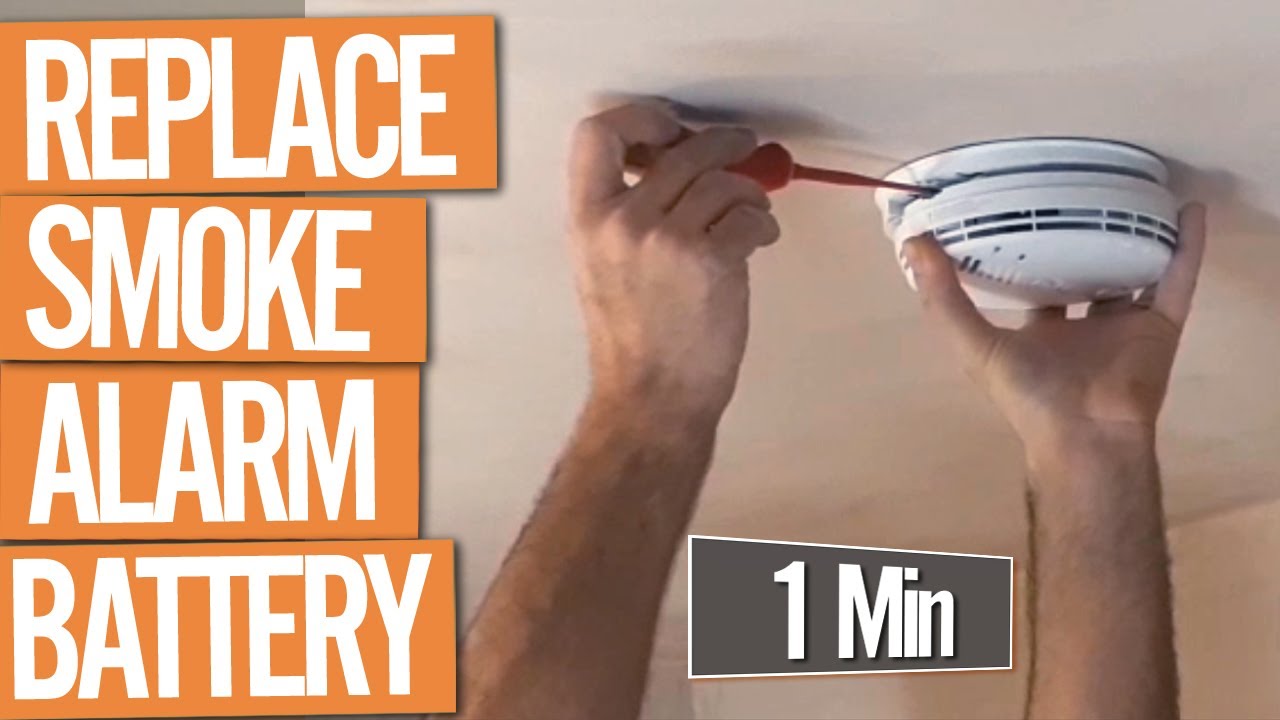
Step 2: Silence the Suspect
Locate the chirping alarm. If you have multiple alarms, it might take a moment to pinpoint the culprit. Once found, gently twist the alarm unit counter-clockwise to detach it from its mounting bracket, or look for a small latch or tab on the side that allows the battery compartment to slide open. No need for brute force here!

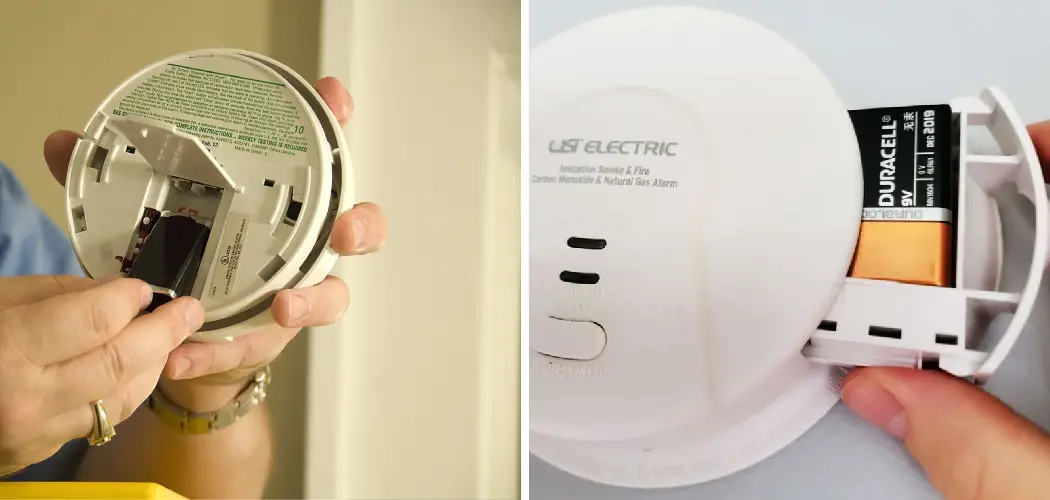
Step 3: Evict the Old, Welcome the New
Open the battery compartment. You'll likely see a clip connecting the old 9-volt battery. Gently detach it and remove the drained battery. Now, here's the crucial bit: insert the new battery, making sure to match the positive (+) and negative (-) terminals correctly with the connectors. They usually snap right into place.
Step 4: The Moment of Truth – Test It!
Once the new battery is in, close the compartment and reattach the alarm to its mounting bracket (if you removed it). Before you declare victory, press and hold the test button usually located on the face of the alarm. You should hear a loud, piercing siren, indicating it's working properly. This is the sound of success!
Step 5: Don't Forget the Others!
While you're at it, it's a great idea to test all the other fire alarms in your home. And remember, the general recommendation is to change your smoke alarm batteries at least once a year, even if they aren't chirping. A good trick is to do it when you change your clocks for Daylight Saving Time.
And there you have it! You've successfully navigated the dreaded fire alarm chirp, ensuring your home is safer and much, much quieter. Give yourself a pat on the back – you're officially a household maintenance champion!

