How To Assemble Crompton Greaves Pedestal Fan

Ah, the pedestal fan. A true summer (and sometimes even spring and autumn) companion! Let's be honest, who doesn't appreciate a good blast of cool air when the weather decides to crank up the heat? Whether you're trying to work from home without melting into your chair, enjoying a picnic on the patio, or just trying to get a decent night's sleep, the humble pedestal fan is a lifesaver. Especially a trusty one like a Crompton Greaves – known for their reliability and power.
The beauty of a pedestal fan lies in its versatility and affordability. It's not just about cooling you down; it's about creating a more comfortable environment. It helps circulate air, which can reduce stuffiness, prevent mold growth in damp areas, and even help dry clothes faster on a makeshift indoor clothesline! Think about it: a stuffy bedroom becomes a cool, breezy haven with a simple turn of a dial. A sweltering living room becomes bearable enough to binge-watch your favourite show.
You see them everywhere, don’t you? From homes and offices to gyms and workshops, the pedestal fan is a ubiquitous symbol of practical cooling. I've even seen them used at outdoor events to provide some respite from the heat! Some common applications include: keeping babies cool (at a safe distance, of course!), drying pets after a bath, and even providing white noise to help you focus or sleep.
Must Read
So, you've got your new Crompton Greaves pedestal fan. Excellent choice! But before you can enjoy that sweet, sweet breeze, you need to put it together. Fear not! It's usually a pretty straightforward process. While every model might have slight variations, here's a general guide to assembling your new cooling champion:
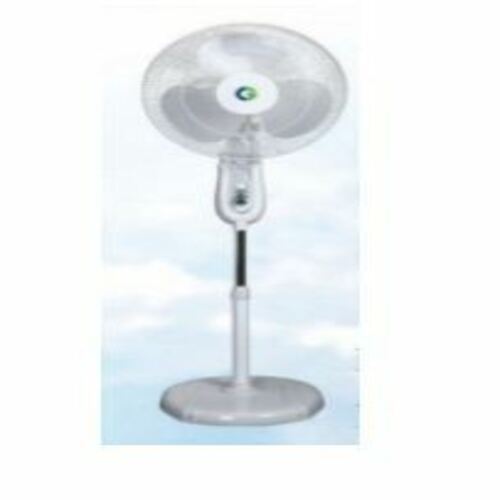
1. The Base is Key: Start with the base. This is the foundation, so make sure it's sturdy. Typically, you'll attach the fan's pole to the base using screws. Ensure they are tightened properly to prevent wobbling.

2. Telescopic Pole Time: Next, extend the telescopic pole to your desired height. There's usually a locking mechanism (a knob or a clip) to secure the height. Double-check that it's locked in place to prevent the fan from collapsing unexpectedly.
3. Motor Housing Assembly: This is where the motor and the blades will eventually live. Attach the motor housing to the top of the telescopic pole. Again, screws are your friends here! Tighten them securely.
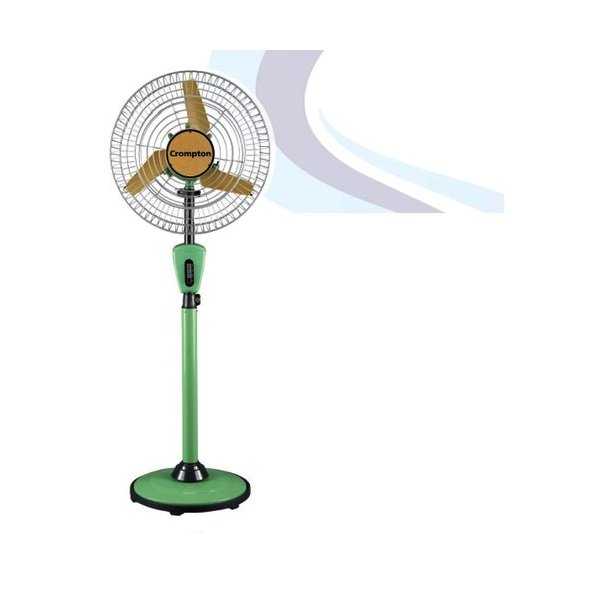
4. Blade Guard Business: Now, for safety! The front and rear blade guards need to be attached to the motor housing. One guard usually clips on first, followed by the blades, and then the other guard secures everything. Make sure the guards are properly aligned and securely fastened. This is crucial for preventing accidents.
5. Blade Installation: Gently slide the blades onto the motor shaft. There will usually be a nut or a cap to secure them. Don't overtighten! Just make sure they're snug enough to stay in place.
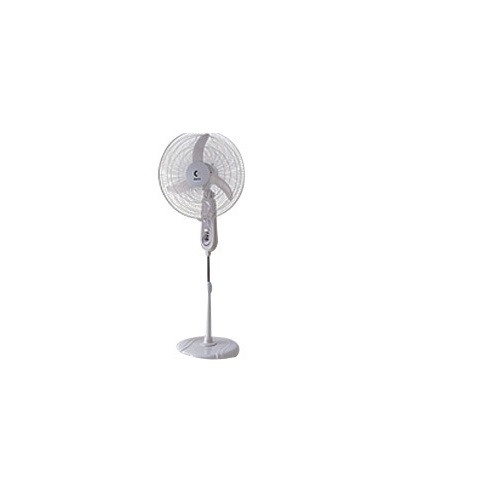
6. Power Up! Once everything is assembled, plug it in and test it out. Start with the lowest setting to make sure everything is working correctly. And that's it! You're now the proud owner of a fully functional, breeze-blowing Crompton Greaves pedestal fan.
To enjoy your fan more effectively, experiment with placement. Pointing it towards a wall can help circulate air more evenly throughout the room. Also, remember to clean the blades regularly to prevent dust buildup, which can reduce its efficiency and spread allergens. And finally, don't forget to unplug it during thunderstorms! Stay cool, and stay safe!