How To Anodize Aluminum At Home

Ever looked at a brightly colored aluminum flashlight, a vibrant bicycle part, or a sleek piece of modern jewelry and wondered how it got its stunning, durable finish? Well, get ready to unlock a pretty cool secret: you can actually achieve similar results right in your own garage or workshop! Anodizing aluminum at home isn't just a fun scientific experiment; it's a fantastic way to personalize your gear, fix up old parts, and add a touch of professional flair to your DIY projects.
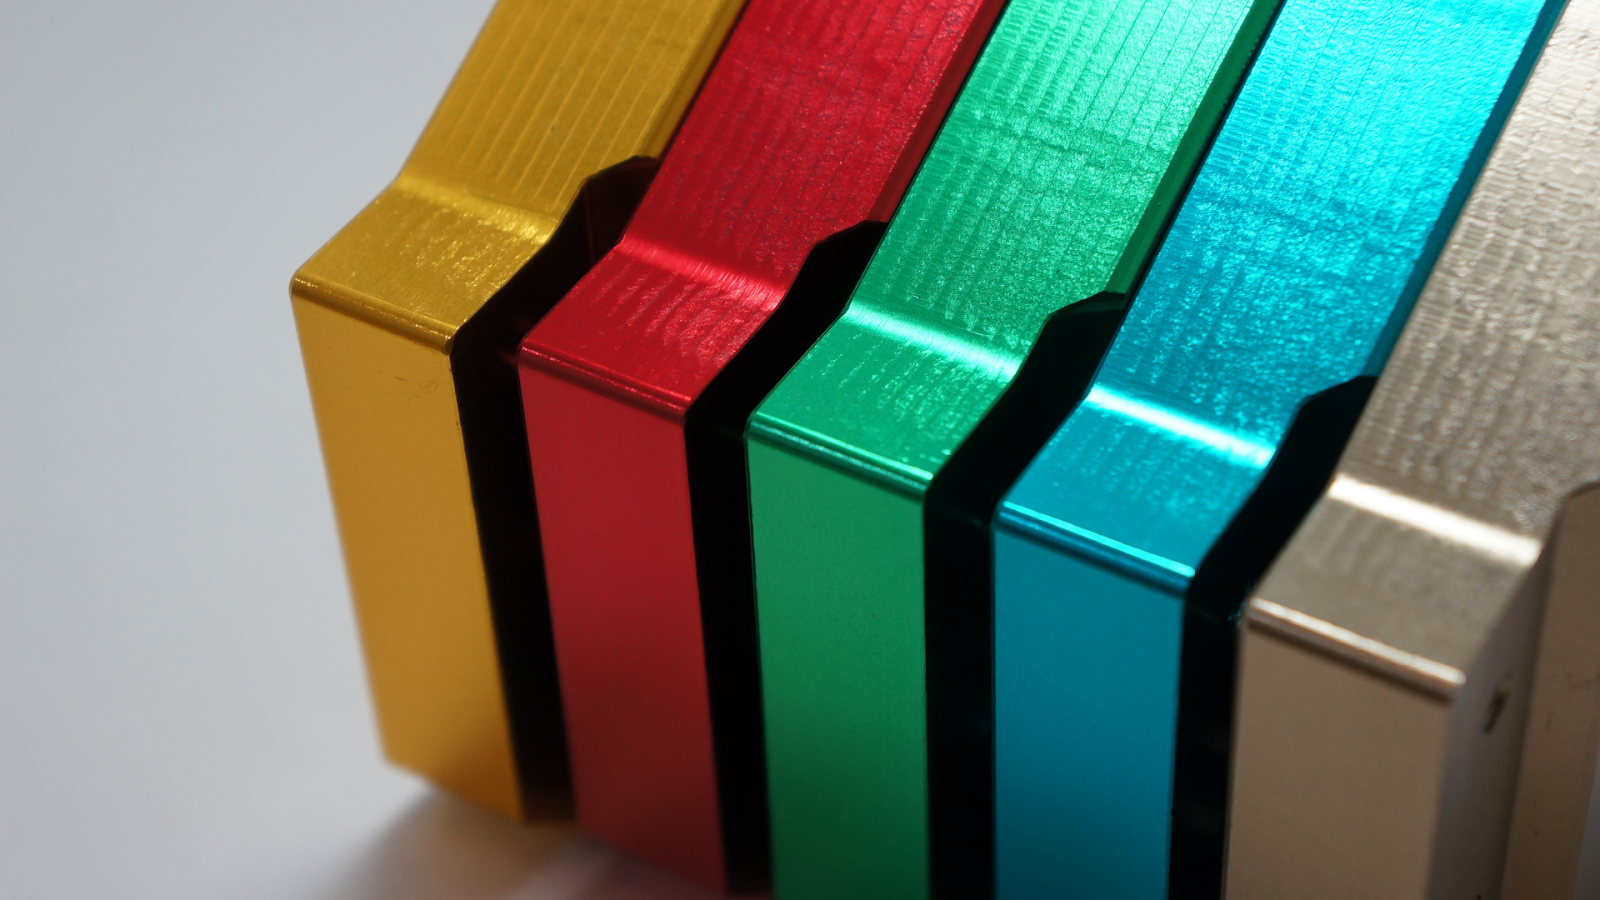
This process, called anodizing, is essentially giving aluminum a super-tough, porous outer skin that’s perfect for absorbing vibrant dyes. For beginners, it’s an incredibly satisfying first dive into material science, offering a tangible reward for a bit of careful effort. Imagine taking a dull, plain aluminum keychain and transforming it into a brilliant blue or fiery red accessory! Families can turn this into an educational activity, exploring basic chemistry and electricity while creating personalized gifts or decorative items. It’s a wonderful way to spark curiosity in science and art simultaneously. For seasoned hobbyists, anodizing opens up a world of customization for RC car parts, model components, custom bike accents, or even unique metal art. Beyond just looking good, the anodized layer provides enhanced corrosion resistance and a much harder surface, making your creations more durable and long-lasting.
The beauty of home anodizing lies in its versatility. You're not just limited to one color! With various fabric dyes or specialized anodizing dyes, you can create a rainbow of hues. Want something really unique? Try applying stencils or resists to your aluminum before anodizing to achieve intricate patterns or two-tone designs. You can anodize small, fiddly parts like screws and nuts, or tackle slightly larger items like phone cases or small tool handles. The key is consistency and careful preparation for each piece, allowing you to experiment with different shades and effects.
Must Read
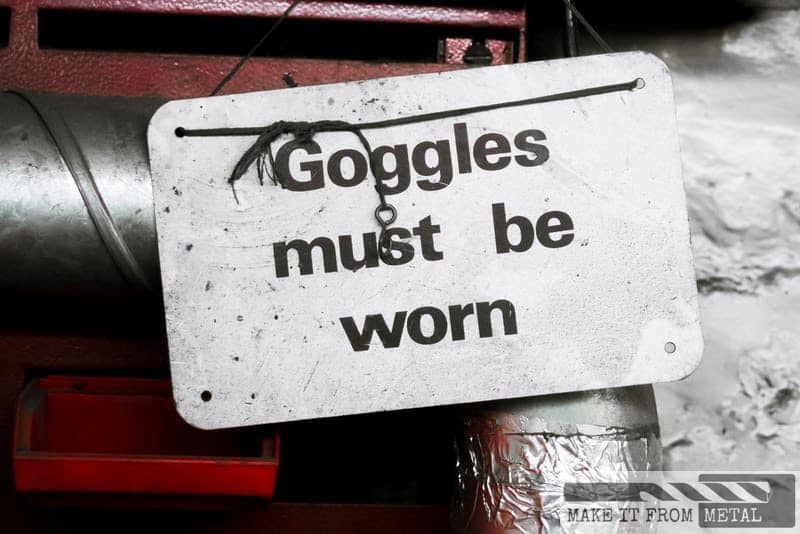
Ready to give it a whirl? Here are some simple, practical tips to get you started. First and foremost: safety is paramount. You'll be working with mild acids (typically diluted sulfuric acid, easily found as battery acid electrolyte – but handle with extreme care!) and electricity, so always wear eye protection, chemical-resistant gloves, and ensure good ventilation. You'll need a DC power supply (a car battery charger set to low amperage works well), some distilled water, a degreaser (like dish soap), and your chosen dye. The basic steps involve thoroughly cleaning your aluminum piece (it must be spotless!), then etching it slightly, immersing it in the acid electrolyte while applying a low electrical current, rinsing, dipping it in the dye, and finally "sealing" the dye by boiling the part in distilled water. Starting with small, easily replaceable aluminum pieces like scrap sheet or simple brackets is a great way to practice before moving on to your prized possessions. Remember, cleanliness is next to godliness in anodizing; any grease or dirt will prevent the anodic layer from forming correctly.
Anodizing aluminum at home is a wonderfully rewarding craft that combines science, creativity, and practicality. It's a chance to turn ordinary metal into something extraordinary, tailored exactly to your taste. So, why not give it a try? You might just discover your next favorite DIY obsession and unleash a world of vibrant possibilities!