How To Add Water To Car Battery

In our bustling, modern lives, where digital assistants manage our calendars and smart devices connect our homes, it’s easy to overlook the simpler, more tangible acts of care. Yet, there’s a quiet satisfaction in understanding and tending to the things that serve us daily – like our trusty automobiles. Today, we’re diving into a small but mighty maintenance task: adding water to your car battery. Think of it as giving your car a refreshing drink, a little spa treatment that keeps its heart beating strong.
Why Bother With Battery Water?
Your car battery, that rectangular box of stored energy, isn't just a sealed unit holding magic. Most conventional batteries are lead-acid batteries, and they rely on a mixture of sulfuric acid and water, called an electrolyte. Over time, especially with hot weather or frequent use, the water in this electrolyte naturally evaporates. It's just like a puddle drying up on a sunny day! When the water level gets too low, the battery plates (the bits that do the actual work) get exposed to air, which can damage them and significantly reduce your battery's lifespan and performance. A well-hydrated battery means reliable starts and a happier drive.
The Golden Rule: Only Distilled Water
This is perhaps the most crucial piece of advice. When we say "water," we're not talking about what comes out of your kitchen tap, nor your fancy bottled spring water. Your battery needs distilled water. Why? Because regular tap water contains minerals like calcium, magnesium, and chlorine. These impurities might be fine for us to drink, but they are absolutely detrimental to your battery. They can build up on the lead plates, create internal shorts, and effectively kill your battery. Think of it like a delicate espresso machine – you wouldn't put just any water in it, would you? The same goes for your battery: only pure, mineral-free distilled water will do. You can find it cheaply at almost any grocery store or auto parts shop.
Must Read
When to Check In
A good rule of thumb is to check your battery water levels every three to six months, or whenever you perform other routine maintenance like an oil change. If you live in a particularly hot climate, or if you frequently take short trips that don't allow the battery to fully charge, you might want to check more often. There aren't always obvious signs of low water until it's quite depleted, but if your car seems a little sluggish starting, or your headlights appear dimmer than usual, it's worth taking a peek (though these can also indicate other issues!).
Your Easy-Peasy Step-by-Step Guide
Ready to empower yourself with this simple skill? Let's do it!

1. Safety First, Always!
We’re dealing with battery acid here, which is corrosive. It’s not a scene from a sci-fi movie, but it demands respect. Always wear safety glasses or goggles and gloves (latex or nitrile work great). Make sure your car is turned off and the engine is cool. A little common sense goes a long way here.
2. Locate Your Power Hub
Pop the hood! Most car batteries are under the hood, often on one side. Some cars, however, hide them in the trunk or even under the back seat (looking at you, certain BMWs and Mercedes!). Once you find it, you'll see two large terminals – one marked '+' (positive) and one '-' (negative).
3. Cleanliness is Next to Battery Goodness
Before you open anything, give the top of the battery a quick wipe with a damp cloth or a stiff brush. You want to prevent any dirt, dust, or debris from falling into the battery cells once they’re open. Think of it as preparing a clean operating room for your battery.
4. Pop the Caps
Most serviceable batteries have several caps (usually 3 or 6) running along the top, often in a strip that you can pry off with a flathead screwdriver, or individual screw-off caps. Gently remove them. Set them aside carefully – you don’t want to lose them!
5. Assess the Situation
Look inside each cell. You'll see the battery plates submerged in fluid. There's usually a fill line on the side of the battery casing, or a plastic baffle that indicates the correct level. You want the fluid to be just covering the plates, or up to that fill line. If you see plates exposed to air, it’s definitely time for a top-up.

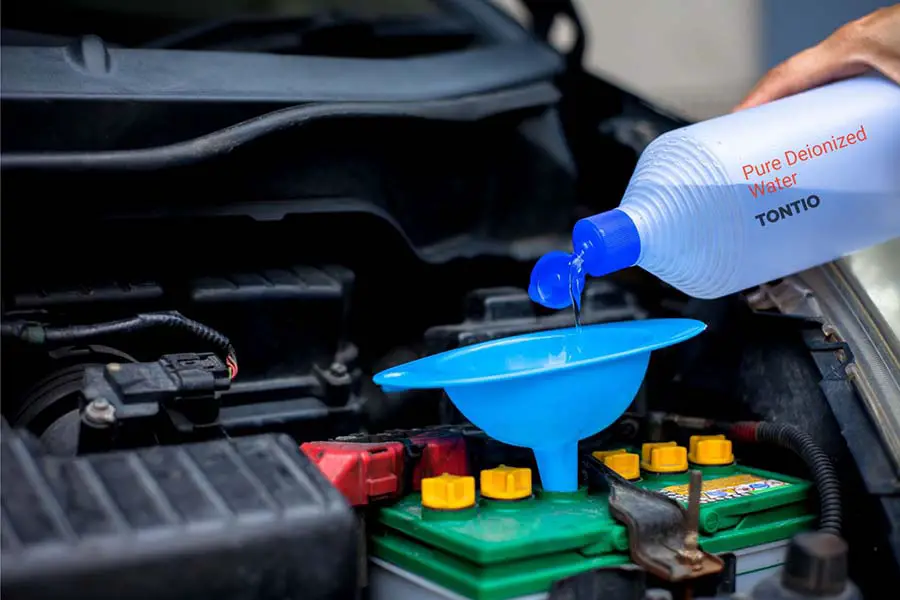
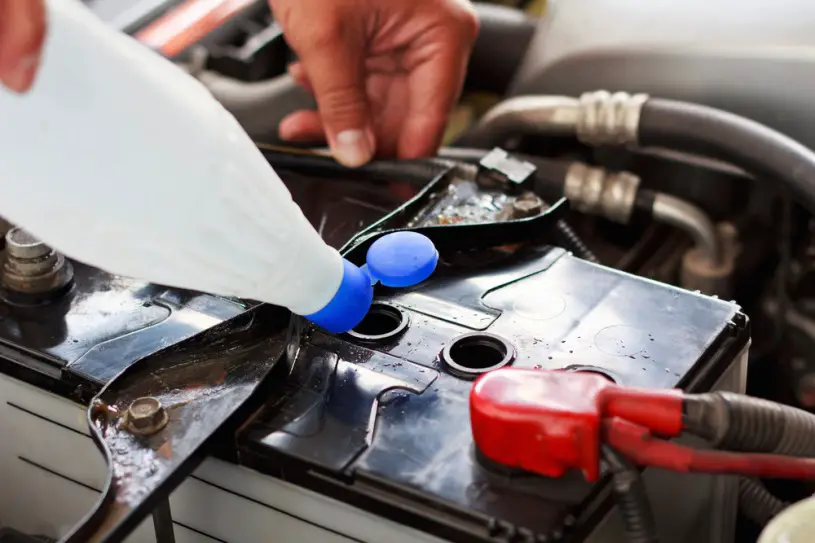
6. The Grand Hydration
Using a small funnel or a squeeze bottle with a narrow spout, slowly add distilled water to each cell. Do not overfill! Overfilling can cause acid to spill out during charging, which is messy and corrosive. Aim for just above the plates, or to the designated fill line. It’s better to add a little, check, and add more, rather than overflowing. It’s a delicate balance, much like pouring the perfect pint!
7. Seal the Deal
Once all cells are topped up, securely replace the caps. Make sure they click or screw on tightly. Give the battery top a final wipe-down to remove any potential drips or spills. You're done!
A Little Reflection on the Everyday
There's something wonderfully grounding about taking a few minutes to care for your car. In a world that often feels fast-paced and disposable, this small act of battery maintenance is a gentle reminder that sometimes, the best solutions are simple, hands-on, and incredibly effective. It's about being prepared, understanding the basics, and finding a quiet satisfaction in the hum of a well-maintained machine. Just like paying attention to our own hydration and well-being keeps us running smoothly, a little distilled water goes a long way for your car. Go forth, hydrator of batteries, and enjoy the journey!