How To Add Electric To A Shed

Ever gazed longingly at your backyard shed, picturing it as more than just a storage locker for rusty tools and forgotten holiday decorations? What if it could be a vibrant workshop, a serene home office escape, a potting shed palace, or even your very own "she-shed" or "man-cave" complete with tunes and a mini-fridge? The secret ingredient to unlocking that potential? Electricity! Adding power to your shed isn't just about flipping a light switch; it's about transforming a humble outbuilding into a powerhouse of productivity and leisure. And guess what? It’s probably more achievable than you think.
Why Electrify? Beyond Just a Bulb!
Think about it. With electricity, your shed becomes a true extension of your home. Suddenly, you can run power tools for those DIY projects, charge your e-bike battery, illuminate late-night creative endeavors, or even pop in a space heater or fan for year-round comfort. No more stumbling in the dark or wrestling with endless extension cords that trip up your best intentions. Imagine having Wi-Fi out there, a dedicated charging station for garden gadgets, or even a projector for outdoor movie nights. The possibilities are truly electrifying!
Safety First: Your Non-Negotiable Mantra
Before we dive into the nitty-gritty, let's get one thing straight: when it comes to electricity, safety is paramount. We're talking about connecting to your home's main power supply, which is definitely not a job for the faint of heart or the inexperienced. While this article will give you a great overview and some handy tips, remember that for many crucial steps, especially involving the main panel and final connections, you’ll want to enlist a licensed and insured electrician. Always check your local building codes and secure any necessary permits before you start. Seriously, this isn't the time to channel your inner MacGyver with electrical wiring!
Must Read
DIY Hero or Pro Partner? Making the Call
So, where does the DIY spirit fit in? Plenty of places! You can absolutely be the general manager of your shed electrification project. Many homeowners confidently tackle tasks like planning the layout, digging the trench for underground cable, installing conduit, and even mounting the sub-panel and outlets inside the shed. These are often labor-intensive tasks where you can save a significant chunk of change. However, when it comes to the actual electrical connections – particularly those at your main house panel and the final hook-up within the shed's sub-panel – that's where the pros shine. They ensure everything is up to code, safe, and won't cause any unexpected fireworks.
The "How-To" (Simplified!)
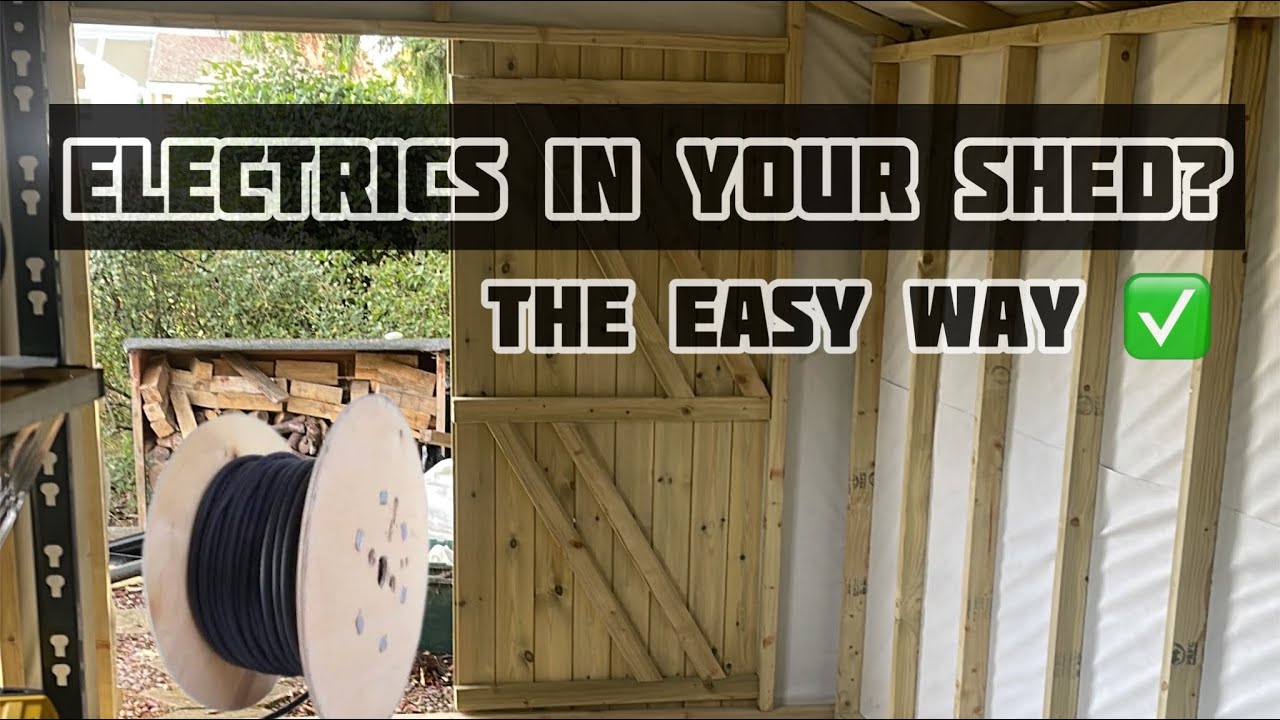
Generally, there are two main ways to get power to your shed: underground or overhead. Most people opt for the underground method because it's aesthetically pleasing and less vulnerable to weather or tree branches. This involves digging a trench and burying electrical cable (often UF cable or individual THWN wires inside conduit) at a specific depth, usually 18-24 inches, depending on your local codes. Fun fact: buried cables need to be deep enough to protect them from future digging activities – like when you decide to plant that prize-winning rose bush!

Once the cable reaches your shed, it typically connects to a small sub-panel inside. Think of this as a mini-electrical hub, complete with its own circuit breakers, acting like a scaled-down version of your main house panel. This setup allows you to run multiple circuits for lights, outlets, and specialized tools, just like in your home. Remember to install GFCI (Ground-Fault Circuit Interrupter) protection for outlets, especially in a shed where moisture might be a factor, and potentially AFCI (Arc-Fault Circuit Interrupter) too, for enhanced fire safety.
A Quick Checklist for Your Power Journey
- Plan: Sketch out what you want to power. Where will outlets go? What about lighting?
- Permits: Contact your local building department. This is a must!
- Cable/Conduit: UF-B cable for direct burial, or conduit with THWN wires. The gauge depends on the amperage you need.
- Sub-panel: If you're running more than a single light/outlet, a sub-panel is a good idea.
- Outlets, Switches, Light Fixtures: Choose outdoor-rated or damp-rated options where appropriate.
- Tools: Shovel, trenching tool (or rental), wire strippers, multimeter, drill, screwdrivers.
- The Pro: Budget for a licensed electrician to do the critical connections and final inspection.
The Journey: From Idea to Illumination
First, plan extensively. Decide on the route for your trench, keeping in mind any underground utilities. A quick call to 811 (in the US) or your local utility marking service is essential to avoid hitting gas, water, or communication lines. Then, get your inner archaeologist on and dig that trench! Once the trench is ready, you'll lay your chosen cable or conduit. Back at the house, your electrician will connect the new circuit to your main panel. In the shed, they'll wire up the sub-panel, outlets, and lights. Finally, a vital step often overlooked: the electrical inspection. This ensures everything is safe and up to code, giving you peace of mind.

The Payoff: Your Powered Oasis
The moment you flip that switch and your shed comes to life with light and power, you'll feel an immense sense of accomplishment. That once-drab storage unit is now a vibrant space, ready for anything you throw at it. Whether it's the hum of a ventilation fan, the reassuring glow of task lighting over your workbench, or the sound of your favorite podcast playing while you pot plants, a powered shed truly elevates your backyard experience.
In our busy lives, carving out a dedicated space for hobbies, work, or simply quiet contemplation can be incredibly empowering. Adding electricity to your shed isn't just a home improvement project; it's an investment in your lifestyle, providing a little sanctuary where you can recharge your tools, and more importantly, recharge yourself. It’s about making your world a little more convenient, a little more functional, and a whole lot more 'you'.