How To Add A 240 Volt Outlet

Alright, settle in, grab your metaphorical (or actual!) coffee. We're about to chat about something that sounds a bit intimidating, right? Adding a 240-volt outlet. But guess what? It's totally doable for the reasonably handy person. Think of it as leveling up your DIY game!
First things first, why even bother with a 240V outlet? Well, it's for all the heavy hitters. Your electric dryer, that fancy new electric vehicle charger, a welder for your latest metal art project, maybe a big air compressor. These hungry machines need more juice than your regular ol' 120V kitchen outlet can provide. It's like giving them a power smoothie instead of a juice box.
Hold Up! Safety First, Always!
Before we even think about touching a single wire, let's have a serious moment. This isn't like hanging a picture frame. We're talking about electricity, and electricity doesn't mess around. Always, always turn off the main power at your breaker box before you start anything. Seriously. Double-check it with a non-contact voltage tester. Your life is absolutely worth more than saving a few bucks on an electrician. If you feel even a tiny bit unsure at any point, please, for the love of all that is holy, call a qualified electrician. Got it? Pinky promise? Good.
Must Read
What You'll Need (Your DIY Arsenal)
Okay, assuming you're ready to proceed with caution and confidence, here's a basic shopping list. Think of it as gathering your ingredients for a complicated, but delicious, recipe:
- New 240V Circuit Breaker: The right amperage for your appliance (usually 30A or 50A for dryers/EV chargers, but check your appliance's manual!). This is super important.
- Appropriate Wire: This will be a multi-strand cable, usually black, red, white, and a bare ground. The gauge depends entirely on your breaker's amperage. Again, consult your appliance manual and local electrical codes. Bigger gauge for more amps!
- 240V Outlet Receptacle: Make sure the prong configuration matches your appliance's plug! They're not all the same.
- Wire Strippers/Cutters: Essential.
- Screwdrivers: Flathead and Phillips.
- Non-Contact Voltage Tester: Your best friend for confirming power is OFF.
- Pliers: For bending wire if needed.
- Electrical Tape: Just in case.
- Fish Tape (optional but helpful): If you're running wire through walls.
- Patience and a Good Attitude: Seriously, things rarely go perfectly on the first try.
The Brains of the Operation: Your Breaker Box
This is where the magic (and a little bit of fear) happens.
1. Kill the Power: I know, I sound like a broken record, but seriously, main breaker OFF! 2. Find a Spot: You need an empty slot in your breaker box for your new 240V breaker. A 240V breaker takes up two slots. Make sure you have the space. If not, well, that's another project (or a definite call to an electrician). 3. Install the Breaker: This usually just snaps into place. It's designed to make contact with the two hot bus bars inside the panel.
The Veins: Running the Wire
Now for the physical challenge!
1. Plan Your Route: Figure out the shortest, safest, and most practical path for your wire from the breaker box to your new outlet location. Avoid sharp bends if possible. 2. Fish It Through: If you're going through walls, this is where a fish tape comes in handy. It's like a long, flexible ribbon that you push through, attach your wire to, and pull back. 3. Secure It: Once the wire is run, make sure it's secured properly according to code. No dangling wires allowed!

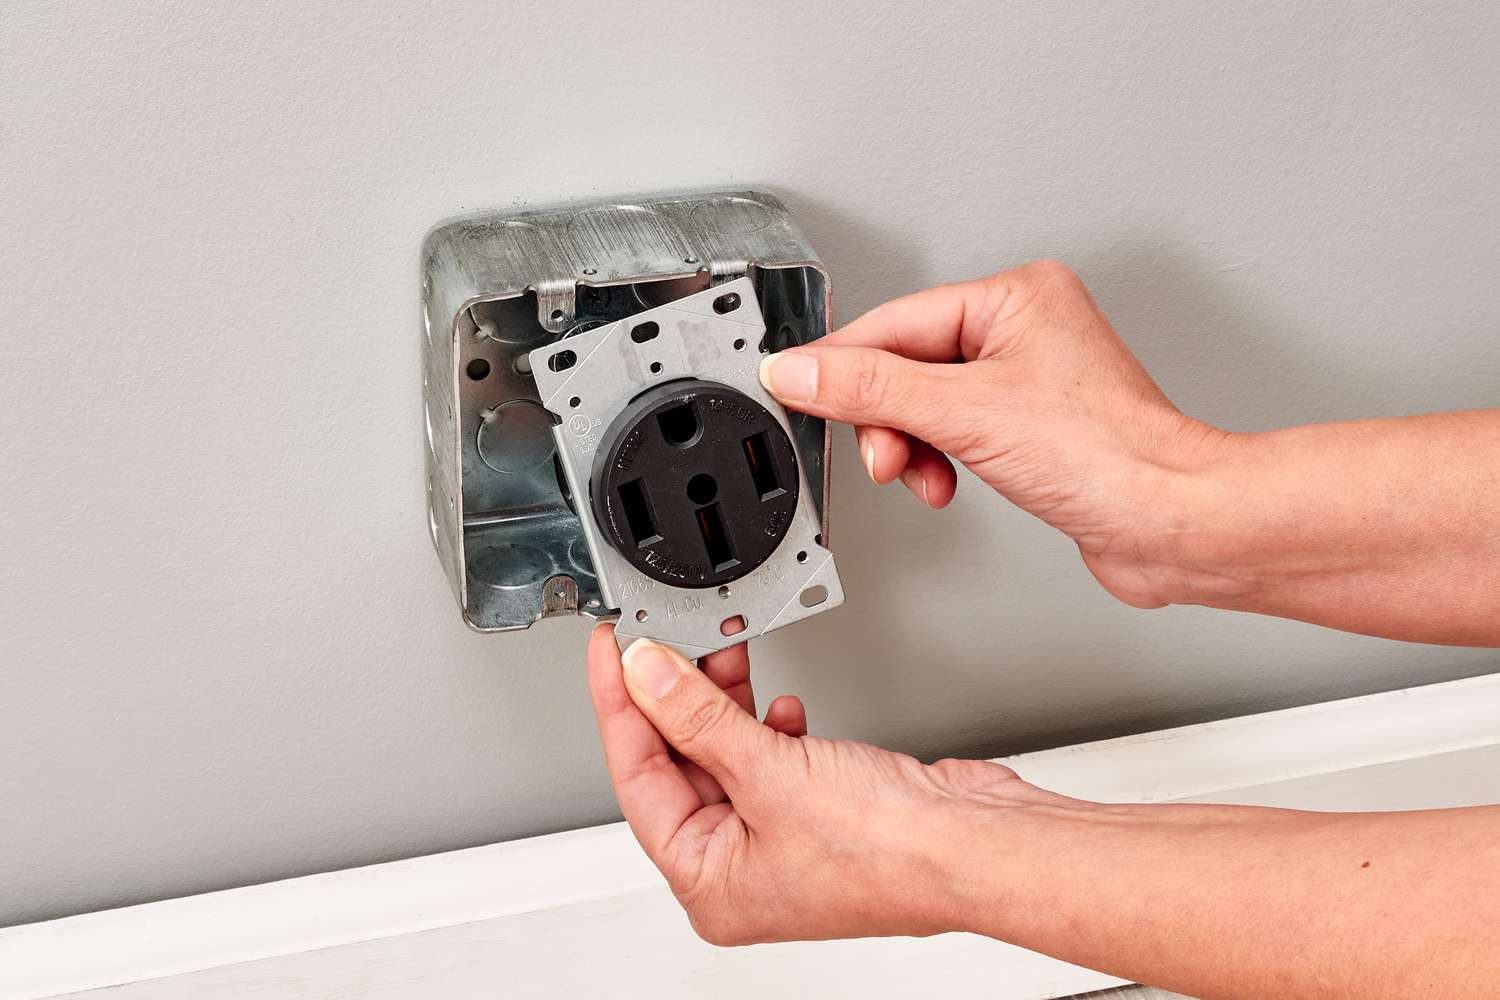
The Face: Installing the Outlet
You're almost there! This is where your appliance will plug in.
1. Mount the Box: Install an appropriate electrical box (usually a 2-gang or 4x4 box for 240V outlets) where you want your outlet. 2. Strip and Connect: Carefully strip about 3/4 inch of insulation from the ends of your wires. * Black and Red Wires: These are your "hot" wires. Connect them to the brass-colored terminals on your outlet. It doesn't usually matter which goes to which brass screw. * White Wire: This is your neutral wire. Connect it to the silver-colored terminal. * Bare Copper (or Green) Wire: This is your ground wire. Connect it to the green screw terminal. 3. Tuck and Screw: Carefully push the wires back into the box, making sure no bare copper is touching anything it shouldn't be (except its own terminal, of course!). Screw the outlet into the box, and then put on the faceplate.

The Moment of Truth: Testing!
Okay, take a deep breath.
1. Double Check: Walk through everything. Are all connections tight? Is the wire secured? Are you positive the main power is still off? 2. Flip the Main Breaker On: Head back to your panel and flip the main breaker back on. 3. Flip Your New Breaker On: Now, flip your brand new 240V breaker to the "ON" position. 4. Test the Outlet: Use your non-contact voltage tester (or a multimeter if you're feeling fancy) to confirm you're getting voltage. Be careful! If you have the appliance ready, plug it in and see if it powers on.
You Did It! (Hopefully!)
See? Not so scary when you break it down, right? You just added a serious power source to your home! Give yourself a pat on the back, or maybe even a celebratory beverage (after you've cleaned up, of course). Remember, safety is paramount. If you ever have doubts, ask an expert. But for those ready to roll up their sleeves, this is a seriously satisfying project. Go forth and power those hungry appliances!
