How Long For Freezer To Get Cold After Defrost

So, you've bravely defrosted your freezer! Congratulations! It's a chilly but necessary task. Now comes the burning question: how long until that icy haven is ready to chill again? Let's dive in!
The Great Freeze-Up Wait: Not as Bad as Watching Paint Dry
The honest truth? There's no one-size-fits-all answer. Think of it like waiting for that pizza to arrive – anticipation can be killer. But fear not! We can give you some solid estimates.
General Guidelines: Patience is a Virtue (and Cold Food is the Reward)
Typically, you're looking at a 4 to 24-hour window. That's a pretty big range, I know! But don't panic. Several factors play a role in this frozen game of waiting.
Must Read
A smaller freezer, like the kind chilling your ice cream in the kitchen? It'll likely be on the faster side. Think maybe 4-6 hours. A huge chest freezer, the kind that could comfortably house a small family? Buckle up, that could take closer to a full day.
Factors Affecting Freezer Freeze Time: The Suspects
So, what exactly influences this chilling countdown? Let's investigate the usual suspects.
The Ambient Temperature: Your Freezer's Battle Against the Elements
Imagine trying to cool down your freezer on a sweltering summer day! It's going to take longer. If your garage is basically a sauna, your freezer will struggle. Colder surroundings mean a faster freeze.
How Empty (or Full) Was Your Freezer Before Defrosting?
A nearly empty freezer will freeze faster than one packed to the gills. All that air has less thermal mass to cool down. Think of it as trying to boil a cup of water versus a whole pot!
Also, consider what you are putting back in there! If you are shoving a bunch of room temperature leftovers in, it will take much longer to freeze.
The Freezer's Age and Condition: Is it a Spritely Spring Chicken or a Wise Old Owl?
An older freezer might not be as efficient as a newer model. Just like a car, its parts may be working a little harder to achieve the same results. Look for frayed wires or other issues that might need professional attention.
Regular maintenance, like cleaning the coils, can also improve performance. A dirty freezer is a sad freezer!
Freezer Settings: Are You Giving it a Helping Hand?
Many freezers have a "fast freeze" or "turbo freeze" setting. Use it! It's like giving your freezer a shot of espresso. It will temporarily lower the temperature to rapidly freeze contents.
The "Coin Test": A Foolproof Method (Almost!)
Want to know if your freezer is truly ready? Here's a simple trick. This one is my personal favorite and it's called the Coin Test!
Fill a small cup with water and place it in the freezer. Once frozen solid, place a coin on top of the ice. Check back later.
If the coin is still on top of the ice, you're good to go! If the coin has sunk into the ice, it means the freezer has defrosted at some point, and it's not consistently cold enough.
Speeding Up the Process: Freezer Hacks for the Impatient
Impatient? I get it! Here are a few tricks to help your freezer chill out faster.
Blast it with Cold Air: Fan-tastic!
Place a fan in front of the open freezer. This will help circulate the air and speed up the cooling process. Just be sure to keep the door open and the fan aimed inside.
Ice, Ice, Baby: A Pre-Cooling Party
Load your freezer with bags of ice or frozen gel packs. This will give it a head start in cooling down the interior. It's like giving your freezer a little pep rally!
Don't Overload it Too Soon: A Gradual Re-Entry
Resist the urge to fill your freezer to the brim immediately. Add items gradually to avoid overwhelming the system. Start with the items that need to be frozen most quickly.

Signs Your Freezer is Ready for Action: Beyond the Coin Test
Okay, so the coin test is fun, but here are some other indicators your freezer is ready to rumble.
The Obvious: The Temperature Gauge
If your freezer has a built-in temperature gauge, that's your best bet. Aim for 0°F (-18°C) for optimal freezing. Trust the numbers!
The Feel Test: Trust Your Chilly Senses
Touch the interior walls of the freezer. They should feel very cold to the touch. If they still feel slightly warmer than they should, give it more time.
Listen Carefully: The Sound of Success
Listen to your freezer. Is the compressor running smoothly and consistently? That's a good sign. A struggling or noisy compressor could indicate a problem.
Important Considerations: Safety First!
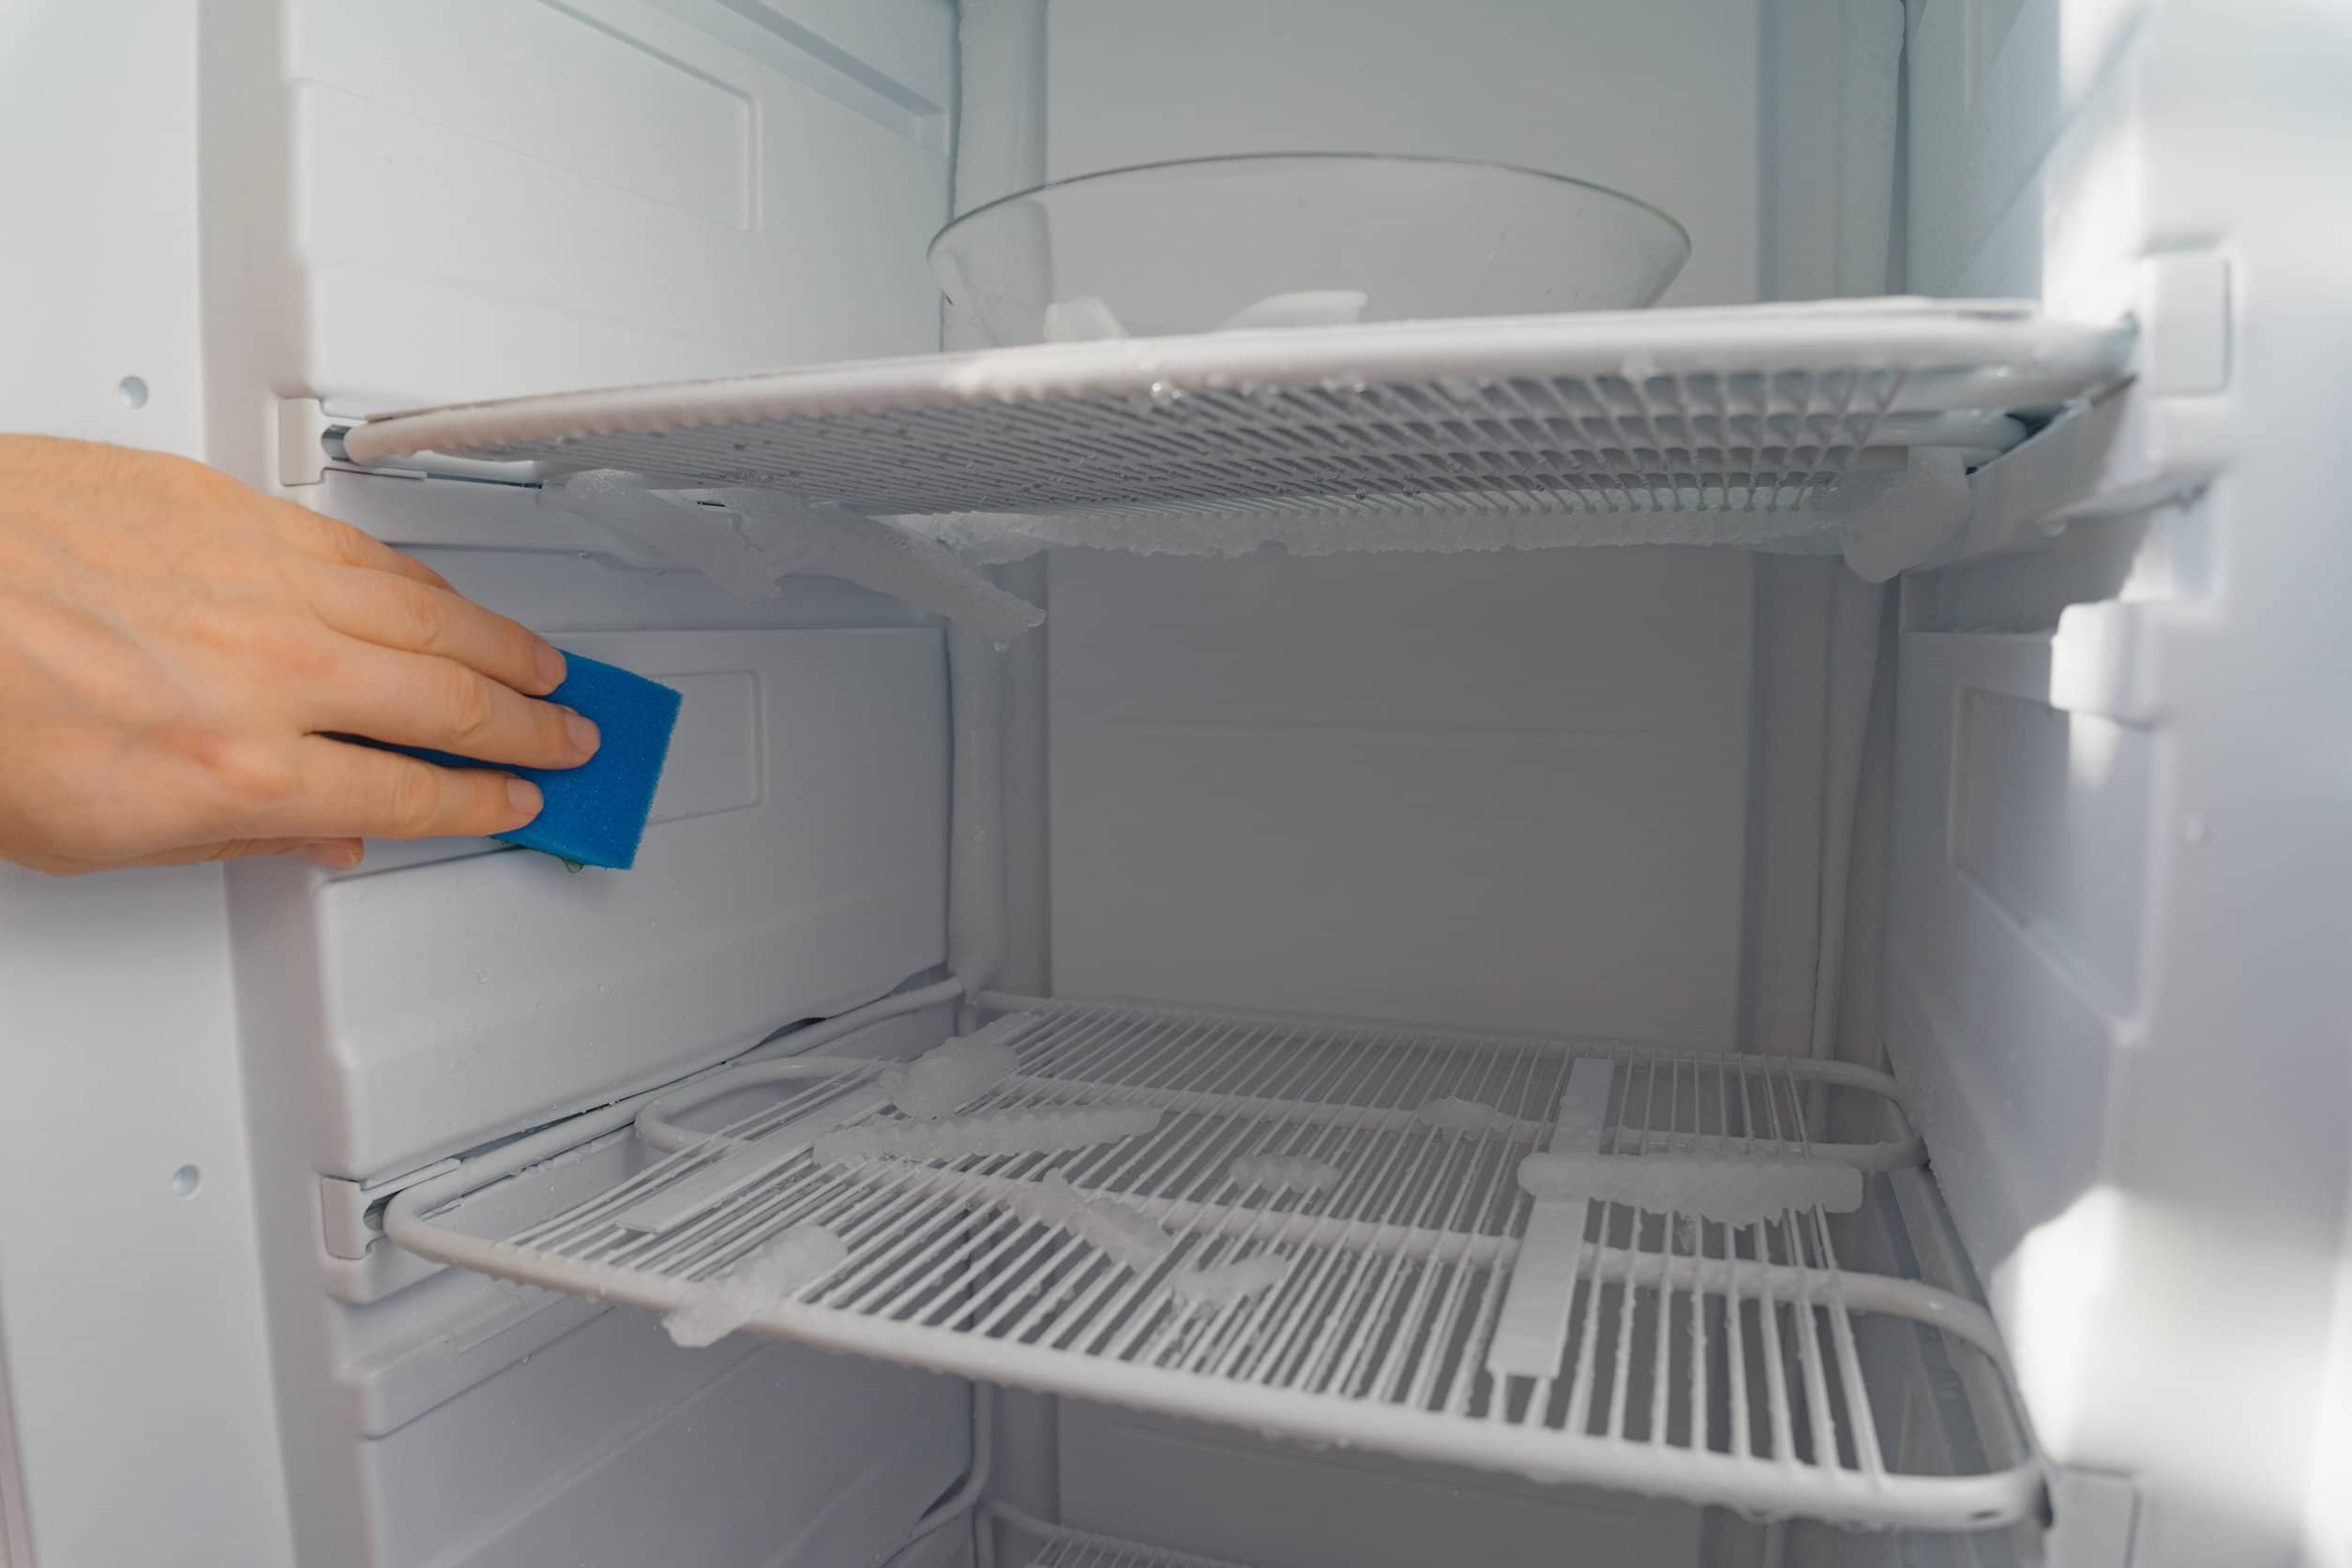
Before you start restocking, make sure your freezer is clean and dry. Leftover moisture can lead to ice buildup. Wipe it down!

Also, remember the 2-hour rule for perishable foods. Don't let food sit at room temperature for more than two hours. This is a very important food safety concern.
If in doubt, throw it out. Food poisoning is no fun!
The Bottom Line: A Chilled Ending
Defrosting your freezer might seem like a daunting task, but it's a necessary evil. With a little patience and these helpful tips, you'll have your freezer back up and running in no time. Now go forth and freeze with confidence!
So, relax, grab a popsicle (from the other freezer, of course!), and let your newly defrosted freezer work its magic. You've earned it!