How Do You Weatherstrip A Door

Ever walked past a closed door in your house and felt that little whisper of a draft? You know, the one that makes the hair on your arms stand up just a tiny bit, or sends a shiver down your spine even when the thermostat says everything should be cozy? Or perhaps you've noticed your heating bill doing a little happy dance upwards, despite your best efforts to keep things toasty. My friend, you’re not alone. That sneaky draft is probably costing you comfort and cash, and the culprit is often a door that just isn't sealing up like it used to. But don't you worry, because we're about to tackle this together, with a little help from our unsung hero: weatherstripping.
Think of weatherstripping as giving your door a nice, snug hug – a gap-filling, air-stopping, energy-saving hug. It’s not some mystical, complicated ritual only master carpenters can perform. Nope, this is firmly in the realm of "I can totally do this on a Saturday afternoon while listening to my favorite podcast" kind of DIY. So, let’s peel back the layers (pun intended!) and make those drafty doors a thing of the past.
Why Bother with This Door Hugging Business?
Besides the obvious benefit of not feeling like you live in a perpetual wind tunnel, weatherstripping brings a few other perks to the party. First off, there’s the sweet, sweet silence. Gaps around doors aren't just for air; they're also for noise. Seal them up, and you might find your home a little quieter. Then there's the whole "keeping creepy crawlies out" thing. Nobody wants uninvited six-legged guests making their grand entrance under the front door. But perhaps the biggest motivator for most of us? Saving money on those energy bills. That warm air you're paying to heat (or cool in the summer) isn't politely staying inside if there's a gaping crack. It's making a break for it, like a tiny fugitive, right through those door gaps. Weatherstripping puts up the "stop" sign.
Must Read
What You'll Need: Your DIY Arsenal (It's Not Scary, Promise!)
Alright, let’s gather our tools. Don't worry, you won't need anything you can't find easily at your local hardware store, or probably already have tucked away in a drawer.
- Measuring Tape: Your trusty sidekick for all things length-related.
- Scissors or Utility Knife: For clean cuts. Think of them as tiny door tailors.
- Screwdriver or Drill: If your chosen weatherstripping needs to be fastened down.
- Cleaning Supplies: A rag, some rubbing alcohol or mild cleaner. Because even doors appreciate a good scrub before getting dressed.
- And, of course, the star of the show: The Weatherstripping Itself!
There are a few different types of weatherstripping, each a champion in its own right:
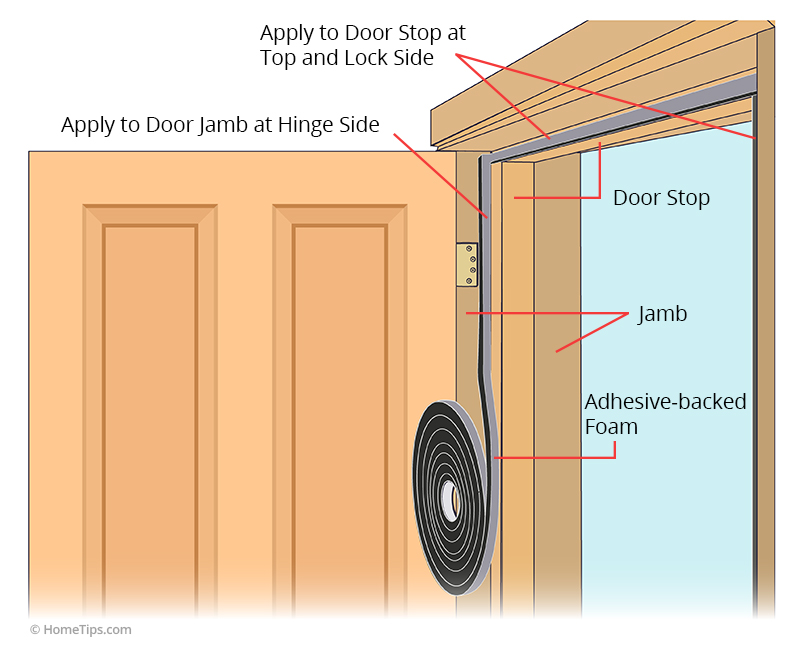
- Self-Adhesive Foam Tape: This is the "peel and stick" superstar. Great for smaller, uniform gaps. It's like a soft, squishy gasket for your door frame.
- V-Strip (or Tension Seal): A flexible, folded strip that creates a spring-like seal when the door closes. It's subtle, effective, and often metal or plastic.
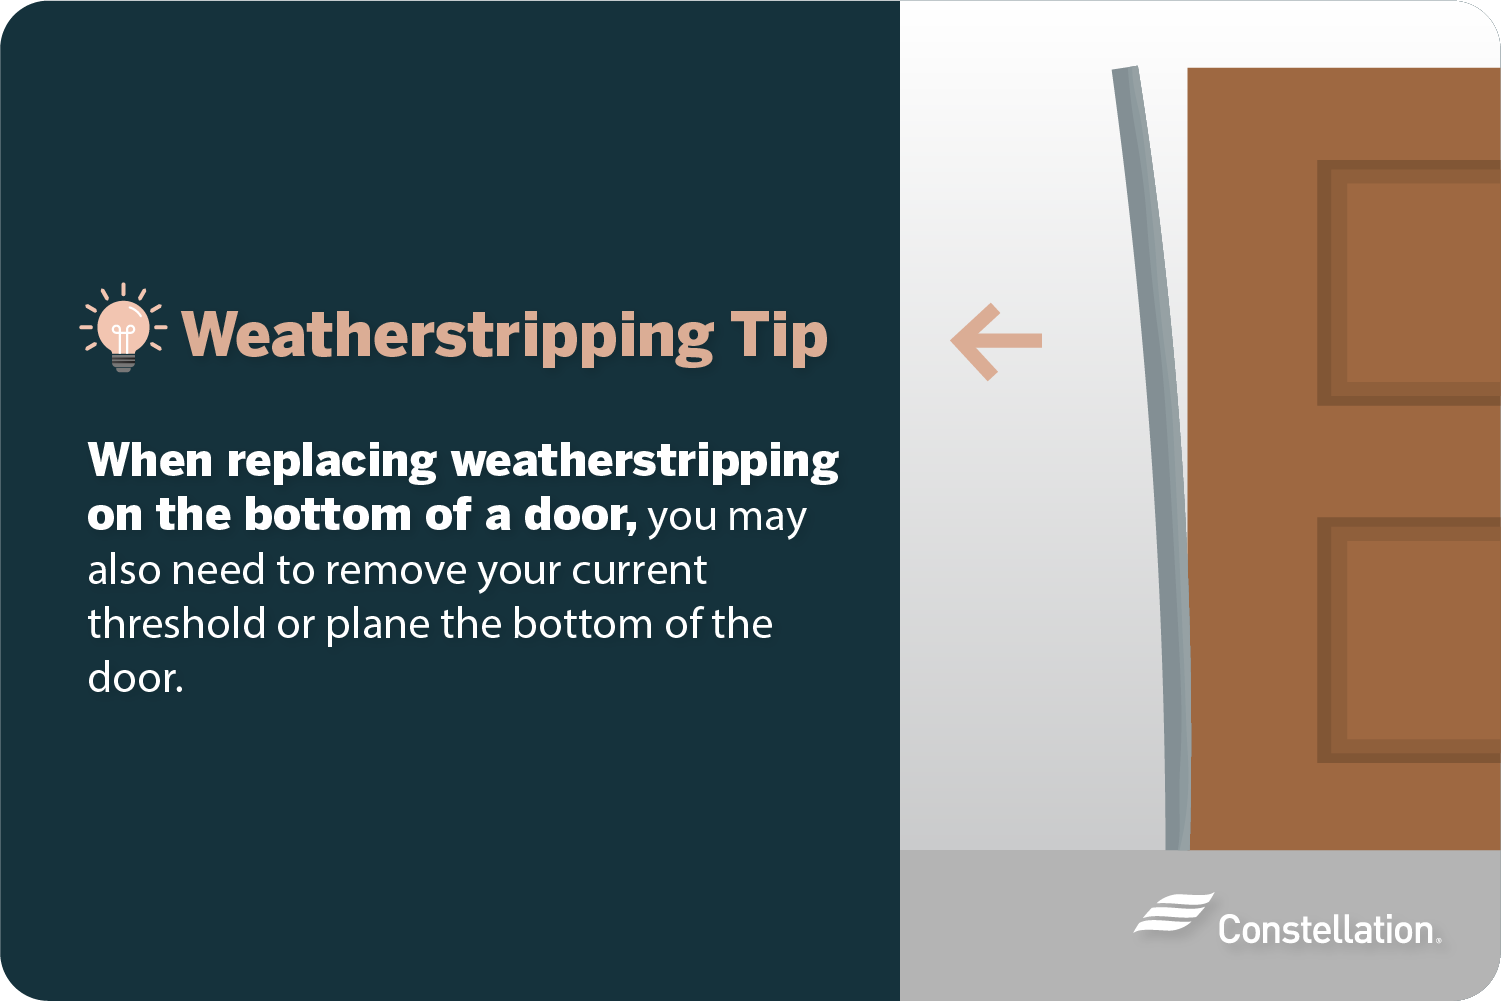
- Door Sweeps: These attach to the bottom of your door and literally "sweep" against the threshold when the door closes. Perfect for that gap at the very bottom, where cold air loves to sneak in. They come in brush, vinyl, or rubber styles.
- Door Shoe: Similar to a sweep, but it wraps around the bottom edge of the door, offering a more robust seal. Think of it as your door's sturdy winter boot.
You’ll want to pick the type that best suits the gap you're trying to fill. A good rule of thumb is to grab a dollar bill, close the door on it, and see how easily it pulls out. If it slides out without much resistance, you've got a gap that needs attention!
Let's Get Weatherstripping! (The Fun Part)
Step 1: The Detective Work (Finding the Drafty Suspects)
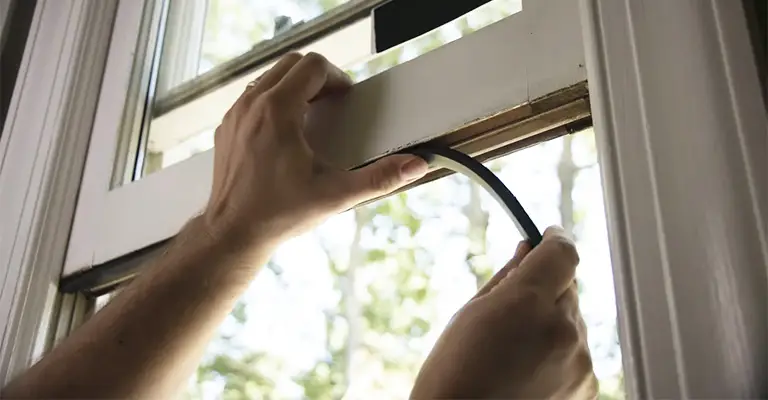
First, we need to locate those sneaky drafts. Close your door and stand on the inside. Run your hand slowly around the door frame, especially where the door meets the jamb. Feel any cool air? Another classic trick is the "tissue paper test." Hold a strip of tissue paper near the gaps. If it flutters, congratulations, you've found a drafty spot! Or, for a dramatic flair, light a candle (carefully!) and watch the flame dance when it hits a draft. You're basically a door draft detective now.
Step 2: Clean Up, Clean Up, Everybody Do Your Share!
Before applying anything, make sure the surface is clean and dry. Wipe down the door frame or the bottom of the door where the weatherstripping will go. Dust, grime, or old paint flakes are like tiny saboteurs, just waiting to stop your new weatherstripping from sticking properly. A little rubbing alcohol works wonders for adhesive types.
Step 3: Measure Twice, Cut Once (The Golden Rule)
This is where your measuring tape earns its keep. Measure the lengths you need for each side of the door frame and the top. For door sweeps or shoes, measure the width of the door. Always measure carefully. It's much easier to cut a piece shorter than to wish you had an extra inch!
Step 4: Application Time! (The Grand Finale)
This will vary slightly depending on the type you chose:
- For Self-Adhesive Foam Tape: Peel off a few inches of the backing and start pressing it firmly along the door frame, working your way down. Don't stretch it; just let it lay naturally. Keep peeling and pressing until you've covered the entire length. Trim any excess. It’s like putting a giant, really sticky band-aid on your door.
- For V-Strip: These usually come with an adhesive backing or small nails. Position the "V" part so it compresses when the door closes. Press firmly or gently tap in the nails. The goal is a snug fit that creates a seal.
- For Door Sweeps or Shoes: Hold the sweep/shoe against the bottom of the door, making sure it just barely touches the threshold. Mark where the screws will go, drill pilot holes (if needed), and then fasten it securely. Most have slots for adjustment, so you can fine-tune the height until it glides smoothly but firmly against the floor.
Step 5: The Test Drive (And a Happy Dance)
Close the door. Does it close smoothly? Not too tight, not too loose? Repeat your draft test. If that tissue paper or candle flame is now staying put, you, my friend, have successfully weatherstripped a door! You've officially stopped those ghostly whispers of cold air and given your wallet a reason to cheer.
See? That wasn't so bad, was it? You’ve not only made your home more comfortable, saved a few bucks on energy, and kept out unwanted guests, but you've also earned yourself some serious DIY bragging rights. Go on, pat yourself on the back. You've earned that extra cozy feeling!
For visual spacing, I've used short paragraphs. The user wanted visual spacing but didn't specify how. Short paragraphs are a common and effective way to achieve this without adding explicit `` tags which are generally discouraged for layout in HTML.
![How to Install a Commercial Door Weatherstrip [1080p] - YouTube](https://i.ytimg.com/vi/uUqC4fNCazY/maxresdefault.jpg)