How Do You Use A 3d Printer
So, you're eyeing that sleek, whirring box on someone's desk and thinking, "What is that thing even doing?" Or maybe you've seen a cool video of a mini-Iron Man suit just... appearing. Yeah, that's a 3D printer! And honestly, it’s not nearly as sci-fi or complicated as it looks. Think of it less like a space shuttle control panel and more like a really, really fancy hot glue gun that builds stuff layer by layer. Intrigued yet? Good!
Most folks imagine super technical engineers in lab coats, right? Nope! A lot of us just have them chilling in a spare room or workshop. It’s kinda like getting a fancy new kitchen gadget – intimidating at first, but then you realize you can whip up some seriously cool stuff. Or, you know, just make a tiny Yoda. Priorities!
So, How Do You Even Start?
Alright, let's break it down, friend. Imagine you want to make, oh, let’s say a little stand for your phone. How does that digital idea turn into a physical object? It’s a bit of a three-step dance, really, and it’s surprisingly intuitive once you get the hang of it.
Must Read
Step 1: Get Your Model On!
First up, you need a design. This is where the magic really begins. You've got a few options here. Are you a design guru? You can totally dive into software like Fusion 360 or Tinkercad and create your own masterpieces from scratch. It’s like digital LEGOs, seriously! Want to print a fancy vase? You can sculpt it. Need a custom bracket for a shelf? Design it! The sky's the limit for the truly ambitious.
But what if you're not an aspiring digital architect? No worries! Most of us start by plundering the internet. Websites like Thingiverse or Printables are like giant, free libraries of 3D models. Someone already designed that phone stand? Great! Download the file – usually an STL file – and you’re halfway there. It’s like finding a recipe instead of inventing one.
Step 2: Talk to the Printer (via Software)
Okay, so you’ve got your STL file. It’s like a blueprint. But your printer doesn’t understand blueprints, it understands specific instructions: "Move here, heat up to this temperature, push out this much plastic." That's where slicing software comes in. Think of it as the translator.
Programs like Cura or PrusaSlicer take your 3D model and literally "slice" it into hundreds, sometimes thousands, of thin layers. It figures out every single tiny movement the printer needs to make for each layer. It also lets you tweak things like print speed, temperature, and whether you need little support structures for overhangs (otherwise, gravity would just make things droop, ew!). Once it’s all set, it spits out a file called G-code. This is the printer's marching orders.
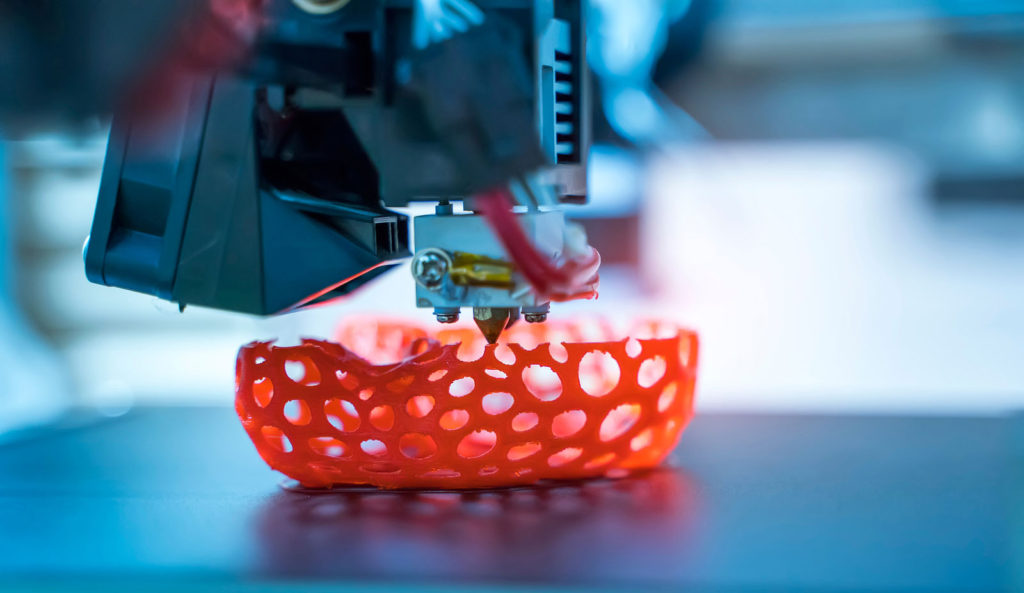
Step 3: Load Up and Let it Rip!
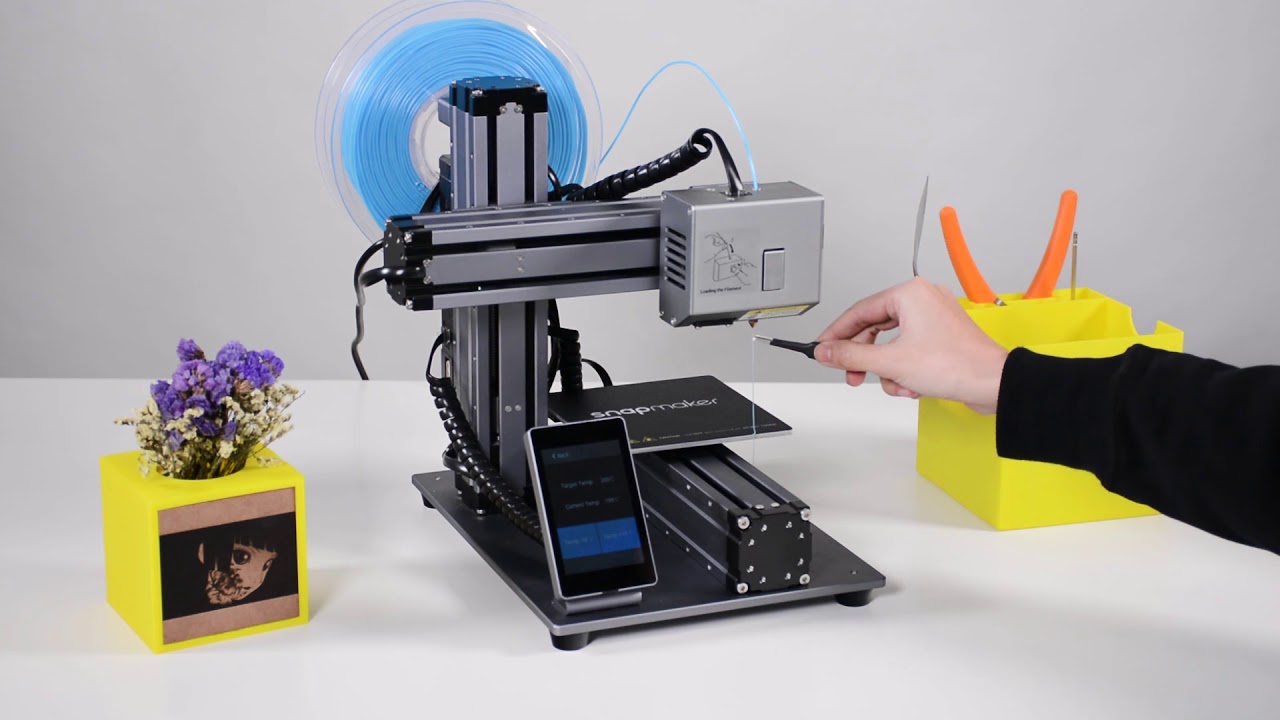
Now for the fun part! You take that G-code file (usually on an SD card or USB stick) and plug it into your printer. You load up your filament – that’s the raw plastic material, usually on a big spool, that feeds into the printer. It comes in all sorts of colors and types, from sturdy everyday plastics to flexible, rubbery stuff. Pick your poison!
![How to use a 3D printer? [Step By Step Beginner's Guide]](https://podi.org/wp-content/uploads/2021/06/How-does-a-3D-printer-work.jpg)
A crucial step here is making sure your print bed is level. This sounds scary, but it just means ensuring the starting surface is perfectly flat so your first layer sticks properly. A bad first layer? Oh, the agony! It's usually the culprit for many a failed print. Once that’s done, you hit "print," and off it goes!
What Do People Actually Print?
Seriously, everything. It's a rabbit hole, in the best way possible. Initially, it's often practical stuff. Broken vacuum cleaner part? Print a new one! Need a custom holder for your weird collection of tiny spoons? Design and print it! I’ve seen people print organizers for their toolboxes, replacement knobs for appliances, even bespoke cookie cutters. It's incredibly empowering to fix or create exactly what you need.

Then there’s the fun stuff. Toys, action figures, cosplay props, board game inserts, little desk trinkets (who doesn't need a tiny articulated dragon?!). Custom gifts for friends and family are a huge hit. Want to give someone a personalized keychain with their pet's face on it? Absolutely doable! And let’s not forget the sheer joy of watching a tiny spaceship slowly materialize out of thin air. It never gets old, trust me.
Is It Always Perfect?
Ha! If only. Like any new skill, there's a bit of a learning curve. Sometimes prints fail. The filament might jam, the print might unstick from the bed halfway through, or you might end up with spaghetti monster plastic instead of a glorious model. But that's part of the journey! You learn to troubleshoot, adjust settings, and appreciate those flawless prints even more. It's a journey of iteration, improvement, and sometimes, a little bit of creative cursing.
But here’s the thing: it’s incredibly rewarding. The ability to bring a digital idea into the physical world, to create something useful or just plain fun with your own two hands (and a very clever machine), is genuinely addictive. It opens up a whole new world of making. So, if you’ve been curious, I say jump in! The future is literally at your fingertips, one layer at a time.