How Do You Take The Battery Out Of An Iphone

So, you want to peek inside the forbidden fruit? To bravely venture where only specially trained technicians dare to tread? You want to know how to take the battery out of an iPhone? Buckle up, buttercup, because this is going to be a wild ride!
First, a little disclaimer. We’re talking about a carefully engineered piece of tech. Taking it apart isn't exactly like dismantling a Lego castle. You're not just popping off bricks here; you're fiddling with delicate wires and adhesive that could make a surgeon sweat.
Okay, disclaimer over. Let's imagine the scene. You’re standing there, tools in hand. What tools, you ask? Ah, that’s part of the fun! Think tiny screwdrivers, the kind that could be mistaken for toothpicks, a suction cup (yes, like the ones you stick to your shower wall!), and maybe something thin and plastic to pry things open. Think guitar pick, but less musical and more…surgical.
Must Read
The Great Unsticking
Most iPhones are sealed tighter than a drum. Getting in requires a delicate dance of heat and suction. Imagine using a hairdryer to gently warm the edges. You’re softening the adhesive that’s stubbornly holding the screen in place. Then, the suction cup comes into play. You carefully attach it to the screen and start pulling…gently! It’s like trying to open a particularly stubborn pickle jar, only the pickle jar costs hundreds of dollars.
If you’re lucky (and patient), a small gap will appear. This is where your plastic pry tool comes in. Slide it along the edge, gently separating the screen from the frame. It’s a slow process, a bit like defusing a bomb in a movie. Except instead of a bomb, it's your phone and instead of defusing, it's… well, you get the idea.

Pop goes the weasel! (Hopefully, no actual weasels were harmed in the making of this explanation). The screen is now partially detached. Don't yank it off! It's still connected by delicate cables, like the nervous system of your phone. These cables are responsible for everything from displaying cat videos to letting you doomscroll through Twitter.
The Cable Conundrum
Time for more tiny screws. These little guys are holding metal brackets in place, which in turn are protecting the connectors for those precious display cables. You’ll need your tiny screwdriver for this part. Remember where each screw goes! It’s like a puzzle, and losing a piece means your phone might end up with a permanent squint.
Once the brackets are off, you can gently disconnect the cables. They usually just pop off with a little encouragement. Think of it like unclipping a bra, but smaller and way more expensive if you mess it up.
Now, the screen is free! Set it aside in a safe place. You're now looking at the inner workings of your iPhone. It's a beautiful, intricate mess of circuits and components. You’re basically a surgeon now, except instead of saving lives, you’re trying to get to a battery.
The Battery Liberation
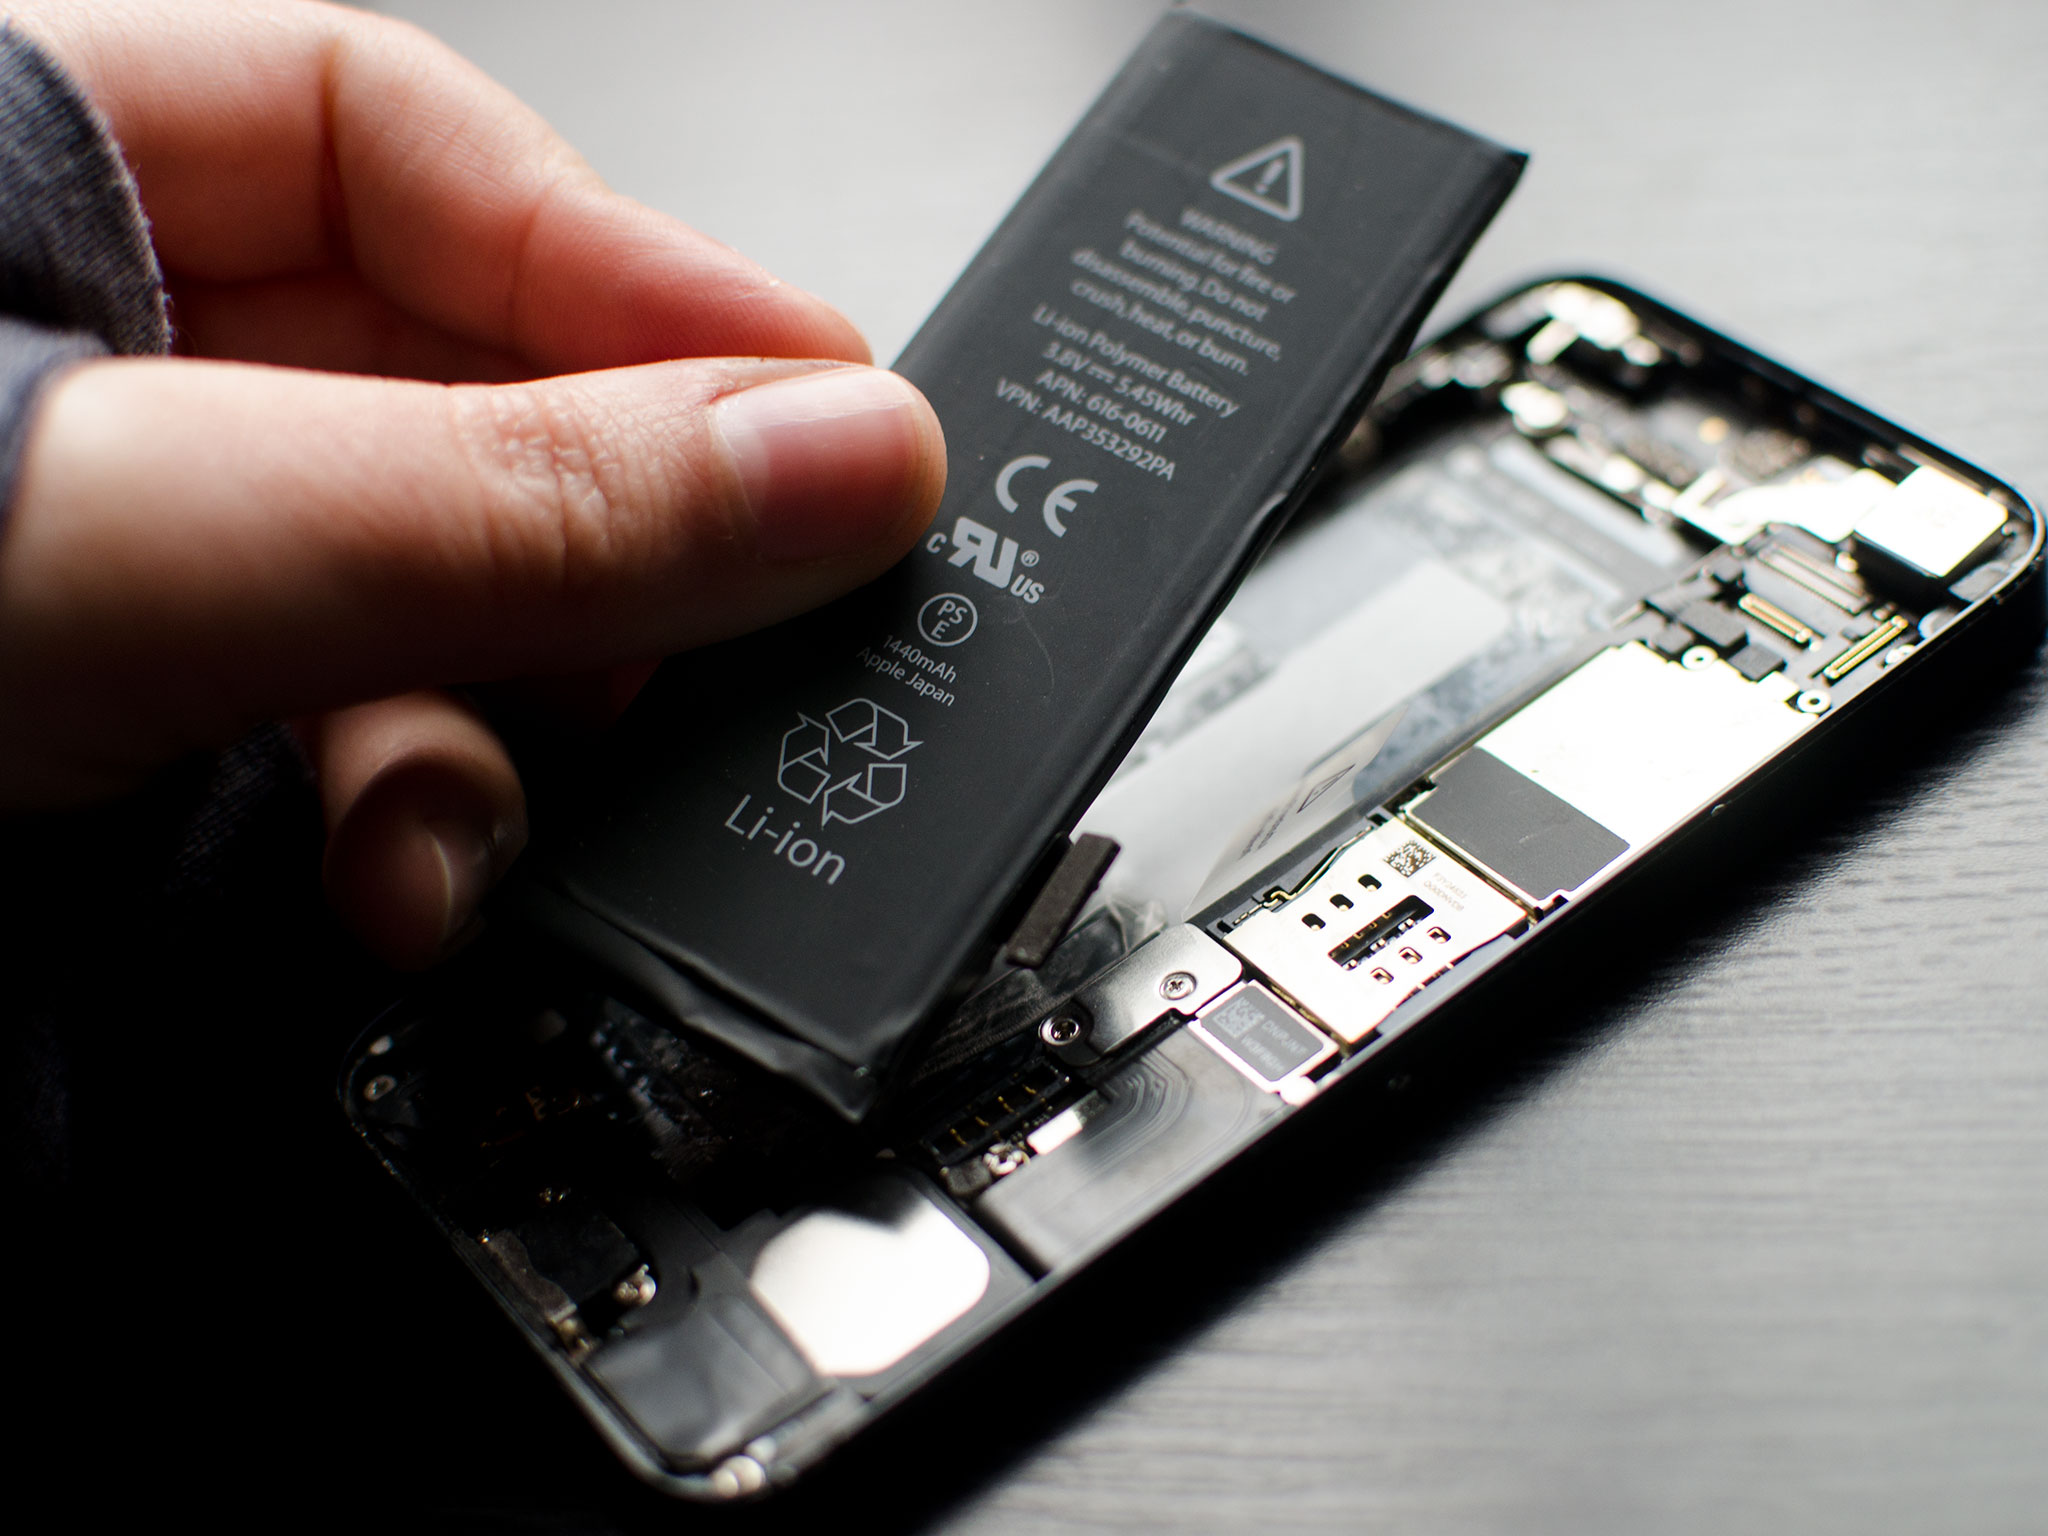
The battery itself is usually glued in place with more incredibly strong adhesive. Apple really doesn't want you messing with this thing. You'll likely need to use those plastic pry tools again, carefully sliding them under the battery to break the adhesive bond. Be extra careful not to puncture the battery! That can lead to…unpleasantness.
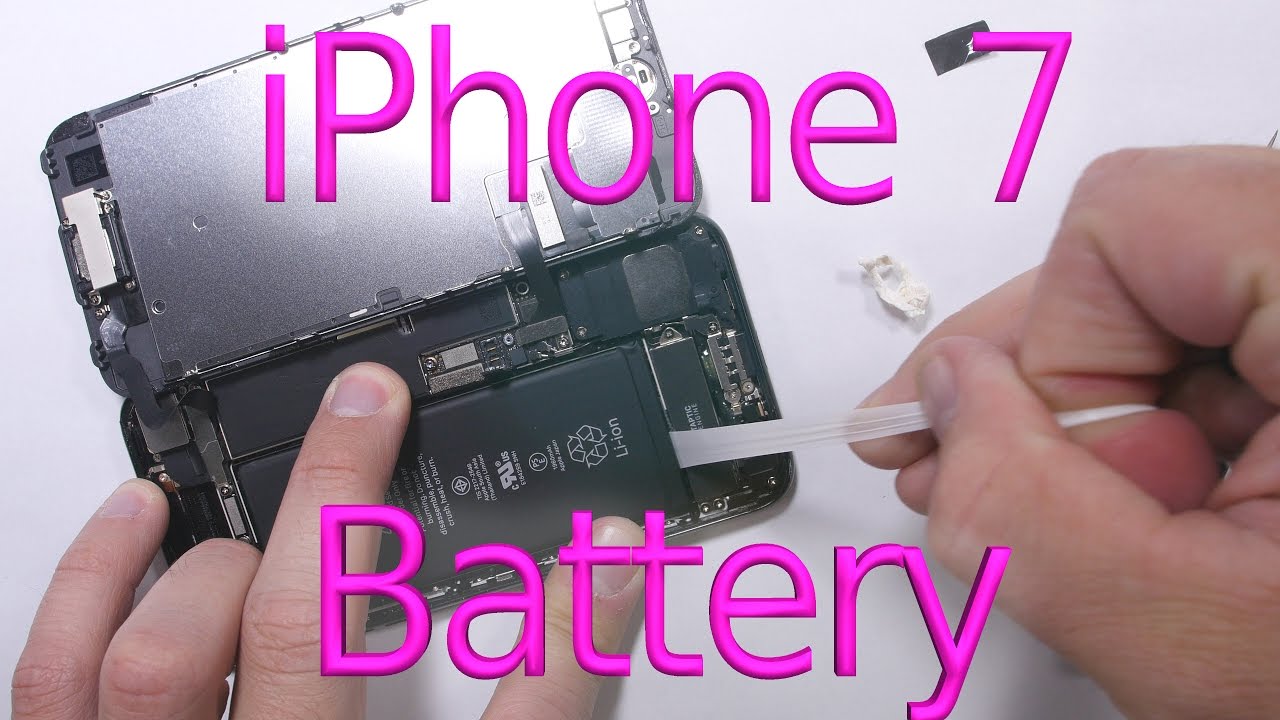
Some iPhones use adhesive strips that you can pull out to release the battery. These strips are designed to stretch and break, adding another layer of complexity to the whole operation. It's like pulling taffy, but if you pull too hard, your phone explodes (not really, but it’s a good visual, right?).

Finally! The battery is free! You’ve done it! You’ve conquered the adhesive, navigated the cables, and survived the tiny screws. You are a true iPhone dismantling champion!
But Wait, There's More!
Putting it all back together? That’s a whole other adventure! Remember all those tiny screws? They need to go back exactly where they came from. And those delicate cables? They need to be reconnected with precision. And that screen? It needs to be carefully resealed to keep out dust and moisture.
In the end, taking the battery out of an iPhone isn’t just about replacing a power source. It’s about the journey. It's about facing a challenge and overcoming it. It’s about feeling a surge of accomplishment when you finally pry that battery free. And it’s about having a really good story to tell (especially if you manage to put it all back together without any leftover parts!). But seriously, consider having a professional do this. Unless, of course, you're feeling particularly adventurous. And who knows, maybe you'll even discover a hidden talent for micro-surgery! Just don't blame us if you end up with a phone that's held together with duct tape and prayer.