How Do You Replace A Lamp Socket
We all have that one lamp, don’t we? The quirky vintage find, the sentimental hand-me-down, or simply the perfect reading light that just fits. But then, one day, it starts to flicker. Or maybe it just stops altogether, leaving you in the dim, contemplating its mortality. Before you banish it to the donation bin or the great beyond, let's talk about a little secret: replacing a lamp socket is incredibly satisfying, surprisingly straightforward, and totally within your DIY superpowers.
Think of it as giving your beloved lamp a tiny, electrical heart transplant. It sounds a bit dramatic, perhaps, but trust us, the feeling of accomplishment when that light blazes back to life is pure magic. Plus, in an age where we’re all trying to be a bit more mindful about waste, repairing something rather than replacing it feels downright virtuous.
Why the Flickering Fuss?
Most lamp sockets lead long, happy lives, but sometimes the wear and tear of daily use—or perhaps a particularly enthusiastic bulb-screwing incident—can loosen connections, fray wires, or simply wear out the internal mechanism. Maybe your lamp is an antique, and its socket has seen more decades than disco. Whatever the reason, a faulty socket is usually the culprit when your lamp decides to play hide-and-seek with the light.
Must Read
Gather Your Squad (of Tools)
No need for a massive toolkit here! This isn't brain surgery, it's lamp surgery. You'll likely only need a few humble heroes:
- A screwdriver (both flathead and Phillips, just in case)
- Wire strippers (your new best friend for electrical projects)
- A new replacement socket (make sure it matches the size and style of your old one!)
- Perhaps some electrical tape for extra peace of mind.
- And most importantly, a healthy dose of curiosity and a dash of patience.
Safety First, Always!
Before you touch anything, anything at all, remember this golden rule: UNPLUG THE LAMP! Seriously. This isn't a suggestion; it's an absolute must. Even Edison himself would agree. We're dealing with electricity, and while this is a small project, respect for the current is non-negotiable. Don't skip this step. Ever.

The Great Unveiling: Disassembly
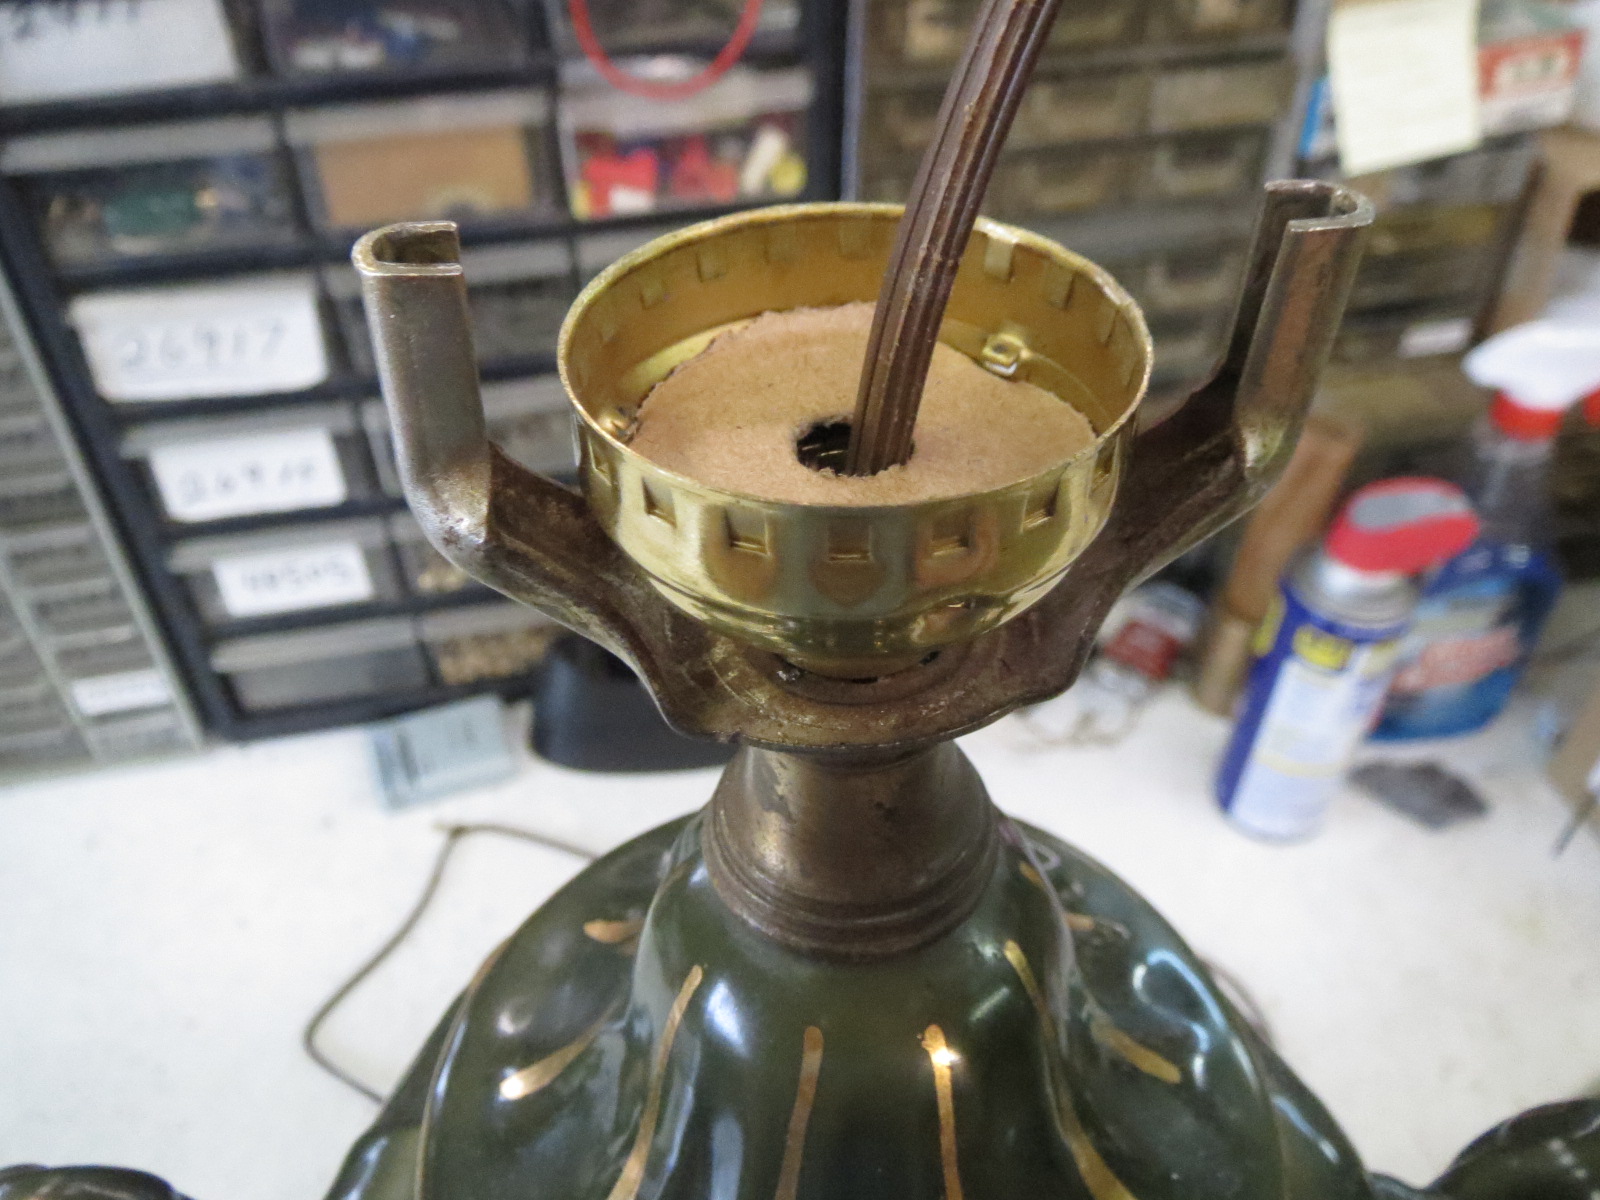
With your lamp safely unplugged, it’s time to gently dismantle. Most lamp sockets come in two main types: those that simply pull apart (often with a "push" tab inside the shell) and those with a screw-on outer shell. Look for a small line or indentation where the two halves meet. Often, a gentle squeeze or twist will reveal the inner workings.
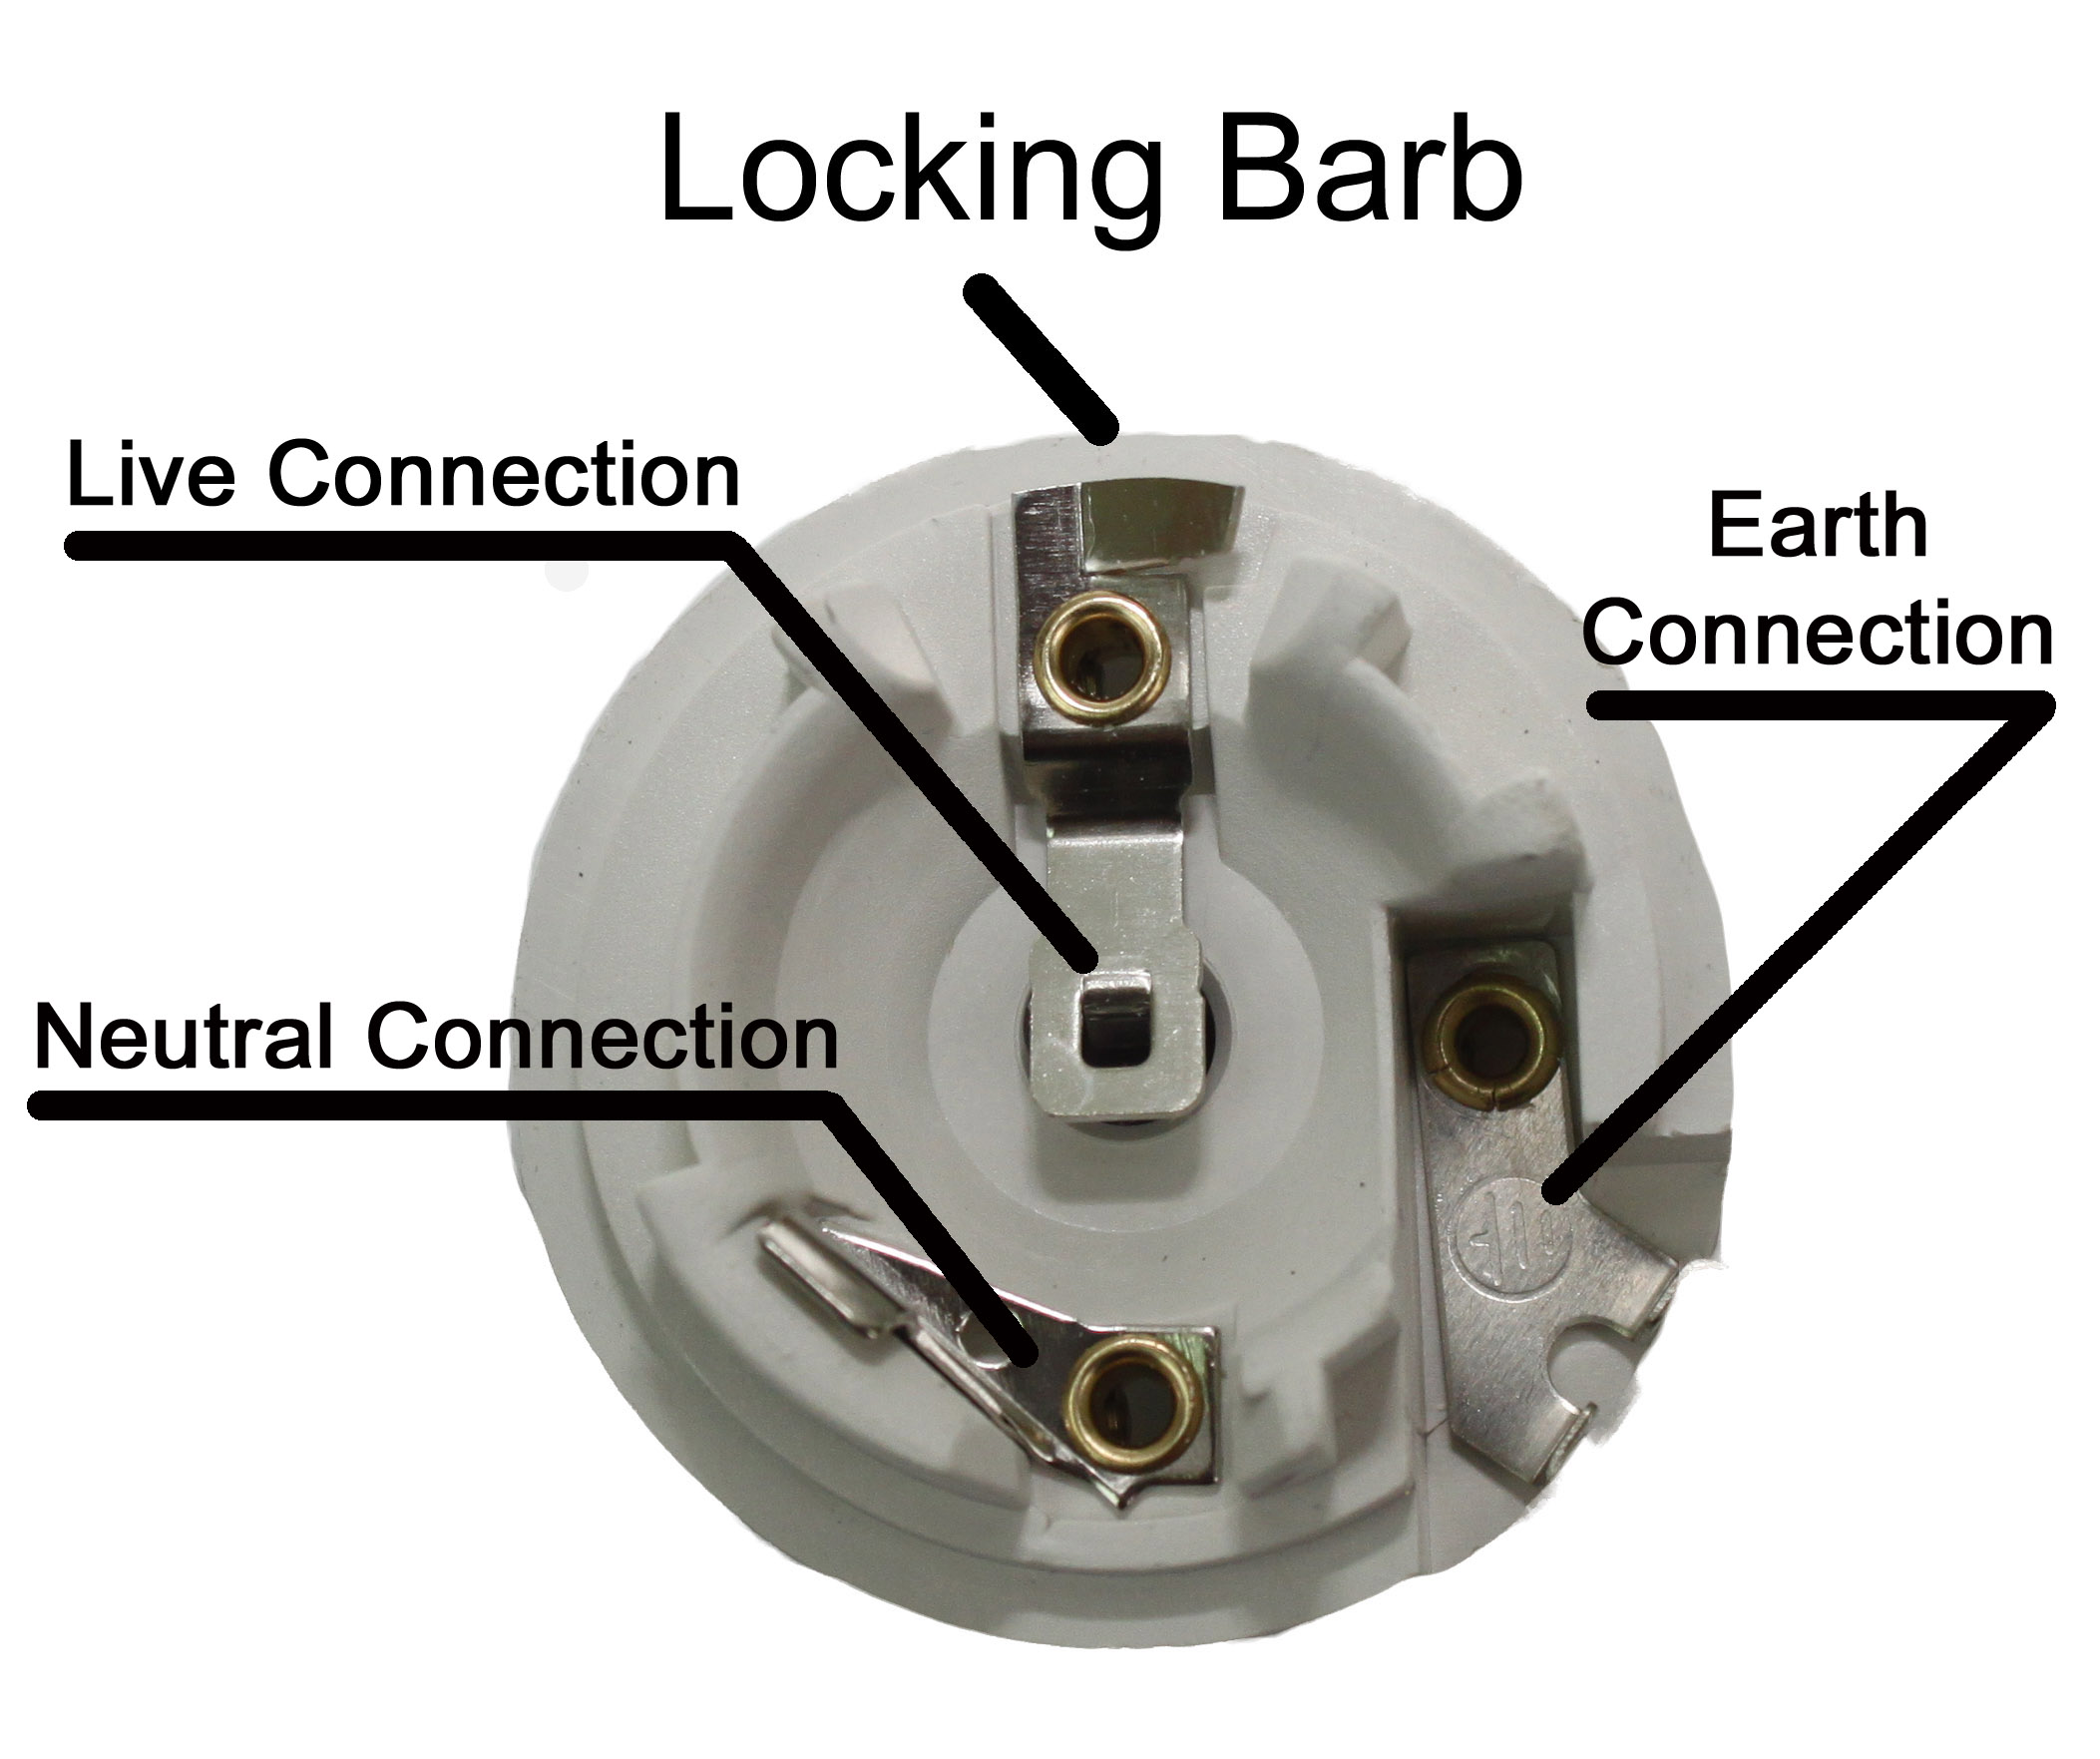
Once you’ve separated the outer shell, you'll see the terminal screws where the lamp's cord wires are connected. Pay attention to which wire goes to which screw. Usually, there's a smooth wire and a ribbed wire. The smooth one (often black) is typically the "hot" wire and connects to the brass-colored screw. The ribbed one (often white) is the "neutral" wire and connects to the silver-colored screw. Make a mental note, or even better, snap a quick picture with your phone!

Carefully unscrew these terminals and detach the old wires. Then, remove the old socket entirely. Sometimes there’s a small cardboard insulating sleeve; don’t lose it if your new socket needs it.
Welcoming the New Kid on the Block
Now for the exciting part! Grab your new socket. It should look remarkably similar to the old one. If it came with a new insulating sleeve, slide that on first. Then, it's time to connect the wires. Remember that photo you took? Or your mental map?

If you're dealing with wires that look a bit frayed or have tarnished ends, now's the perfect time to give them a fresh start. Use your wire strippers to trim off about half an inch of insulation from the very ends. This ensures a clean, reliable connection. Think of it as giving your lamp fresh, healthy veins!
Again, connect the smooth/black wire to the brass screw and the ribbed/white wire to the silver screw. Twist the stripped wire ends clockwise around the screws and tighten them securely. You want them snug, but not so tight you strip the screw head. Give each wire a gentle tug to ensure it’s firmly attached. This is where attention to detail truly shines.
The Big Reveal: Reassembly and Illumination
Once the wires are connected, carefully push the new socket back into the lamp base, ensuring no wires are pinched. Reassemble the outer shell of the socket, snapping or screwing it back into place. Give it a gentle test: does it feel solid?
Now for the moment of truth! Screw in a lightbulb (preferably one you know works). Take a deep breath. Plug your lamp back into the wall. And with a flip of the switch... voila! Light! That satisfying glow is your reward for a job well done. You didn't just fix a lamp; you rekindled its spirit.
Replacing a lamp socket isn't just about saving a few bucks (though that's a nice bonus!). It’s about building confidence, learning a new skill, and connecting with the objects in your home on a deeper level. It’s a small act of repair that reminds us that with a little know-how and a touch of patience, we can bring back the light, not just in our lamps, but sometimes, in our day too.