Glue Clear D Aruclic To 3d Prints Without Bubbles
Hey there, fellow 3D printing enthusiast! Ever wanted to give your prints that super-smooth, glass-like finish? Yeah, me too! We've all been there, staring at a print, dreaming of that perfect, crystal-clear coat. And the solution? Clear acrylic glue! But oh boy, those pesky bubbles! They can turn your masterpiece into a polka-dotted nightmare. But fear not, my friend! I'm here to share some secrets to achieving bubble-free bliss!
Prepping for Perfection
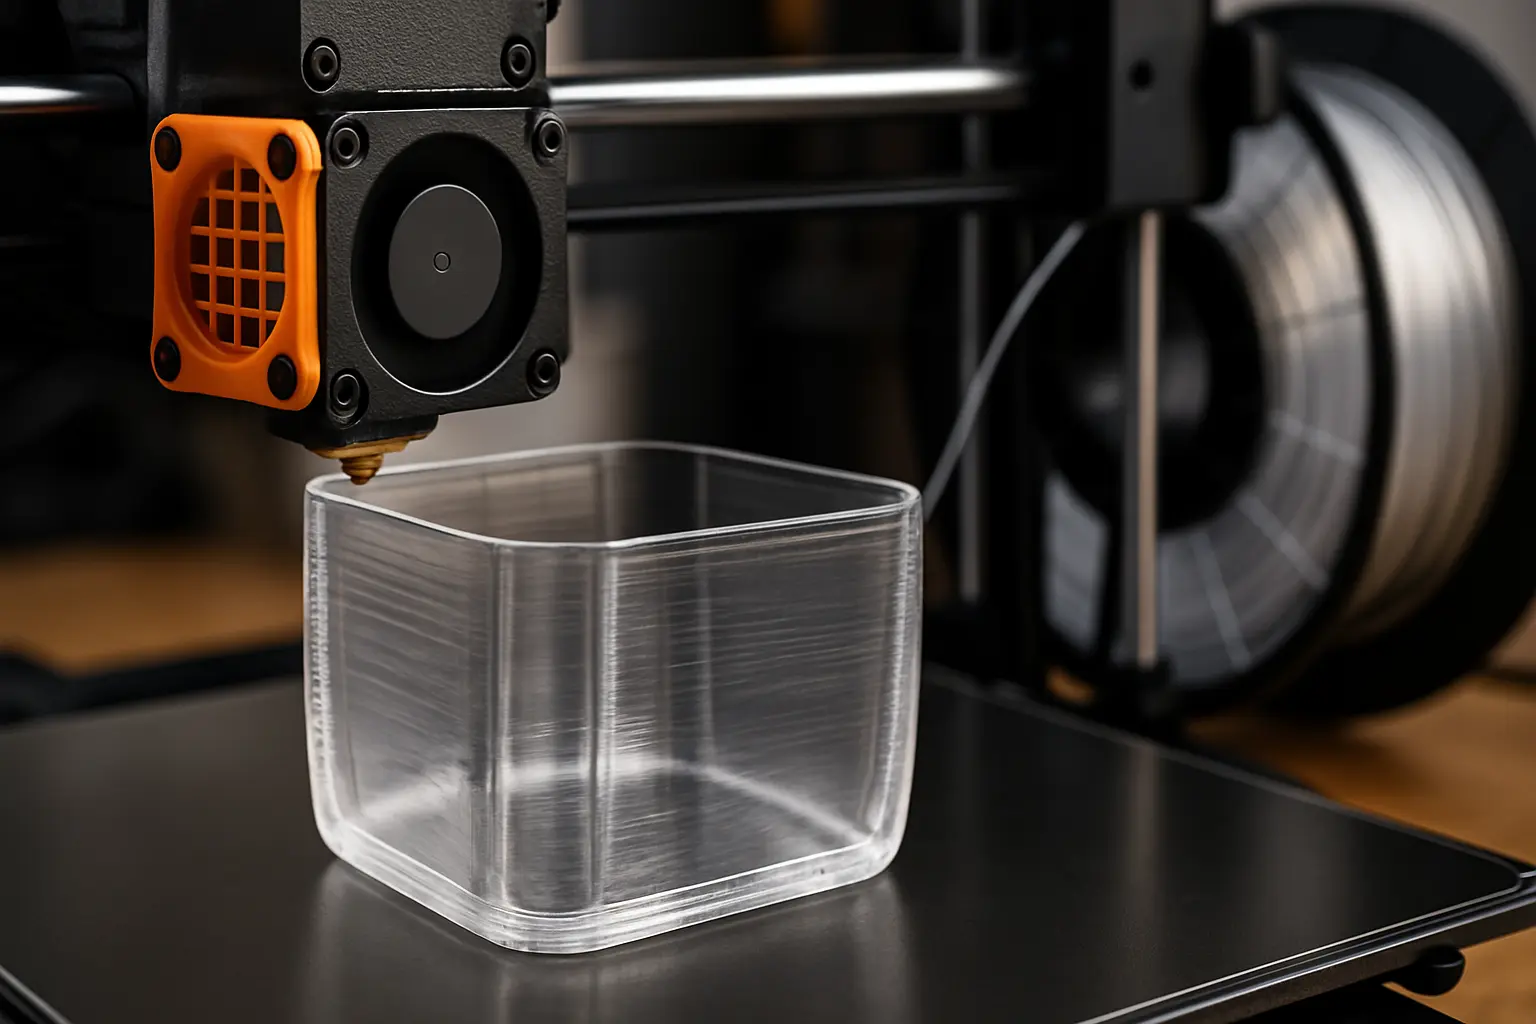
First things first: cleanliness is next to godliness… especially when it comes to acrylic glue! Make sure your 3D print is squeaky clean. Dust, fingerprints, stray filament hairs… they're all bubble magnets. Give it a good wipe down with a slightly damp (not soaking wet!) cloth. Think of it as giving your print a spa day before its big makeover.
Got some stubborn supports you forgot to remove? Now's the time! Any imperfections will be amplified under that clear coat, so address them before you start gluing. A little sanding can go a long way, too! Just remember to dust off the sanding residue afterwards. We're aiming for flawless, remember?
Must Read
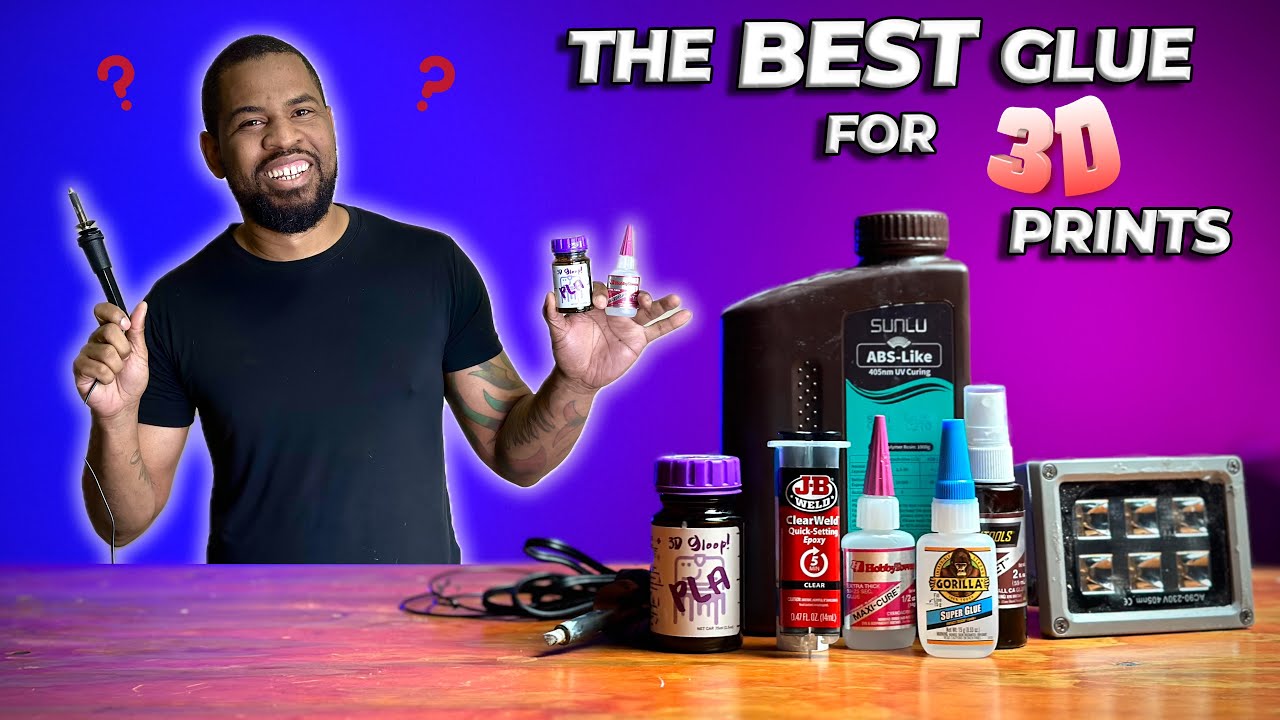
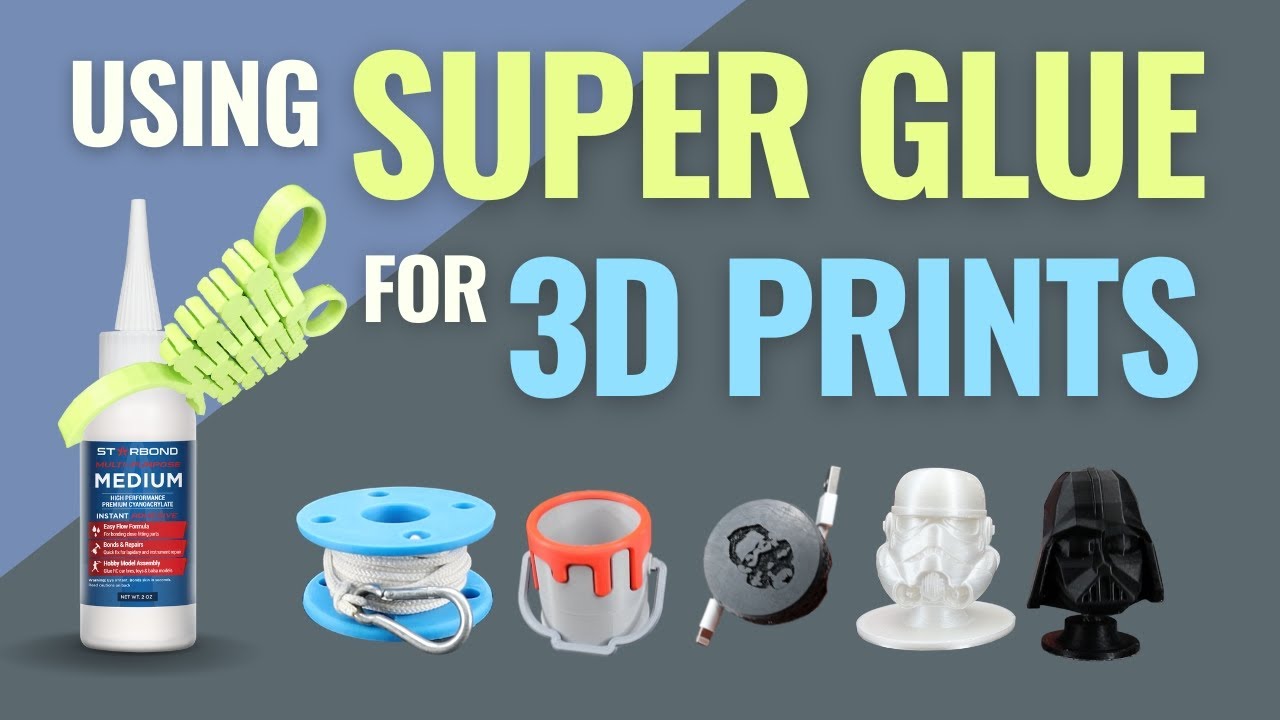
Choosing Your Weapon (Glue, That Is!)
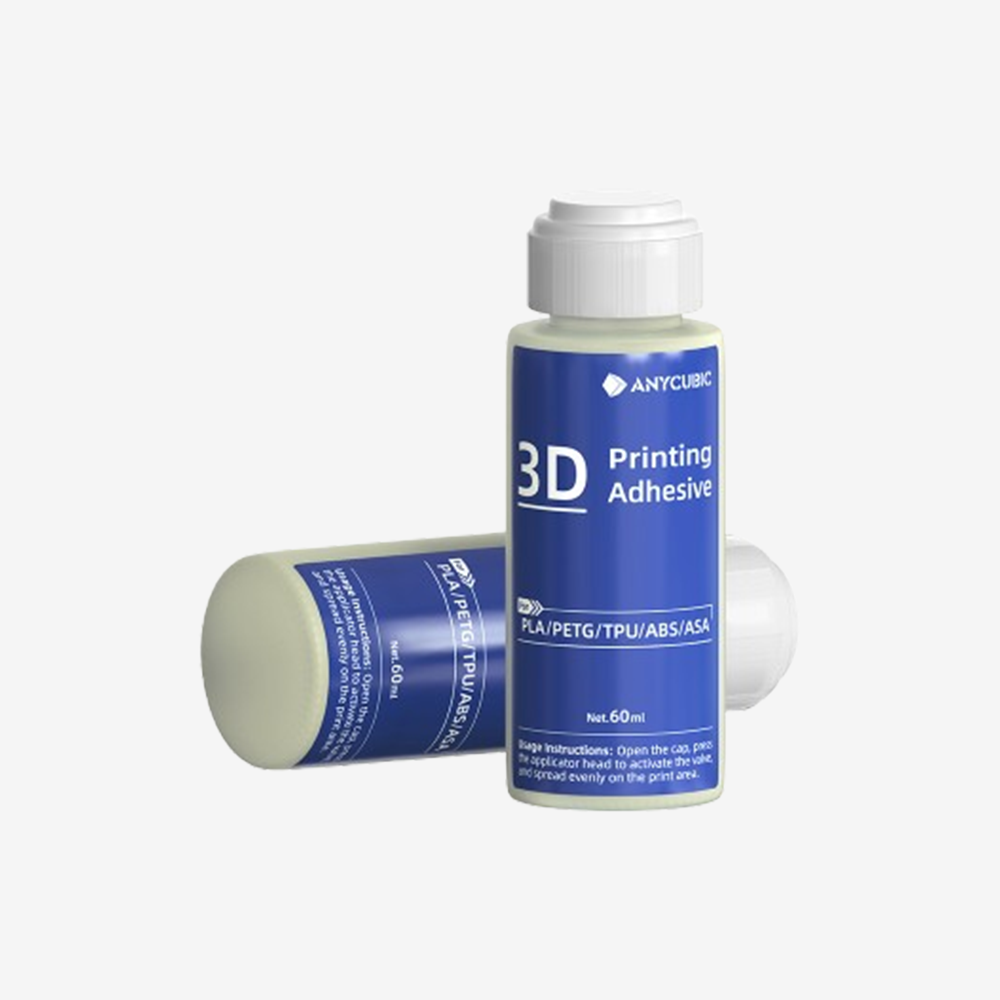
Not all acrylic glues are created equal. You'll want a good quality, clear acrylic glue that's specifically designed for plastics. Read the labels! Seriously! It's like reading the back of a cereal box, but instead of nutritional information, you're learning about adhesion properties. Exciting, right? Look for something that mentions it's slow-drying. A longer drying time gives those pesky bubbles a chance to escape. We want escapees, not squatters!
And while you're at it, make sure you have the right tools. Skip the brush! Seriously, unless you like the look of brushstrokes entombed in acrylic. Instead, use a fine-tipped applicator, a syringe (without the needle, please!), or even a toothpick for those really tiny areas. Precision is key, my friend. Precision is key.
The Application Tango
Okay, deep breath! It's glue time! The golden rule? Less is more! Apply a thin, even layer. Think of it like icing a cake… except, you know, with glue. Don't glop it on! That's a surefire recipe for bubble city.
Work in small sections. This gives you more control and prevents the glue from drying too quickly. If you see bubbles forming, gently nudge them with your applicator. Sometimes, they’ll just pop on their own. It's oddly satisfying, like popping bubble wrap (but way more important for your 3D print's aesthetics!).
Gravity is your friend! Orient your print so that the glue flows downwards. This helps the bubbles rise to the surface and escape. Think of it as giving them a little elevator ride to freedom.

The Waiting Game (aka Patience, Padawan!)
Now comes the hard part: waiting. Resist the urge to touch it! Resist the urge to blow on it! Just let it dry naturally. This can take anywhere from a few hours to a full day, depending on the glue. Set it and forget it (almost!).
If you’re feeling extra cautious, you can place your print in a dust-free environment while it dries. A clean container or even a cardboard box will do the trick. This will prevent any stray particles from landing on your pristine surface.
Second Coat for Superpowers
Once the first coat is completely dry, assess the situation. Did you conquer the bubbles? Awesome! But if there are still a few lingering stragglers, don't despair! A second coat can work wonders. Just repeat the process: thin layer, slow application, patience, and boom! You're on your way to acrylic-coated awesomeness.
Sometimes, even after all that, you might still get a tiny bubble or two. Don’t sweat it! Think of them as little imperfections that make your print unique. After all, nobody’s perfect… not even your 3D prints (although we strive for perfection, don't we?).
So there you have it! Your guide to gluing clear acrylic to 3D prints without the bubble blues. Remember, practice makes perfect (or at least significantly better). Don't be afraid to experiment and find what works best for you. Happy printing, and may your acrylic coatings be forever bubble-free!