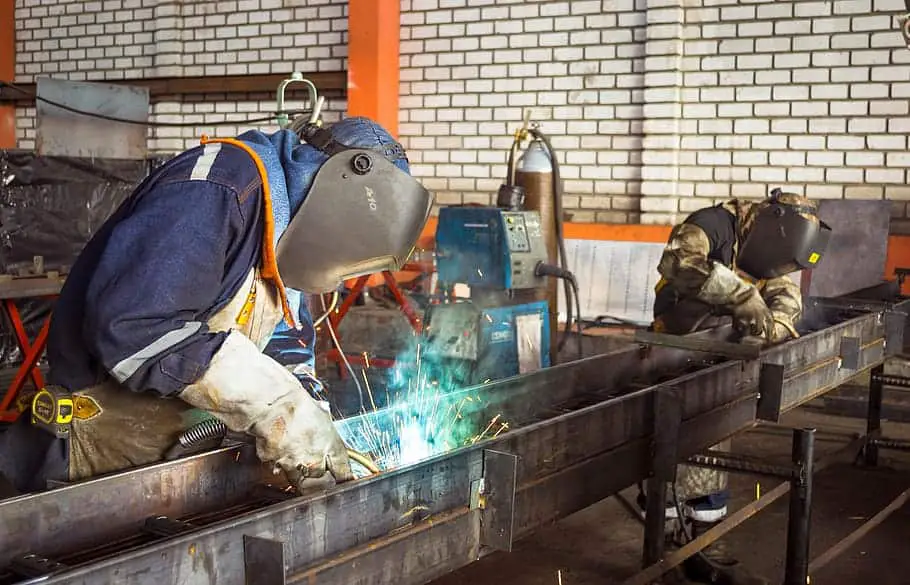
There's something deeply satisfying about fixing something broken, especially when that something is a hefty chunk of cast iron. Maybe it’s the feeling of bringing a seemingly useless object back to life, or perhaps it’s the primal connection to metalworking. Whatever the reason, welding cast iron with a MIG welder is a skill that can be incredibly useful and even enjoyable.
Why bother with welding cast iron in the first place? Well, think about it. Cast iron is everywhere! From engine blocks and manifolds in your car to vintage stoves and ornate garden furniture, it's a durable material but also prone to cracking, especially under stress or impact. Being able to repair these items yourself saves you money, reduces waste, and allows you to preserve valuable or sentimental pieces. Think about that antique cast iron skillet your grandmother used – instead of tossing it when it cracks, you can weld it and keep the memories (and delicious meals!) alive.
The benefits extend beyond sentimental value, too. In practical terms, repairing a cracked cast iron engine component can save you hundreds, even thousands, of dollars compared to replacing the entire engine. Farmers and mechanics often use this technique to fix broken machinery parts, minimizing downtime and keeping their operations running smoothly. Even artists and sculptors utilize cast iron welding to create stunning and durable artworks. So, whether it’s a cracked pipe fitting, a damaged machine base, or a decorative piece, MIG welding offers a reliable and cost-effective solution.
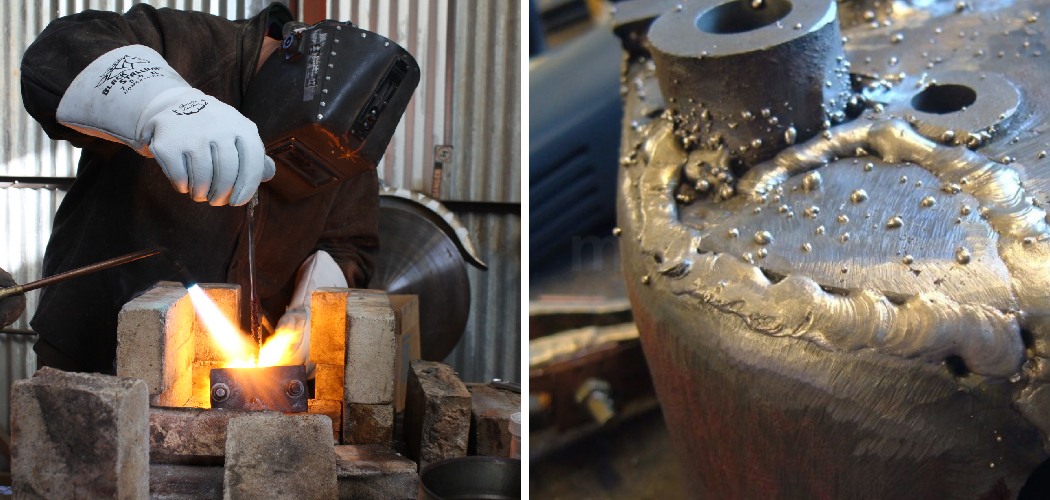
Now, let's talk about making the process more enjoyable and effective. Cast iron welding isn't quite the same as welding steel, so preparation is key. First and foremost, cleanliness is crucial. Thoroughly clean the area you're going to weld, removing any rust, paint, or grease. A wire brush and a degreaser will be your best friends here. Next, consider preheating the cast iron. This helps to reduce thermal shock and prevent cracking as the weld cools. A propane torch works well for smaller items, while larger pieces might require a more substantial heat source. Remember, slow and steady wins the race.
When it comes to the welding itself, use a nickel-based welding wire specifically designed for cast iron. This type of wire is more ductile than steel wire, allowing it to better accommodate the expansion and contraction of the cast iron as it heats and cools. Use short, controlled welds, allowing the metal to cool between passes. This helps to minimize heat buildup and reduce the risk of cracking. Peening the weld with a hammer while it's still warm can also help relieve stress and improve the weld's integrity.
Finally, post-weld cooling is just as important as preheating. Allow the welded piece to cool slowly, ideally covered with a blanket or sand. This will further reduce the risk of cracking. Don't rush the process! Patience is essential for a successful and lasting repair. With a little practice and these tips in mind, you'll be confidently welding cast iron with your MIG welder in no time, saving money, preserving history, and enjoying the satisfaction of a job well done. Remember to always wear proper safety gear, including a welding helmet, gloves, and appropriate clothing.