Okay, picture this: you're in your garage, maybe humming a little blues riff – think Robert Johnson meets Elon Musk – and you're ready to tackle a metal project. A cool sculpture? Repairing a vintage motorcycle frame? The possibilities are as limitless as your imagination (and your supply of oxygen and acetylene, of course). But before you channel your inner blacksmith, let's talk lighting that oxyacetylene torch the *right* way. No drama, no surprises, just pure, focused heat.
Gear Up, Guru
First things first: safety, darling, safety! Remember that scene in "Flashdance" where she's welding with, like, *zero* protection? Yeah, don't do that. Seriously. You need proper eye protection – specifically, welding goggles with the correct shade lens. Think of them as the sunglasses of the metalworking world. You also want gloves (leather is your friend), a fire-resistant apron or jacket, and closed-toe shoes. No sandals, okay? This isn't a beach bonfire; it's precision metal manipulation.
And hey, a well-ventilated space is crucial. Think fresh air flowing like a jazz solo. If you're indoors, make sure you have a good ventilation system. Carbon monoxide is no joke, and neither is a surprise visit from the fire department.
The Lighting Ritual: A Step-by-Step Serenade
Alright, you're geared up, ready to go, and feeling like a metal-bending maestro. Here's the step-by-step guide to lighting your oxyacetylene torch:
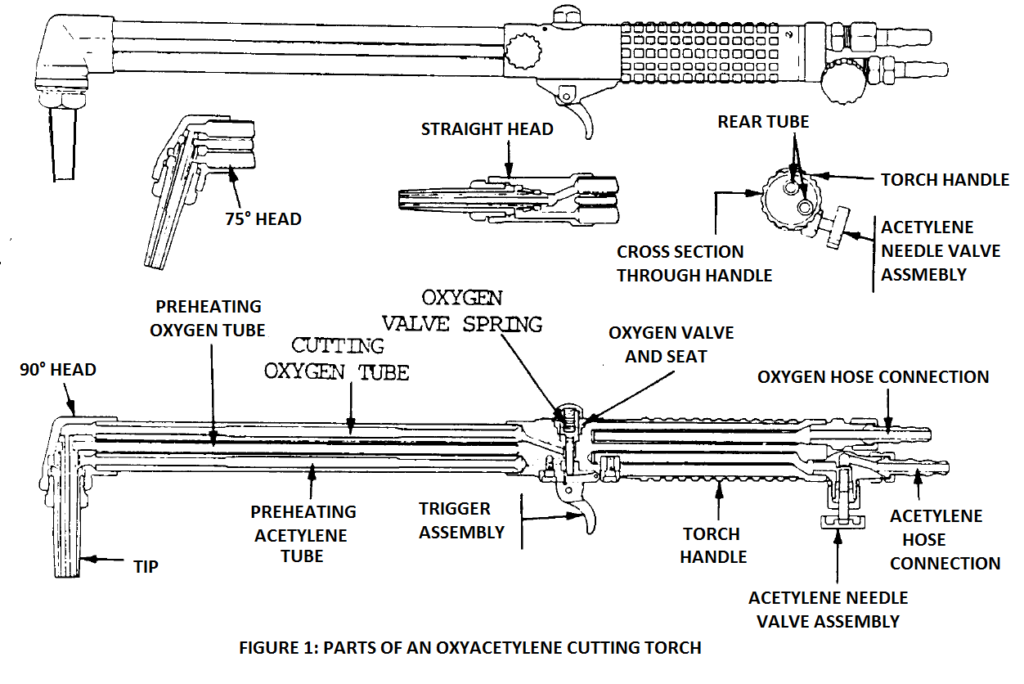
- Open the Acetylene Valve (Torch): This is usually the red one. Give it a *slight* crack – just a quarter to half a turn. You want a gentle flow, not a roaring inferno.
- Purge the Line: Briefly bleed the acetylene gas from the torch nozzle. You should hear a soft hiss. This clears out any air in the line and ensures a clean start.
- Ignite the Acetylene: Use a striker or a friction lighter to ignite the gas at the tip of the torch. You should get a sooty, yellowish flame. Think of it as the flickering candle before the rock concert.
- Adjust the Acetylene Flame: Slowly increase the acetylene flow until the sooty flame clears and becomes a bright, even flame with a small, defined feather. This is your "carbonizing" flame.
- Open the Oxygen Valve (Torch): Now for the blue stuff! Slowly open the oxygen valve (usually the green or blue one) on the torch handle.
- Adjust to a Neutral Flame: Watch the flame carefully as you introduce oxygen. The feathery acetylene flame will start to shorten and turn bluish. Adjust the oxygen valve until the feather disappears completely, leaving a bright, well-defined cone in the center of the flame. This is your neutral flame – the gold standard for most welding and cutting applications. It’s neither oxidizing nor carburizing.
Pro Tip: If you get a hissing or popping sound, you might have too much oxygen. Reduce the oxygen flow until the flame stabilizes.
Fine-Tuning Your Flame: The Art of the Spark
Once you have a neutral flame, you can fine-tune it depending on your specific task. A slightly oxidizing flame (excess oxygen) is sometimes used for welding certain alloys, while a carburizing flame (excess acetylene) is used for brazing. However, for most applications, the neutral flame is your sweet spot. Think of it as the perfectly balanced cocktail – not too sweet, not too sour, just right.
Fun Fact: The temperature of an oxyacetylene flame can reach over 6,000 degrees Fahrenheit! That's hot enough to melt steel, vaporize water, and probably make a pretty good pizza (though we don't recommend trying it).
Extinguishing the Flame: The Grand Finale
When you're finished, it's just as important to extinguish the torch properly. Close the acetylene valve first, followed by the oxygen valve. This prevents backfires and ensures a safe shutdown. Always double-check that both valves are completely closed.
Bonus Tip: After shutting down the torch, briefly open and close each valve on the torch handle again to release any residual gas pressure.
Beyond the Workshop: The Zen of Process
Lighting an oxyacetylene torch might seem technical, but it's really about embracing the process. It's about understanding the tools, respecting the materials, and focusing on the task at hand. Just like mastering a musical instrument or perfecting a culinary technique, it requires patience, practice, and a little bit of artistry. And just as learning a new skill can empower you in the workshop, embracing careful, methodical processes in everyday life – whether it's writing an email, cooking dinner, or even just organizing your desk – can bring a sense of calm, control, and ultimately, greater success. So go forth, spark that flame, and create something amazing!