So, you wanna wrangle aluminum with fire? Awesome! It's like coaxing a grumpy cat, but with a much shinier reward. We're talking about torch welding aluminum, a skill that makes you the MacGyver of your block. Prepare to impress!
First, you'll need your trusty tools. Think of them as your team of tiny, metallic superheroes. They're ready to bend to your will and help you conquer the aluminum beast.
Gather Your Gear: The Avengers Assemble!
Grab a oxy-acetylene torch. This isn't your grandma's candle lighter; it's the main event! Make sure it's fitted with the correct nozzle for welding aluminum, usually a smaller one than you'd use for steel.
You'll also need some aluminum welding rod. It's the magical stuff that melts and joins your pieces together. Choose the right alloy for your project - think of it like picking the right spices for a dish.
Don't forget your safety squad: welding gloves, safety glasses, and a welding helmet. Looking cool is important, but protecting your eyes is MISSION CRITICAL. We're not trying to create future generations of mole people here!
You absolutely need a stainless steel brush. This will be your best friend for cleaning the aluminum. Think of it as giving your metal a good scrub before its big date.
Get some aluminum-specific flux. This is the secret sauce! It helps to remove oxides and allows the weld to flow smoothly.
Finally, a clean workspace is essential. We're aiming for a surgical theater, not a pigsty. A clean surface means a clean weld.
Prepping the Battlefield: Getting Aluminum Ready for Action
Cleaning is key, people! Aluminum loves to play dirty and forms a tough oxide layer. This oxide prevents proper fusion, like trying to glue two oily surfaces together.
Use your stainless steel brush to scrub the welding area until it shines. Think of it as giving the aluminum a good exfoliation.
Apply a generous amount of that aluminum flux. Follow the manufacturer's instructions, or you might end up with a gooey mess. Consider it the metal's makeup, it makes it beautiful.
Now, clamp your pieces securely. You want them to stay put during the welding process. Imagine trying to paint a room while the walls are doing the Macarena.
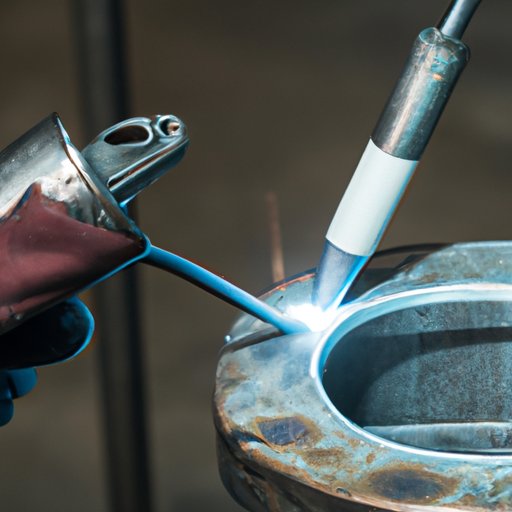
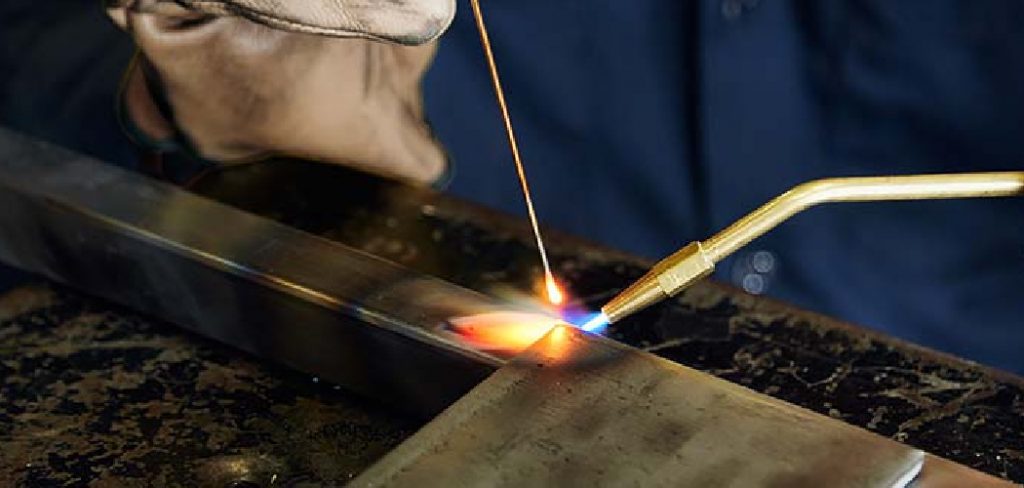
Torch Time: The Dance of Fire and Metal
Adjust your oxy-acetylene torch to a neutral flame. This is crucial! A carburizing (too much acetylene) flame will leave soot, while an oxidizing (too much oxygen) flame will create porous welds.
Practice your torch movements on scrap aluminum first. Get a feel for the heat and how the metal reacts. It's like practicing your dance moves before hitting the club.
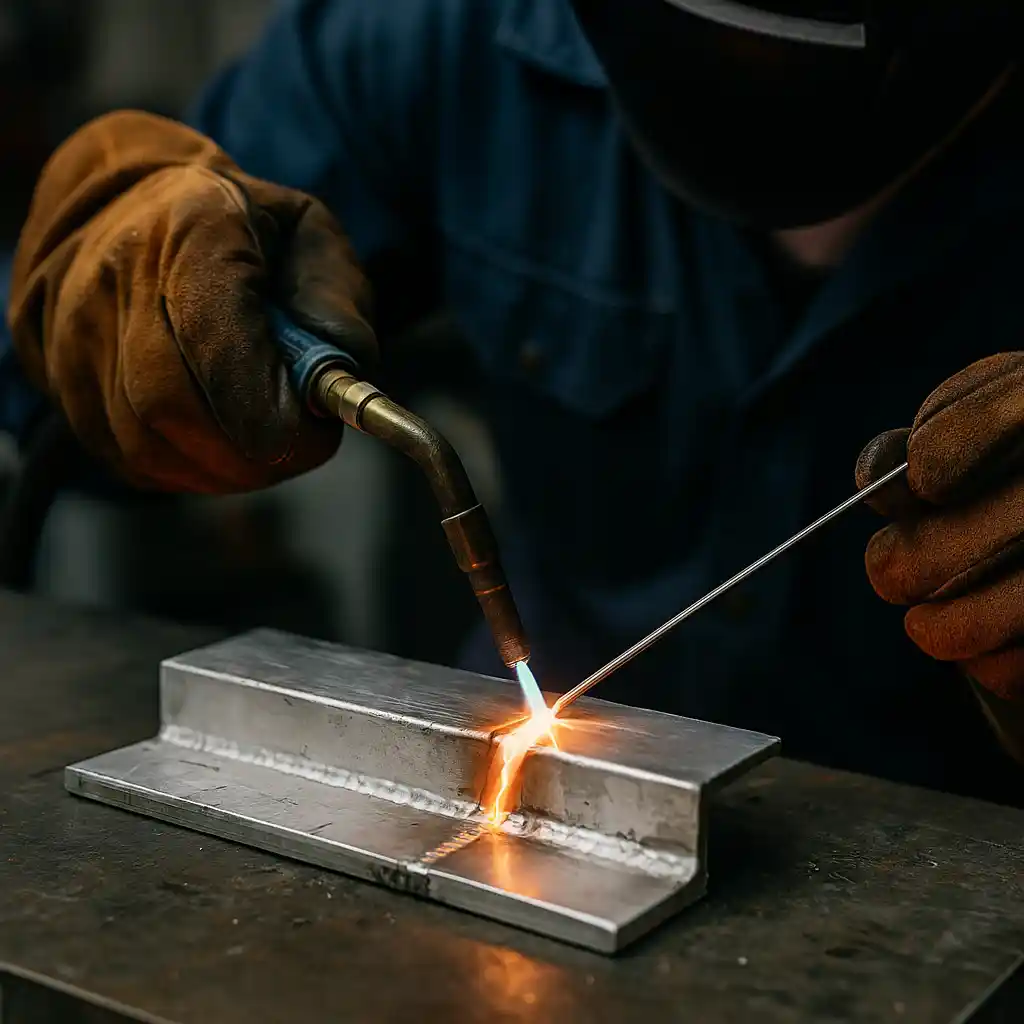
Heat the base metal first, moving the torch in small, circular motions. Aim to heat the metal evenly. Don't fixate on one spot, like staring at your crush during a slow dance.
Once the aluminum flux starts to bubble and turn clear, it's time to introduce the welding rod. Gently touch the rod to the heated metal and let it melt. Don’t force it.
Continue feeding the rod into the molten puddle, moving the torch forward in a consistent motion. Maintain a steady pace, or your weld will look like a toddler's drawing.
Avoid overheating the aluminum. It melts quickly and can easily warp or burn through. It's like cooking pasta – a watched pot never boils, but an over-watched pot burns!
Post-Weld Party: Cleaning Up After the Heat
Once the weld cools, remove any remaining flux. This stuff is corrosive and can weaken your weld over time. Scrub it off with your stainless steel brush and some warm water.
Inspect your weld for any defects, such as porosity or cracks. If you find any, don't despair! It's all part of the learning process. Even Einstein probably had a few "oops" moments.
Practice makes perfect. The more you weld, the better you'll become. Think of it like leveling up in a video game. Every weld brings you closer to becoming a master!
Troubleshooting: When Things Go Wrong (and They Will!)
Porosity (tiny holes in the weld) is a common problem. It's often caused by contamination or insufficient flux. Make sure your metal is clean and use plenty of flux.
Warping can occur if you overheat the aluminum. Use a lower heat setting and work in short bursts. Think of it as giving the metal a break between dance moves.
Burn-through happens when you melt right through the metal. Reduce your heat setting and move the torch faster. It's like trying to sprint a marathon – pace yourself!
If your weld looks lumpy and uneven, you may not be feeding the rod consistently. Practice maintaining a steady hand and a smooth motion. Remember, think smooth!
Pro Tips for the Aspiring Aluminum Whisperer
Use a backstepping technique for better control. Weld a short section, then move back and overlap the previous weld. It's like creating a safety net for your weld.
Preheating larger pieces of aluminum can help prevent cracking. It reduces the temperature difference between the weld and the surrounding metal.
Consider using a pulsed torch for even greater control. It allows you to precisely control the heat input.
Experiment with different welding rods to find the best one for your application. Each rod has its own unique properties.
Don't be afraid to ask for help from experienced welders. They can offer valuable tips and advice. The welding community is generally awesome and supportive.
The Joy of Creation: Unleash Your Inner Artist
Welding aluminum is more than just joining metal; it's about bringing your ideas to life. From repairing boats to building custom furniture, the possibilities are endless. Imagine the possibilities!
There's something incredibly satisfying about creating something with your own hands. It's a feeling of accomplishment that can't be matched.
So, grab your torch, put on your safety gear, and get ready to weld some aluminum! You've got this!
Remember safety is paramount. Always wear appropriate protection and work in a well-ventilated area. We want you welding for years to come, not visiting the emergency room.
Have fun and be creative, but most importantly, respect the power of the torch. Go forth and conquer, oh brave welder!
With practice and patience, you will be building amazing things in no time! Good luck!