Alright, buckle up buttercup, because we're about to dive headfirst into the dazzling world of plasma cutting! Prepare to become a metal-slicing maestro, a steel-shredding samurai, a… well, you get the idea. We're going to learn how to use a plasma cutter, and it's going to be epic.
First things first, let's talk gear. Think of it as your superhero costume for metal manipulation! You wouldn’t fight crime in your pajamas, would you? (Okay, maybe on a *really* slow Tuesday…).
Gearing Up: Looking the Part (and Staying Safe!)
Grab a welding helmet with the right shade. It's like sunglasses for the sun, but, you know, way more intense. Think of it as your own personal eclipse viewer, but instead of looking at the sun, you’re staring down a plasma arc hotter than a dragon’s breath!
Next, get yourself some gloves. Not the fuzzy winter kind, unless you're going for a very specific (and likely disastrous) art project. We're talking thick, leather welding gloves that can withstand heat and sparks like a champ.
Don’t forget a welding jacket or apron. Imagine wearing a bacon suit near a pack of hungry dogs! That's what your clothes will feel like if you don't protect them from those mischievous sparks.
Wear long pants and closed-toe shoes. Showing off your ankles to molten metal is *never* a good idea. Trust me on this one.
Safety first, always! Before we even THINK about plugging anything in, let’s make sure our workspace is ready.
Setting the Stage: Your Metal-Cutting Arena
Clear the area! Remove anything flammable. Seriously, anything. We're talking stray newspapers, oily rags, your neighbor's prized collection of vintage rubber chickens… you get the picture.
Make sure you have good ventilation. Plasma cutting creates fumes, and breathing in those fumes is about as much fun as eating a bowl of gravel. Open a window, use a fan, or invest in a proper ventilation system. Your lungs will thank you.
Ground your workpiece. This is super important. Attach the ground clamp from your plasma cutter to the metal you're cutting. It's like giving the electricity a safe route home, preventing it from taking a detour through *you*.
Now that you're looking sharp and your workspace is safe, let's get acquainted with your plasma cutter.
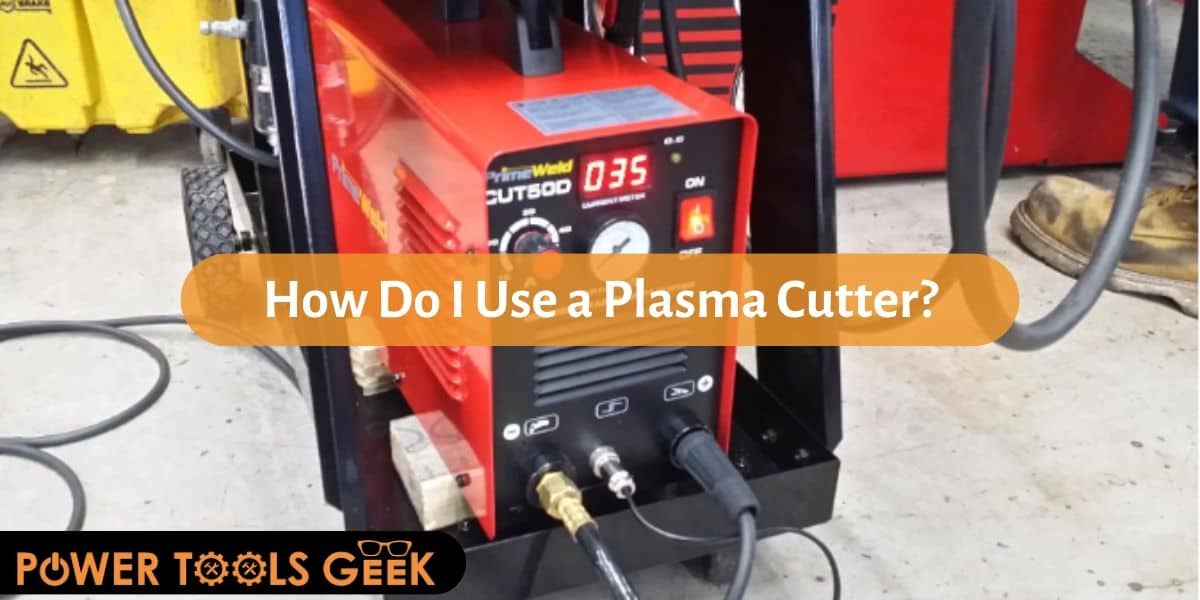
Getting to Know Your Plasma Cutter: Your New Best Friend (Hopefully)
Every plasma cutter is a little different, so read the manual! I know, I know, nobody *actually* reads manuals, but this is one time you really should. Think of it as cheat codes for metal-cutting success.
Find the power switch. This is usually a big, obvious switch, but just in case, double-check. You don't want to be fumbling around for it when you need to shut things down quickly.
Locate the air pressure gauge. Plasma cutters use compressed air to create the plasma arc, so you need to make sure the pressure is set correctly. Too low, and you won't cut. Too high, and you might blow your socks off (okay, maybe not literally, but still…).
Identify the torch. This is the business end of the operation, the part that actually does the cutting. Treat it with respect, and it will reward you with clean, precise cuts.
Practice makes perfect. Do some test runs on scrap metal before you go after your masterpiece.
Cutting Time: Slicing Through Steel Like a Hot Knife Through Butter (Almost)
Turn on the plasma cutter and let it warm up. This is like letting your coffee brew before you take that first glorious sip. It just makes everything better.
Position the torch slightly above the metal you want to cut. You don't want to touch the metal directly with the tip of the torch. Think of it as hovering a laser pointer over a target – you want to be close, but not touching.
Press the trigger on the torch. This ignites the plasma arc, which is a super-heated stream of ionized gas that can melt through metal like it's made of butter. It's pretty cool, actually.
Slowly move the torch along the line you want to cut. Keep a steady hand and a consistent speed. Think of it as drawing a line with a very, very hot pen.
If the arc sputters or dies, you're probably moving too fast or the air pressure is too low. Slow down or adjust the air pressure accordingly. And remember to use both hands.
Follow your line. Try to keep a steady hand and watch the sparks fly.
Keep practicing! The more you use your plasma cutter, the better you'll get at it. Before you know it, you'll be slicing through steel like a seasoned pro. And don't forget to celebrate each successful cut with a little victory dance. You've earned it!
Advanced Moves: Taking Your Plasma Cutting Skills to the Next Level
Once you've mastered the basics, you can start experimenting with different techniques. Think of it as leveling up in a video game. You're unlocking new powers and abilities!
Try cutting curves and circles. This requires a bit more finesse and control, but it's totally doable. Practice on scrap metal until you get the hang of it. Imagine you're drawing with plasma.
Experiment with different cutting speeds. A faster speed will result in a narrower cut, while a slower speed will result in a wider cut. Finding the right speed for the material you're cutting is key to getting clean, accurate results.
Learn about different consumables. Plasma cutter torches use consumables like nozzles and electrodes, which wear out over time. Replacing these consumables regularly will keep your plasma cutter running smoothly and efficiently. Think of it like changing the oil in your car – it's essential maintenance.
Consider using a template or guide for more complex cuts. This can help you achieve more accurate and consistent results. You can even 3D print templates for super complex shapes!
Troubleshooting: When Things Go Wrong (and They Will)
Sometimes, despite your best efforts, things just don't go as planned. Don't panic! Troubleshooting is a normal part of the learning process.
If the plasma arc won't start, check the power supply, air pressure, and ground connection. Make sure everything is plugged in and turned on, and that the air pressure is set correctly. If all else fails, consult the manual.
If the cut is jagged or uneven, you're probably moving too fast or the air pressure is too low. Slow down and adjust the air pressure accordingly. Also, make sure you're using the correct nozzle for the thickness of the material you're cutting.
If the torch is overheating, stop cutting and let it cool down. Overheating can damage the torch and shorten its lifespan. Consider using a higher-capacity plasma cutter for thicker materials.
If you're experiencing excessive sparks or fumes, check your ventilation and make sure you're wearing appropriate safety gear. Nobody wants a face full of sparks or a lungful of fumes!
If you're still having problems, consult the manual or contact a qualified technician. Don't be afraid to ask for help. Even the most experienced plasma cutting pros started somewhere.
Beyond the Basics: The Wonderful World of Plasma Cutting Applications
Once you've mastered the art of plasma cutting, the possibilities are endless! You can use your newfound skills to create all sorts of amazing things.
Build your own metal furniture. Imagine crafting a custom coffee table, a stylish bookshelf, or even a complete outdoor patio set. The only limit is your imagination!
Create metal art. Let your creativity flow and design sculptures, wall hangings, or even personalized metal signs. Your friends and family will be amazed by your artistic talents.
Repair and modify automotive parts. Fix that dented fender, fabricate a custom exhaust system, or even build your own off-road bumper. Just make sure you know what you're doing before you start cutting into your car!
Fabricate custom tools and fixtures. Need a specialized jig for a woodworking project? No problem! Just whip out your plasma cutter and create exactly what you need.
And now, go forth and conquer! Wield your plasma cutter with confidence and create amazing things. Remember to always prioritize safety, practice regularly, and never stop learning. The world of metalworking awaits!