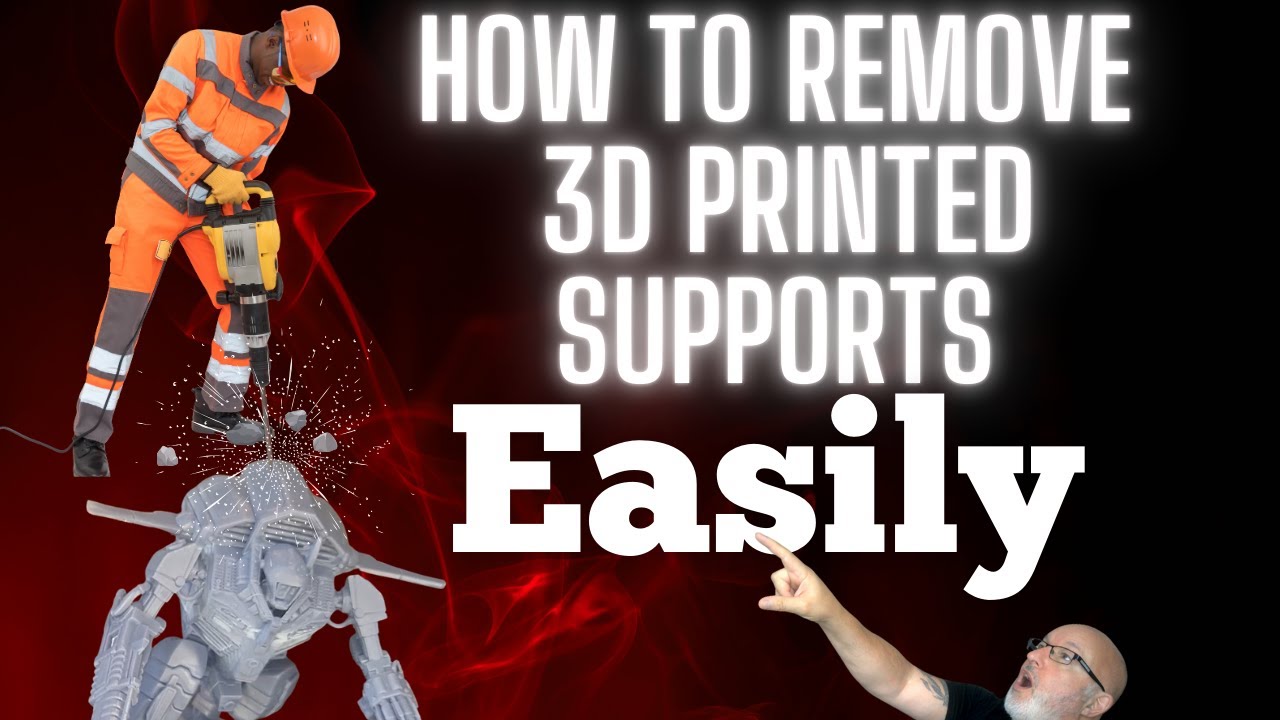
So, you’ve just witnessed the miracle of 3D printing! Your creation, a miniature dragon, a funky phone stand, or maybe even a spare part for that gizmo that's been gathering dust, is finally… done. But wait! What’s all this extra stuff clinging to it like a lovesick octopus?
Ah, the supports. Those unsung heroes (or, more accurately, temporary scaffolds) that held everything up during the printing process. Now, they need to go. Think of it like the construction crew packing up after building a skyscraper. Time for the demolition (a much gentler demolition, hopefully) to begin!
First, assess the situation. Are we dealing with delicate, spindly supports that break with a gentle sigh? Or are these sturdy, stubborn behemoths that seem determined to stay put forever?
Your weapon of choice? It could be anything from a trusty pair of pliers (needle-nose are your friend) to a good old-fashioned hobby knife. Some folks even swear by cuticle nippers! Whatever feels comfortable and gives you the control you need. This isn’t brain surgery, but you do want to avoid accidental disfigurement of your precious print.
The key here is patience. Think of it as untangling Christmas lights. Rushing only leads to frustration and potentially broken ornaments (or in this case, dragon wings). Start gently. Wiggle the supports back and forth, trying to find the weak points where they connect to the model.
Sometimes, the supports practically leap off, releasing with a satisfying *snap*. Other times, they cling on for dear life, requiring a bit more… persuasion. Don’t be afraid to use a little force, but always be mindful of the delicate details of your print. Imagine you're a sculptor, carefully chipping away at excess stone to reveal the masterpiece within.
Now, let’s talk about those tricky spots. The undersides of wings, the insides of holes… these are the places where supports like to hide and play hard to get. A good light source is essential here. You want to see exactly what you’re doing, and avoid accidentally slicing off something you shouldn't.
I once spent a solid hour removing supports from a tiny 3D printed Eiffel Tower. It was like performing open-heart surgery on a landmark! But the sense of accomplishment when I finally freed it from its scaffolding was immense. I practically wanted to frame the support structures as a testament to my dedication.
Occasionally, you might end up with a little bit of residue left behind. Tiny nubs or rough patches where the supports were attached. Don’t despair! A little bit of light sanding can work wonders. Think of it as giving your creation a final polish, a little bit of aftercare to bring out its true beauty. A fine-grit sandpaper or even a nail file will do the trick.
And what to do with the discarded supports? Well, you could toss them in the recycling bin. Or, if you're feeling creative, you could turn them into something new! I’ve seen people use them to create abstract sculptures, funky jewelry, or even miniature landscapes for model trains.
One thing is for sure: removing 3D printer supports is an art form in itself. It's a process that requires patience, precision, and a healthy dose of humor. Embrace the challenge, learn from your mistakes, and remember that every print is a learning experience.
And if you accidentally snap off a dragon’s tail in the process? Well, that's just part of the adventure. A little bit of glue and a touch of creativity can fix almost anything. After all, even dragons need a little bit of TLC sometimes.
So go forth, brave 3D printer, and liberate your creations from their temporary prisons! You might just discover a hidden talent for miniature demolition and a newfound appreciation for the artistry of post-processing. And who knows, maybe you'll even find a creative use for all those leftover supports!
Just remember, the goal is to unveil the beauty hidden beneath. Happy printing (and support-removing)! Remember to take your time, be gentle, and think of it as a journey. You'll feel like Michelangelo, freeing David from a block of marble!
Consider joining online communities. You will find that people love to share their experience with using tools such as a good pair of flush cutters to make this task easier!