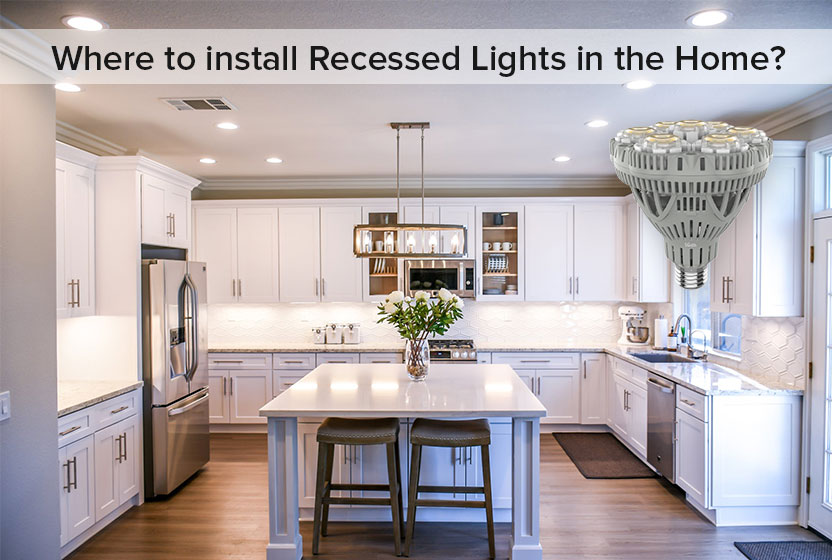
Ever walked into a kitchen and felt instantly at ease, the light just right? Or perhaps you've experienced the opposite – a space that feels gloomy, making even simple tasks like chopping vegetables a chore? Chances are, the secret ingredient isn't a new appliance, but the lighting, specifically the placement of those humble little recessed lights, often called "can lights." Figuring out how to place can lights effectively in your kitchen is a fun and rewarding project that can dramatically improve both the aesthetics and functionality of your space.
So, what's the big deal about can lights? The core purpose of recessed lighting is to provide even, general illumination across a room. Unlike a single, central fixture, can lights spread the light source, minimizing harsh shadows and creating a more balanced and comfortable environment. This is especially crucial in a kitchen, where tasks like food preparation require good visibility. Beyond general illumination, they can also be used for accent lighting, highlighting specific areas like countertops or artwork.
The benefits are numerous. A well-lit kitchen is a safer kitchen – you're less likely to cut yourself while cooking. It's also a more inviting kitchen. Imagine prepping a meal with friends and family in a bright, welcoming space. Recessed lighting can also increase the perceived size of a room, making it feel larger and more open, particularly beneficial in smaller kitchens. Furthermore, modern LED can lights are incredibly energy-efficient, saving you money on your electricity bill while contributing to a more sustainable lifestyle.
Think about examples of how can lights are used in daily life. In restaurants, they often illuminate specific tables or food preparation areas. In classrooms, they provide consistent lighting for reading and writing. Even in museums, can lights are strategically placed to highlight artwork and exhibits. The principle is the same: controlled, focused light that enhances the experience.
Ready to explore the world of can light placement? Here are a few practical tips to get you started:
- The "Rule of Thumb": A common guideline suggests spacing can lights roughly 2 feet apart for every 8-foot ceiling. So, in a kitchen with an 8-foot ceiling, you might space them 4 feet apart. However, this is just a starting point!
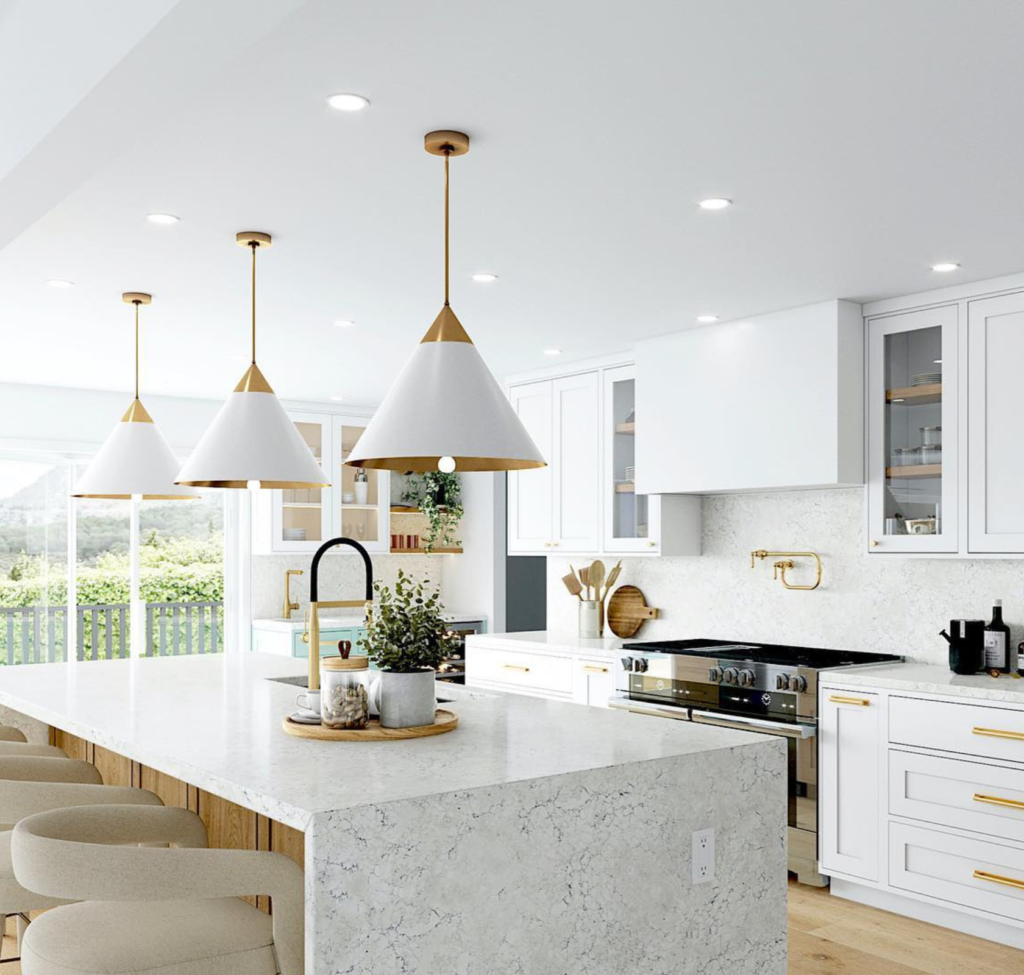
- Consider Your Layout: Take into account the specific areas of your kitchen. You'll want more light over the sink, the stove, and any countertops where you frequently work. Avoid placing lights directly above where you typically stand, as this can create shadows.
- Think in Layers: Don't rely solely on can lights. Supplement them with under-cabinet lighting for task lighting and pendant lights over an island for ambient lighting and visual interest.
- Experiment with Dimmers: Installing dimmers allows you to adjust the brightness of your can lights, creating different moods and atmospheres for different times of day. This provides ultimate flexibility.
- Start Small: Before committing to a full installation, try temporarily placing a few portable spotlights to simulate the effect of can lights. This will give you a better sense of how the light will fall and help you refine your placement plan.
Ultimately, the best way to learn about can light placement is to experiment and observe. Pay attention to the lighting in kitchens you admire. Take pictures and note what works and what doesn't. With a little planning and a bit of trial and error, you can transform your kitchen into a well-lit, functional, and beautiful space that you'll love spending time in.