Okay, so you're heading out for a camping trip, a day at the beach, or maybe just a seriously epic backyard BBQ, right? But here's the deal: warm drinks are, like, the *worst*. Nobody wants lukewarm soda. Nobody. So, how do we keep our ice frosty and our beverages delightfully chilled? Let's dive into some ice-extending secrets! It's easier than parallel parking, I promise!
Chill Out Before You Chill Out
First things first: pre-chill everything. Seriously. Your cooler? Pre-chill it. Your drinks? Pre-chill *them*. Think of it like warming up before a workout – you wouldn't just jump into heavy lifting, would you? (Unless you're trying to pull a muscle... which, please don't!).
The night before, toss some ice packs or even a bag of ice into your cooler. Let it sit and get nice and cold. Then, load in those perfectly chilled sodas, waters, and...adult beverages (responsibly, of course!). This gives you a serious head start. Trust me, it's a game changer.
Ice, Ice, Baby (Types Matter!)
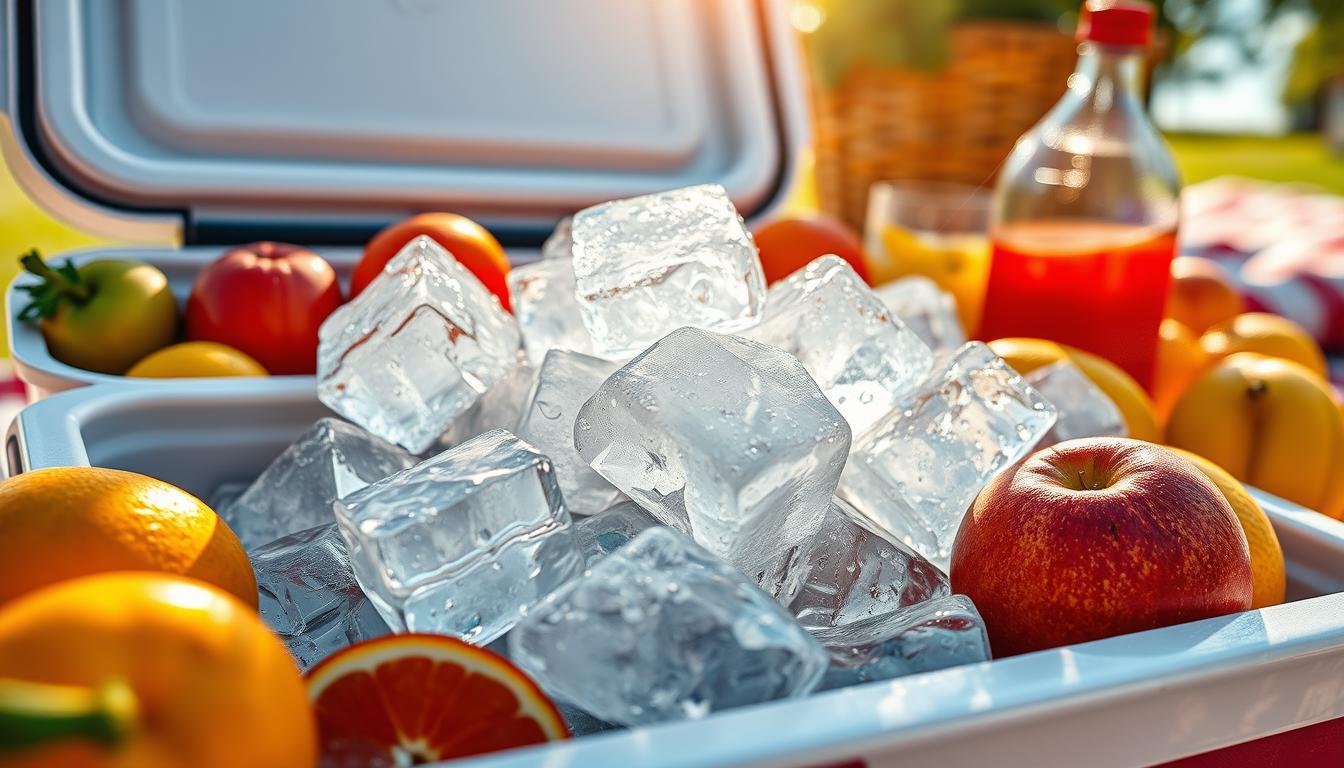
Not all ice is created equal, you know? Those little crescent-shaped ice cubes from your fridge? Cute, but they melt faster than a snowman in July. What you really want are big, chunky blocks of ice. Bigger ice = slower melting. It's science! (Or at least, it sounds like science, right?).
You can even freeze water in gallon jugs for mega-ice. Just make sure to leave some room at the top for expansion, unless you want a frozen explosion. (Cleanup is *not* fun, trust me, been there, done that... still finding ice shards months later!).
Another option? Dry ice! But be careful! It's super cold and can cause burns if you touch it directly. Plus, it turns into carbon dioxide, so make sure your cooler has proper ventilation. But man, does it keep things frozen!
Packing Like a Pro
Okay, this is where your Tetris skills come in handy! Think of your cooler like a carefully planned ecosystem. Put the ice at the bottom. Cold air sinks, so this keeps everything else nice and chilly. Then, layer in your drinks and food.
Things you need to keep coldest? Nestle them right against the ice. Things that are less critical? Can go on top. And minimize air space. Air is the enemy of coldness! Fill in gaps with towels or newspaper to insulate everything. Are you seeing the vision now? I hope so!
Strategic Cooler Placement
Don't leave your cooler baking in the sun! Find a shady spot, under a tree, an umbrella, or even just the shadow of your car. Every little bit helps. Direct sunlight is the ice's nemesis. It's like kryptonite to Superman, but instead of weakening him, it just melts everything.
Also, try to avoid opening the cooler unless you absolutely have to. Each time you open it, you're letting out the cold air and letting in the warm air. Think of it like a precious treasure chest – only open it when absolutely necessary! (Okay, maybe I'm exaggerating a little... but you get the point!).
Insulation is Your Friend
Speaking of sunlight, consider wrapping your cooler in a blanket or towel. This adds an extra layer of insulation and helps to reflect sunlight. You can even buy cooler covers specifically designed for this purpose. Think of it as giving your cooler a cozy little sweater!
Consider a Dedicated Drink Cooler
Okay, hear me out. This might sound a little extra, but it's genius. Get a separate, smaller cooler *just* for drinks. That way, you're not constantly opening your main food cooler every time someone wants a soda. Less opening = less melting. It's simple math!
The Salty Secret
Want a super-secret ice-extending tip? Add salt to your ice. Yup, you read that right! Salt lowers the freezing point of water, which means your ice will stay colder for longer. It's a trick that fishermen have been using for ages. Just sprinkle a generous amount of salt over the ice. You're welcome!
So, there you have it! A few simple tricks to keep your ice lasting longer. Now go forth and conquer those picnics, BBQs, and outdoor adventures! And remember, cold drinks are happy drinks!