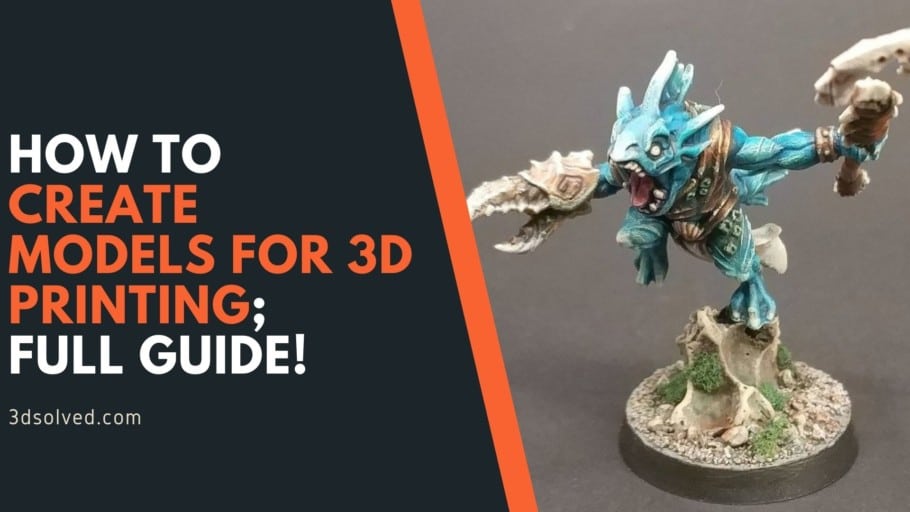
So, you want to make your own 3D printed thingamajigs? Awesome! Welcome to the club. Making 3D files can seem like brain surgery. But trust me, it's more like… advanced origami. With a computer.
Software Shenanigans
First, you’ll need some software. There are tons! Some are free, some cost more than my first car. You’ll hear names like Tinkercad, Fusion 360, and Blender tossed around. It can be overwhelming.
Here's my unpopular opinion: Start with Tinkercad. Yeah, I said it. Don't @ me. It's like LEGOs for your computer. Drag, drop, combine shapes, BAM! You've got a slightly-less-than-amazing, but undeniably *yours*, 3D model.
Now, the 'pros' will say, "But it's so basic!" Yeah, and learning to ride a bike is basic. You wouldn't start with a unicycle on a tightrope, would you?
The Cube is Your Friend
Seriously, embrace the cube. And the sphere. And the cylinder. These are your building blocks. Think of them as digital Play-Doh. Squish 'em, stretch 'em, stick 'em together.
Want to make a tiny dragon? Start with a bunch of spheres. One for the head, one for the body, little ones for the feet. Add a cone for the snout. BOOM! Dragon. Maybe not a *good* dragon, but a dragon nonetheless. And you made it!
Holes are Harder Than They Look
Let's talk about holes. Seems simple, right? Just cut a circle out of something. But noooo. Sometimes the software acts like you asked it to solve world hunger. "Non-manifold geometry!" it screams. "Boolean operation failed!" it wails.
My advice? Start with simple holes. Maybe just a little indentation. Work your way up to the Grand Canyon. And if you get frustrated, take a break. Stare at a wall. Eat a cookie. It helps (the cookie, definitely).
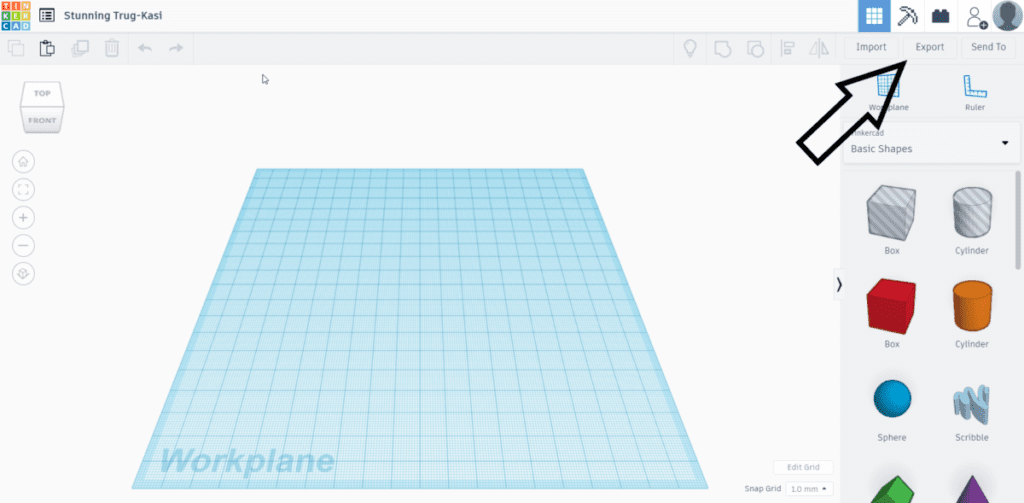
STL is the Magic Word
Once you've created your masterpiece, you need to export it. The magic word here is STL. It stands for something technical I don't remember. Just know it's the language your 3D printer understands. Think of it as the Rosetta Stone of 3D printing.
Click "Export," choose "STL," and save it somewhere you'll remember. Like your desktop. Or a folder called "My Amazing 3D Prints (Probably)."
Slicing and Dicing (Virtually, of Course)
Now for the slicing. This is where your STL file gets turned into instructions for your printer. You'll need a slicer program. Cura and PrusaSlicer are popular choices. They're free, so that's a win.
The slicer chops your model into thin layers. Each layer is like a slice of bread. The printer then lays down these slices, one on top of the other, until your object emerges from the plastic depths. It's like magic, but with more whirring noises.
Mess around with the settings. Layer height, infill density, support structures... it's a rabbit hole. But don't be afraid to experiment! That's half the fun.
The Unpopular Opinion (Part 2)
Ready for another unpopular opinion? Don't be afraid to fail. Seriously. Your first print probably won't be perfect. It might be a stringy mess. It might fall apart. It might look like a melted gummy bear.
That's okay! Learn from it. Adjust your settings. Try again. Every failed print is a lesson learned. And hey, at least you have a funny story to tell.
Find Inspiration Everywhere
Finally, get inspired! Look around you. What do you wish existed? What could be made better? What ridiculous thing can you dream up and bring into the real world?
3D printing is all about creating. So go forth, embrace the cubes, conquer the holes, and make something amazing. Or at least something interesting. Good luck!
"Remember, even a slightly flawed 3D printed object is still cooler than a perfectly ordinary paperclip."