Ever looked at something and thought, "I could make that...better"? Maybe it's a phone stand that *actually* holds your phone at the right angle, or a quirky cookie cutter shaped like your pet hamster. Well, guess what? With a 3D printer and a little bit of design know-how, you absolutely can!
Forget thinking 3D printing is just for rocket scientists. Designing for a 3D printer is more like playing with digital LEGOs. You build up a shape, layer by layer, until you have something tangible. Sounds cool, right? Let's dive in!
Step 1: Idea Spark! (The "Eureka!" Moment)
This is the fun part! What do you want to create? Look around your house. Is there something that annoys you, or could be improved? Maybe your spice rack is a chaotic mess. Perhaps you need a custom holder for your TV remote that *always* disappears down the couch cushions (we've all been there!).
Think practically, but also let your imagination run wild. A cool dice tower for your D&D nights? Absolutely! A miniature replica of your car for your desk? Why not! The possibilities are endless.
Pro-Tip: Start small! Don't try to design a fully functional robot for your first project. A simple key chain or a small decorative object is a great starting point. Think of it as baby steps towards 3D printing mastery!
Step 2: Software Selection (Choosing Your Digital Hammer and Nails)
Okay, now you need some software to bring your idea to life. Don't panic! There are tons of options, ranging from super simple to incredibly complex. We're going to focus on some user-friendly ones perfect for beginners.
- Tinkercad: This is like the training wheels of 3D design. It's browser-based, free, and incredibly intuitive. You build shapes by dragging and dropping, and combining them together. Perfect for simple designs and learning the basics. Think of it as digital Play-Doh!
- SketchUp Free: Another great free option that's a little more advanced than Tinkercad, but still relatively easy to pick up. It's great for designing more complex shapes and architectural models.
Don't be afraid to experiment! Download a few different programs and see which one clicks with you. Most offer tutorials and online resources to help you get started.
Step 3: The Design Process (Building Your Dream Object)
Alright, time to get your hands dirty (digitally, of course!). Open up your chosen software and start bringing your idea to life. This is where you'll be using the tools of the program to create the shape, size, and details of your object.
Start with basic shapes. Most designs can be broken down into simple shapes like cubes, cylinders, and spheres. Think of building a snowman – you start with three balls of snow, right? It's the same principle!
Learn the basics. Familiarize yourself with the program's tools. Learn how to move, rotate, and scale objects. Play around with different shapes and combinations. Don't be afraid to make mistakes – that's how you learn!
Don't be afraid to use reference images. If you're designing something that already exists, find some pictures online to help you get the proportions right.
Add details. Once you have the basic shape down, you can start adding details. This could be anything from adding texture to creating holes or adding intricate patterns.
Think about functionality. If you're designing something that needs to perform a specific task, make sure to consider how it will work in the real world. For example, if you're designing a phone stand, make sure it's stable enough to hold your phone without tipping over.
Step 4: Exporting Your Design (Preparing for the Printer)
Once you're happy with your design, you need to export it in a format that your 3D printer can understand. The most common format is .STL (Stereolithography). This file contains all the information about the shape of your object, which your 3D printer will use to create it.
In your design software, look for an "Export" or "Save As" option, and select ".STL" as the file type. This will save your design as an STL file that you can then load into your 3D printer's software.
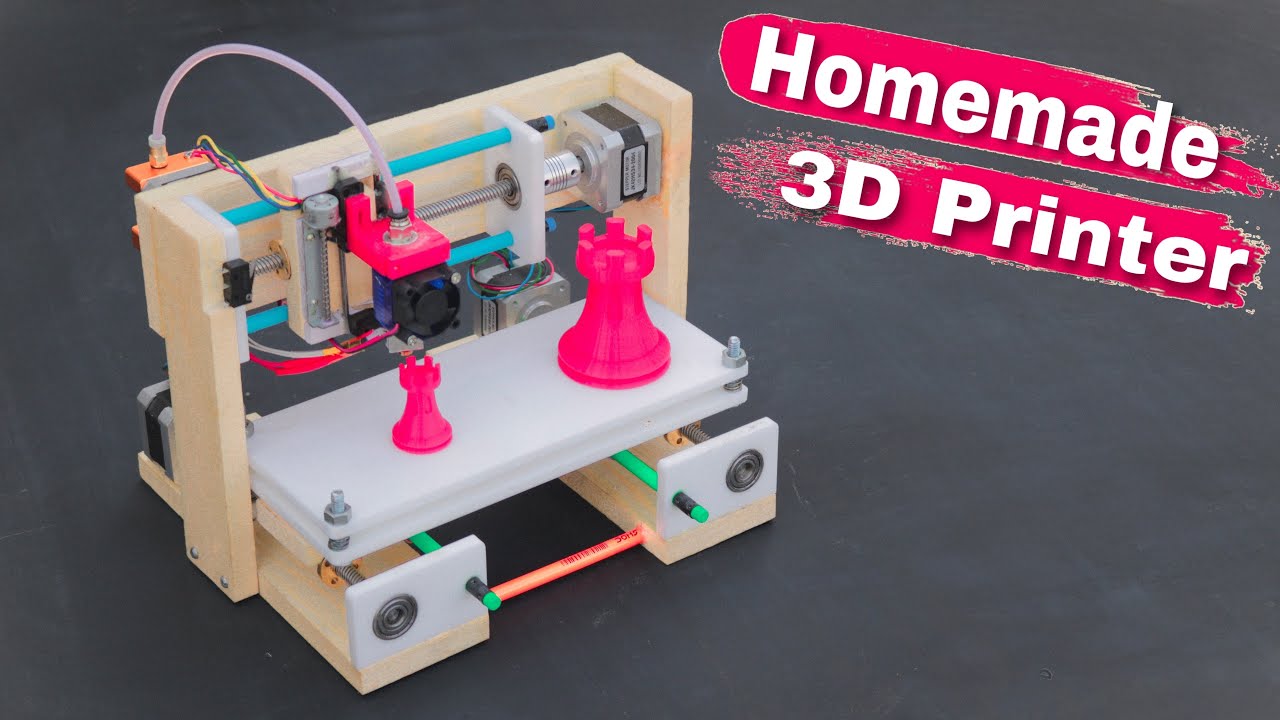
Step 5: Slicing and Printing (From Digital to Physical)
Okay, you've got your STL file. Now you need to slice it. Slicing is the process of converting your 3D model into instructions that your printer can follow. These instructions tell the printer where to move, how much material to extrude, and how to build the object layer by layer.
You'll need slicing software for this. Popular options include Cura, Simplify3D, and PrusaSlicer. Most 3D printers come with their own slicing software, so check the documentation for your printer.
In your slicing software, you'll need to configure some settings, such as:
- Layer height: This determines the thickness of each layer of plastic. A lower layer height will result in a smoother surface finish, but it will also take longer to print.
- Infill density: This determines how solid the inside of your object will be. A higher infill density will make your object stronger, but it will also use more material and take longer to print.
- Print speed: This determines how fast the printer will move. A slower print speed will generally result in a higher quality print, but it will also take longer to print.
Once you've configured your settings, you can slice your model. The slicing software will generate a G-code file, which contains all the instructions for your printer. Save this G-code file to an SD card or USB drive and insert it into your 3D printer.
Finally, start the print! And then... wait! 3D printing takes time. But the anticipation is part of the fun! Watch your creation come to life layer by layer. It’s like magic!
Why Bother? (The Awesomeness Factor)
Why should you care about designing for 3D printing? Because it's empowering. It gives you the ability to create anything you can imagine. Need a custom adapter for your vacuum cleaner? Design it and print it! Want to personalize gifts for your friends and family? Design and print them! The possibilities are truly endless.
It's also a great way to learn new skills. You'll learn about design, engineering, and manufacturing – all while having fun and creating cool stuff.
And let's be honest, it's just plain awesome. There's something incredibly satisfying about seeing a digital design become a real, tangible object that you created yourself.
So, what are you waiting for? Fire up that 3D printer and start creating! The world needs your unique designs!