So, you’re diving into the shimmering world of aluminum welding? Excellent choice! Aluminum, with its lightweight strength and resistance to corrosion, is like the Beyonce of metals – powerful, versatile, and undeniably cool. But before you strike that arc and create something amazing, you’ve got to tackle the often-overlooked but absolutely crucial step: cleaning. Think of it as giving your aluminum a pre-welding spa day. It's essential for a strong, clean weld. Trust us, your future self will thank you.
Why Bother Cleaning Anyway?
Imagine trying to apply flawless makeup on a dirty face. Sounds like a recipe for disaster, right? Same goes for welding aluminum. Aluminum readily forms an oxide layer when exposed to air. This layer, while protective in many applications, is the enemy of a good weld. It melts at a much higher temperature than the aluminum itself, preventing proper fusion and leading to porosity, inclusions, and generally weak, ugly welds. Nobody wants that. Think of it as a welding faux pas akin to wearing socks with sandals – just don't do it.
Beyond the oxide layer, aluminum can also accumulate oils, grease, dirt, and other contaminants from handling or storage. These impurities can vaporize during welding, creating fumes, porosity, and further compromising the weld's integrity. The solution? Cleanliness is next to weld-liness! Or something like that.
The Cleaning Arsenal: Tools and Techniques
Okay, time to get down to brass tacks (or should we say aluminum tacks?). Here’s a breakdown of the tools and techniques you’ll need to become a cleaning connoisseur:
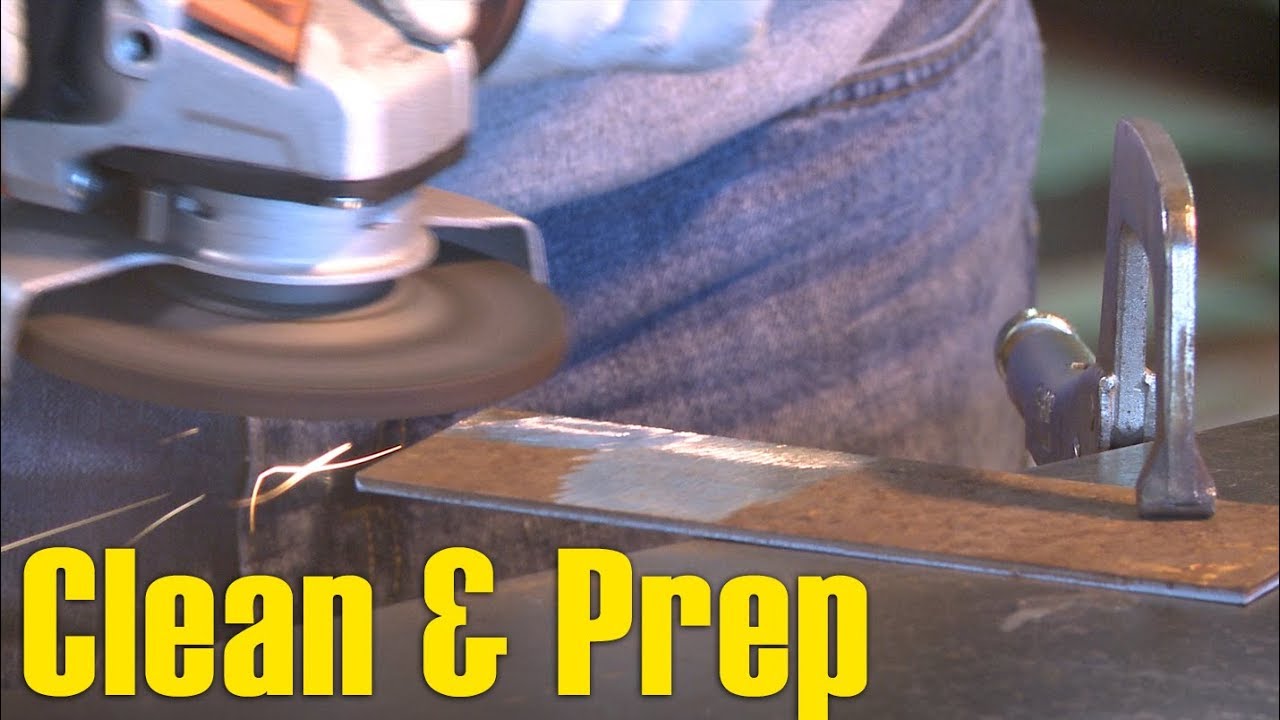
1. Mechanical Cleaning: This is your first line of defense. Think of it as physical exfoliation for your aluminum. * Stainless Steel Wire Brush: A dedicated stainless steel brush is a must. Never use a brush that's been used on steel, as cross-contamination can introduce impurities that weaken the weld. Scrub vigorously in one direction, not back and forth, to avoid embedding contaminants. * Grinding/Sanding: For thicker oxide layers or surface imperfections, a grinder or sander with an appropriate abrasive disc can be used. Be careful not to remove too much material or create deep scratches. Always finish with a wire brush. * Abrasive Pads: Scotch-Brite pads are excellent for removing light surface contaminants and creating a consistent finish.
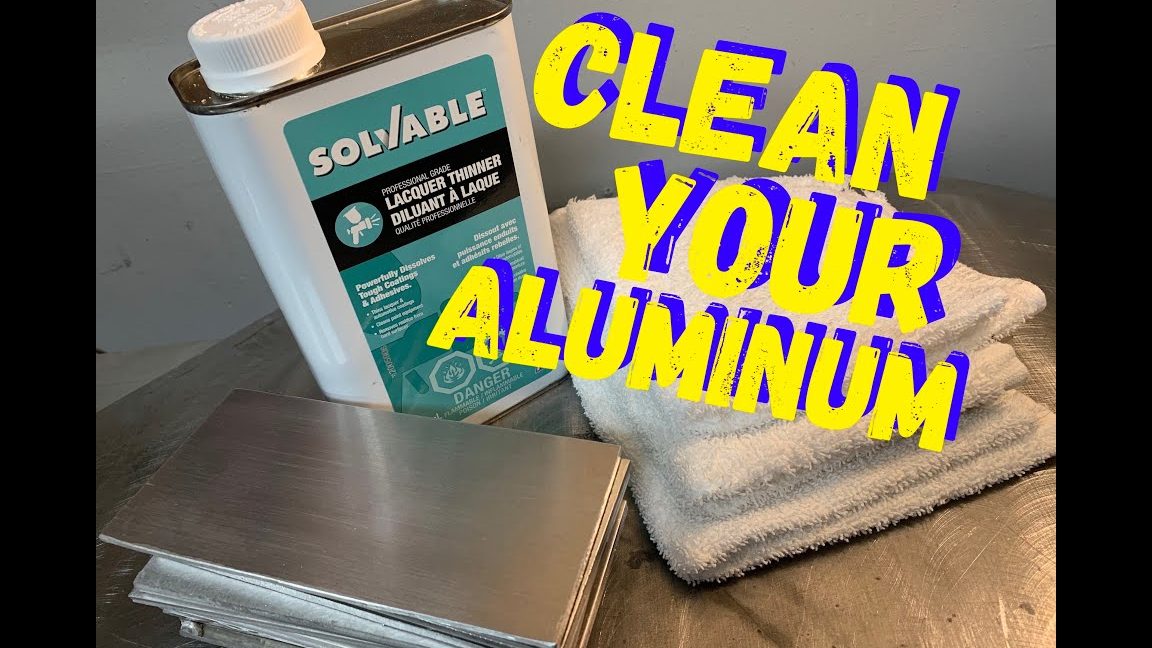
2. Chemical Cleaning: This is where things get a little more sophisticated, like switching from a scrub to a facial peel. * Solvent Degreasers: Acetone, isopropyl alcohol, or specialized aluminum cleaning solvents are your best friends here. Apply generously with a clean cloth and wipe away the grime. Always use in a well-ventilated area. * Etching Solutions: For particularly stubborn oxide layers, you can use an etching solution designed for aluminum. These solutions chemically remove the oxide layer, leaving a clean surface ready for welding. Follow the manufacturer's instructions carefully. Safety first!
Pro Tip: After cleaning, avoid touching the welding area with your bare hands. The oils from your skin can contaminate the surface. Wear clean gloves or use a clean cloth to handle the aluminum.
The Cleaning Process: A Step-by-Step Guide
Here's a simple yet effective process to follow:
- Degrease: Thoroughly clean the aluminum with a solvent degreaser.
- Mechanical Cleaning: Use a stainless steel wire brush or abrasive pad to remove the oxide layer and surface contaminants.
- Chemical Etching (Optional): If necessary, use an etching solution to remove stubborn oxide layers.
- Final Wipe: Wipe down the aluminum with a clean cloth and solvent degreaser.
- Weld Immediately: Ideally, weld the aluminum as soon as possible after cleaning to minimize the reformation of the oxide layer.
Fun Fact: The Statue of Liberty is made of copper, but its internal frame is iron. Galvanic corrosion between the two metals was a major concern during its construction. Knowing your metals (and how to clean them!) is crucial in many fields.
Beyond the Basics: Considerations for Different Applications
The level of cleaning required will depend on the specific application. For critical welds in aerospace or automotive applications, you'll need to be extra meticulous. For less demanding projects, a simpler cleaning process may suffice. Consider the type of aluminum alloy you're working with, as some alloys are more prone to oxidation than others.
The Bigger Picture
Cleaning aluminum for welding isn't just about removing dirt and grime; it's about building a solid foundation for a successful project. It's about paying attention to detail, respecting the materials you're working with, and striving for excellence. Just like in life, the small things often make the biggest difference. So, embrace the cleaning process, hone your skills, and create welds that are as beautiful as they are strong. Now go forth and weld!