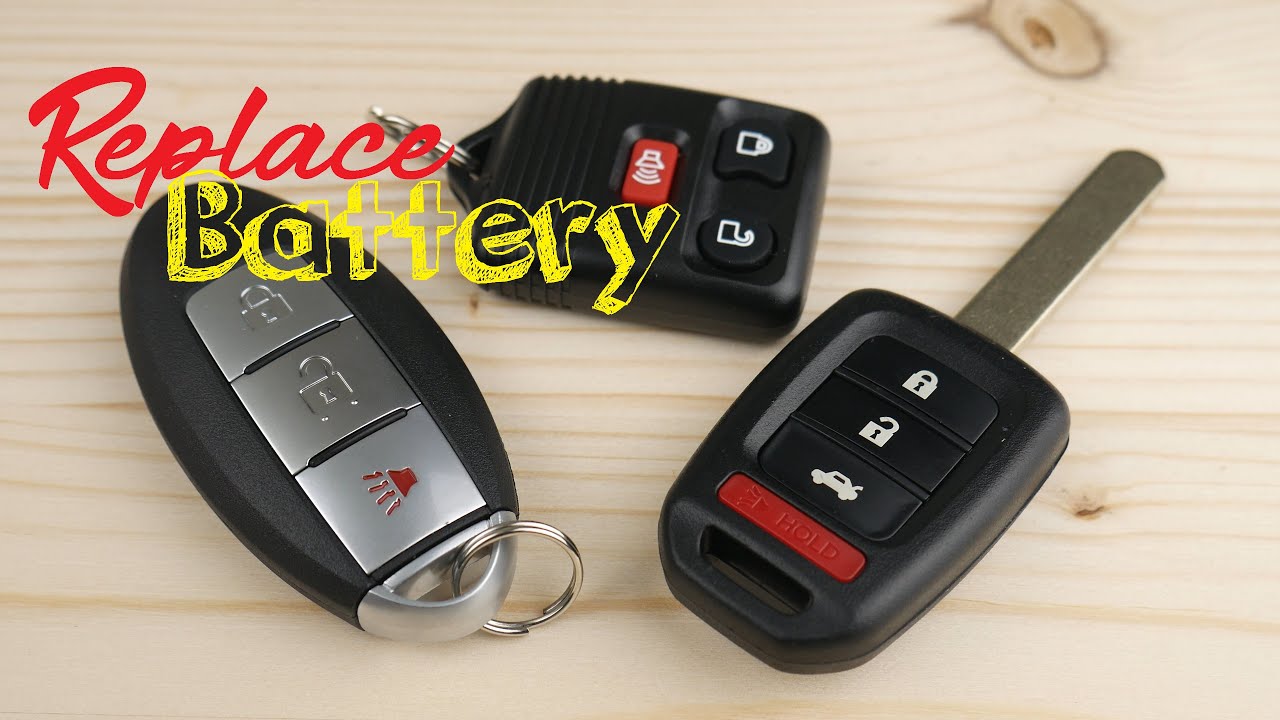
Alright, let's talk car remotes. You know, those little lifesavers that unlock your chariot with a satisfying *beep*? But what happens when that beep turns into a pathetic whimper, or worse, utter silence? Don't panic! You're not doomed to fumble with your keys like a caveman. We're going to tackle the simple, empowering task of changing your car remote battery. And trust me, it's way easier than parallel parking. (Though, maybe we'll tackle that next time? 😉)
Why Bother Changing it Yourself?
Good question! Why not just head to the dealership and let them handle it? Well, because you're awesome, that's why! And also, because you can save a few bucks and gain a valuable skill. Think of it as a mini-DIY victory. Plus, imagine the look on your mechanic's face when you tell him you handled it yourself! (Okay, maybe he won't be *that* impressed, but you'll know you're a DIY superstar.)
Beyond the bragging rights, it's about self-reliance. Knowing you can handle these little challenges makes you feel…well, more capable! It's like leveling up in the game of life. And who doesn't want to level up?
Gather Your Supplies (It's Like a Tiny Treasure Hunt!)
Okay, time to gear up! You'll need a few things for this mission:
- A small flathead screwdriver (or a similar prying tool). Think tiny, like the kind used for eyeglasses.
- The correct replacement battery. Check your car's manual or the old battery itself to find the right type (usually a CR2032, but always double-check!). These are cheap and easy to find at most drugstores, supermarkets, or online.
- A soft cloth (to protect your remote from scratches). Because we want to keep things looking good, right?
That's it! See? No need for a NASA-level toolbox.
The Procedure: Cracking the Code (Not Literally, Hopefully)
Alright, let's get down to business. Here's the step-by-step guide to remote battery replacement:
- Locate the seam: Most car remotes have a small seam or notch that allows you to pry them open. Examine your remote closely.
- Pry it open gently: Using your flathead screwdriver, carefully insert it into the seam and gently twist. Be patient! You don't want to force anything. A little wiggle and finesse can work wonders. (And avoid scratching the plastic – that soft cloth helps!)
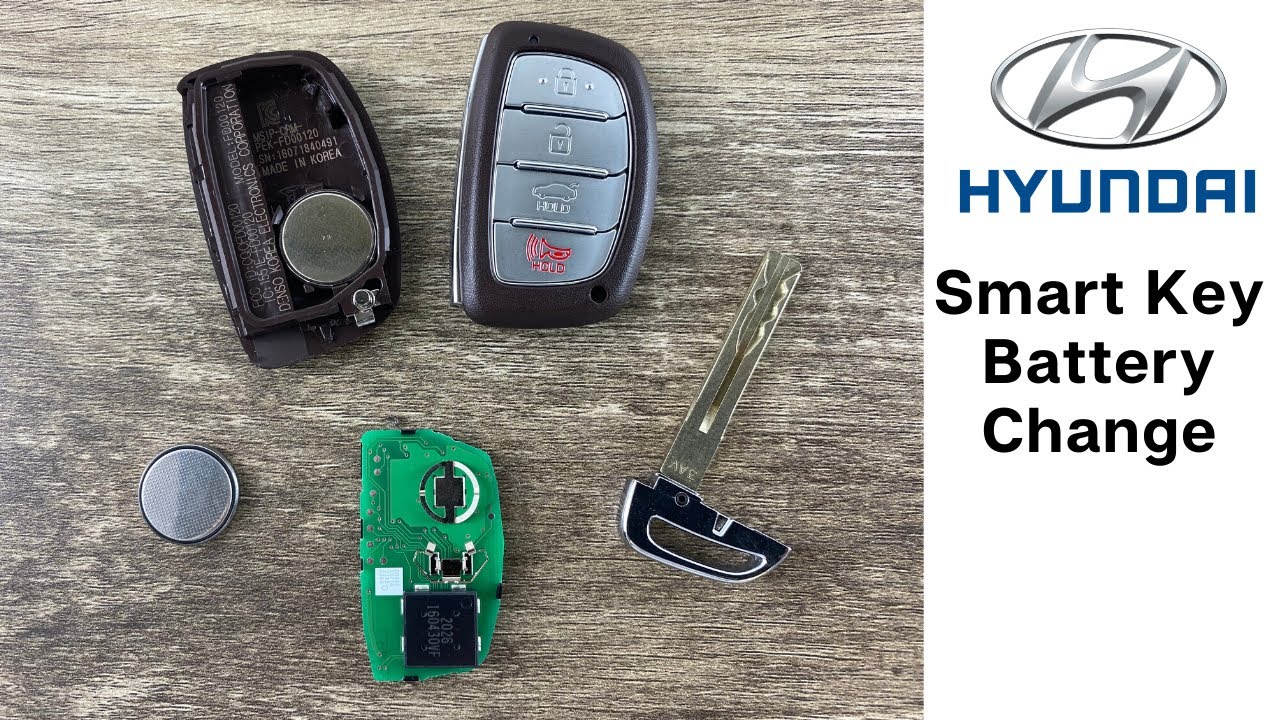
- Identify the battery: Once the remote is open, you'll see the battery nestled inside. Note its orientation (which side is facing up). This is important for putting the new one in correctly.
- Remove the old battery: You might need to use your screwdriver to gently pry the old battery out. Sometimes they're held in place with a little clip.
- Insert the new battery: Place the new battery in the same orientation as the old one. It should snap into place.
- Reassemble the remote: Carefully snap the two halves of the remote back together. Make sure they're securely closed.
- Test it out!: Press a button and see if your car responds. *Beep beep*! Success! (If not, double-check the battery orientation and make sure everything is properly connected.)
See? That wasn't so bad, was it? You're practically a car remote surgeon now!
Troubleshooting: When Things Go Wrong (It Happens!)
Okay, sometimes things don't go perfectly. Here are a few common issues and how to handle them:
- Remote won't open: Make sure you're using the right prying tool and applying gentle pressure. Check for hidden screws (some remotes have them!).
- New battery doesn't work: Double-check the battery type and orientation. Make sure the battery is fresh and not expired.
- Remote still doesn't work: You might need to reprogram the remote. Check your car's owner's manual for instructions on how to do this.
If you're still having trouble, don't be afraid to consult a professional. But you've already given it a good shot, and that's something to be proud of!
Why This Matters: Empowerment Through Tiny Tasks
Changing a car remote battery might seem like a small thing, but it's a gateway to a world of DIY possibilities. It's about taking control, learning new skills, and saving money. It's about saying, "Hey, I can do this!"
And that feeling of empowerment is contagious. Once you've conquered the car remote, who knows what you'll tackle next? Maybe you'll change your own oil, fix a leaky faucet, or build a birdhouse. The possibilities are endless!
So go forth and conquer your car remote! You've got this! And remember, every small victory adds up to a more confident and capable you. Now go out there and unlock your potential! (And your car, of course.) 😉
Feeling inspired? Awesome! There are tons of other simple car maintenance tasks you can learn. Check out some online tutorials, ask a friend who's handy, or even take a basic auto repair class. The more you know, the more confident you'll feel behind the wheel (and under the hood!). Keep learning, keep growing, and keep rocking that DIY spirit! You've got this!